3D printing a keyboard
A couple of years ago I got a Glove80 split keyboard. It’s a great entry ergonomic split keyboard at a reasonable price of $384.00.

Last year I decided to upgrade to a Cyboard Imprint split keyboard.
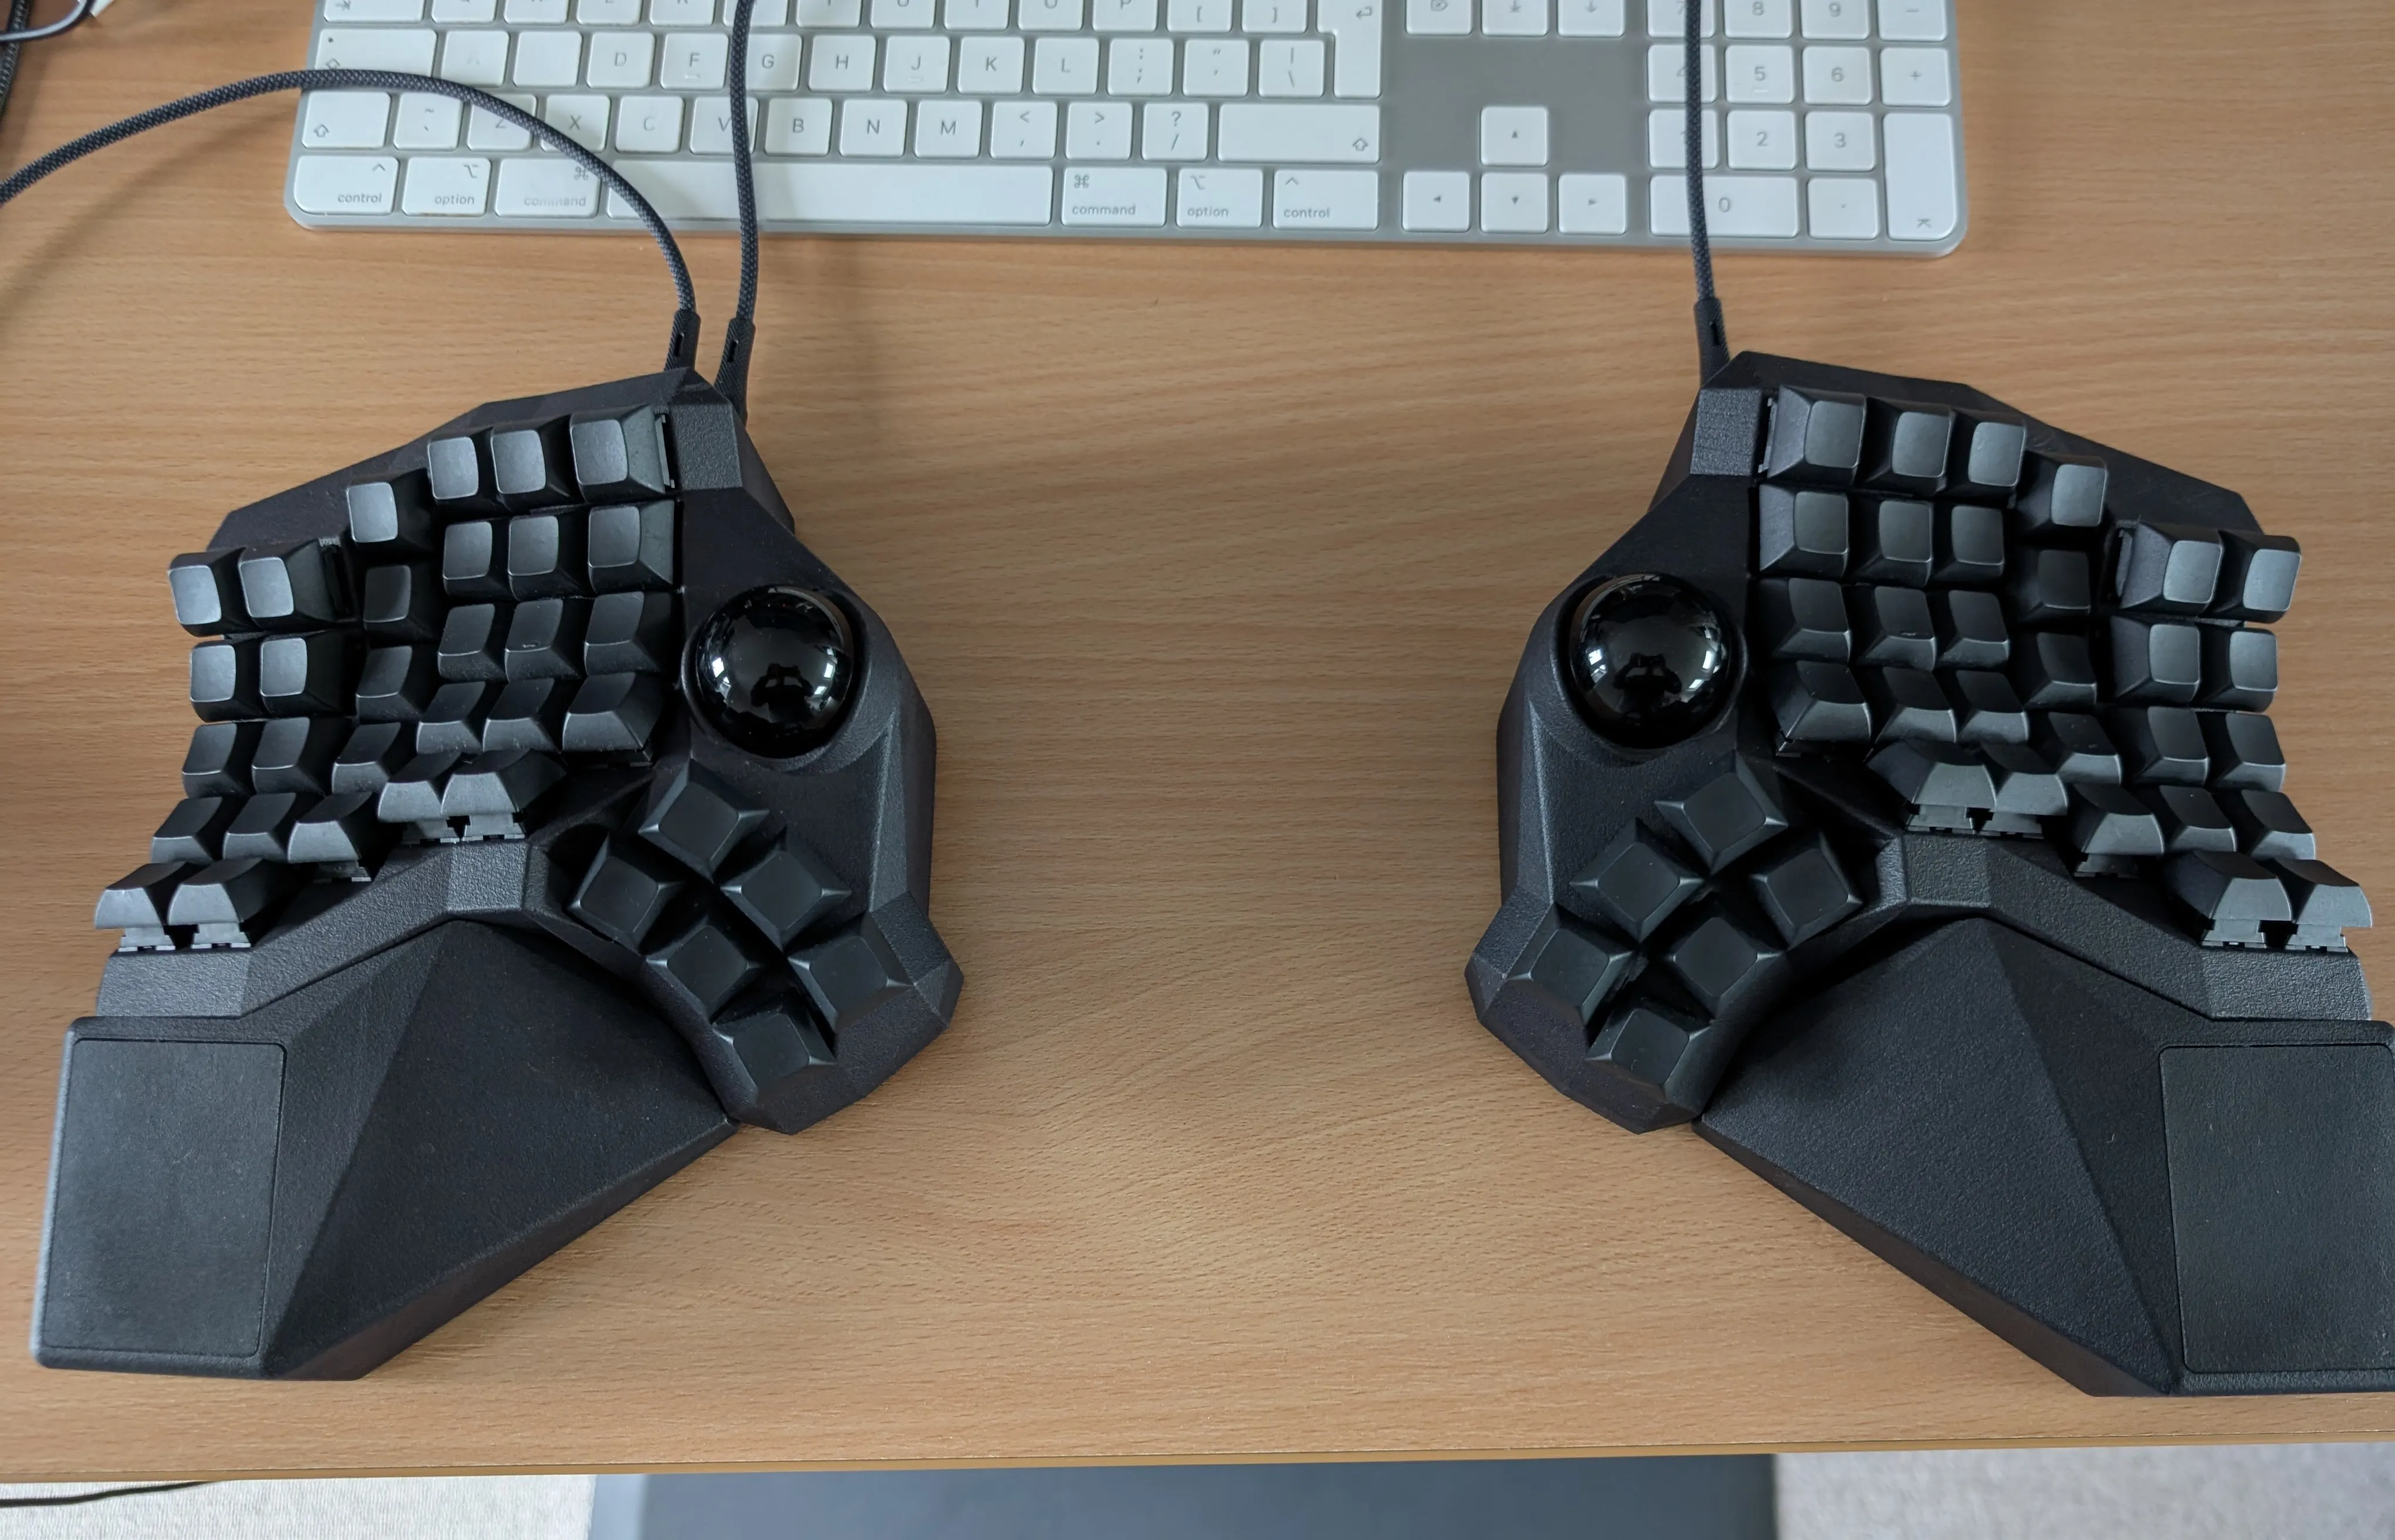
The Cyboard Imprint is a fantastic keyboard:
- Swappable MX switches (unlike the soldered Glove80 switches).
- Heavy (in a good way), I got an Imprint with an aluminium base, so it doesn’t slide around the table like the Glove80.
- Imprint is custom made for your hands, you send a picture of your hand - the Imprint is easily the most ergonomic keyboard I’ve ever used.
- Wired with QMK, they sell a ZMK Bluetooth variant too, but I still don’t trust Bluetooth.
My only criticism of the Imprint is the price: ~$550.00 + shipping and customs charges.
I wanted a couple of spare keyboards for the office and traveling, but couldn’t justify having spent ~$1.7k for 3x keyboards. So I decided to build my own (foreshadowing: including my labor, the cost savings are questionable!)
Building a split keyboard with Cosmos
Cosmos is a split keyboard designer: https://ryanis.cool/cosmos/
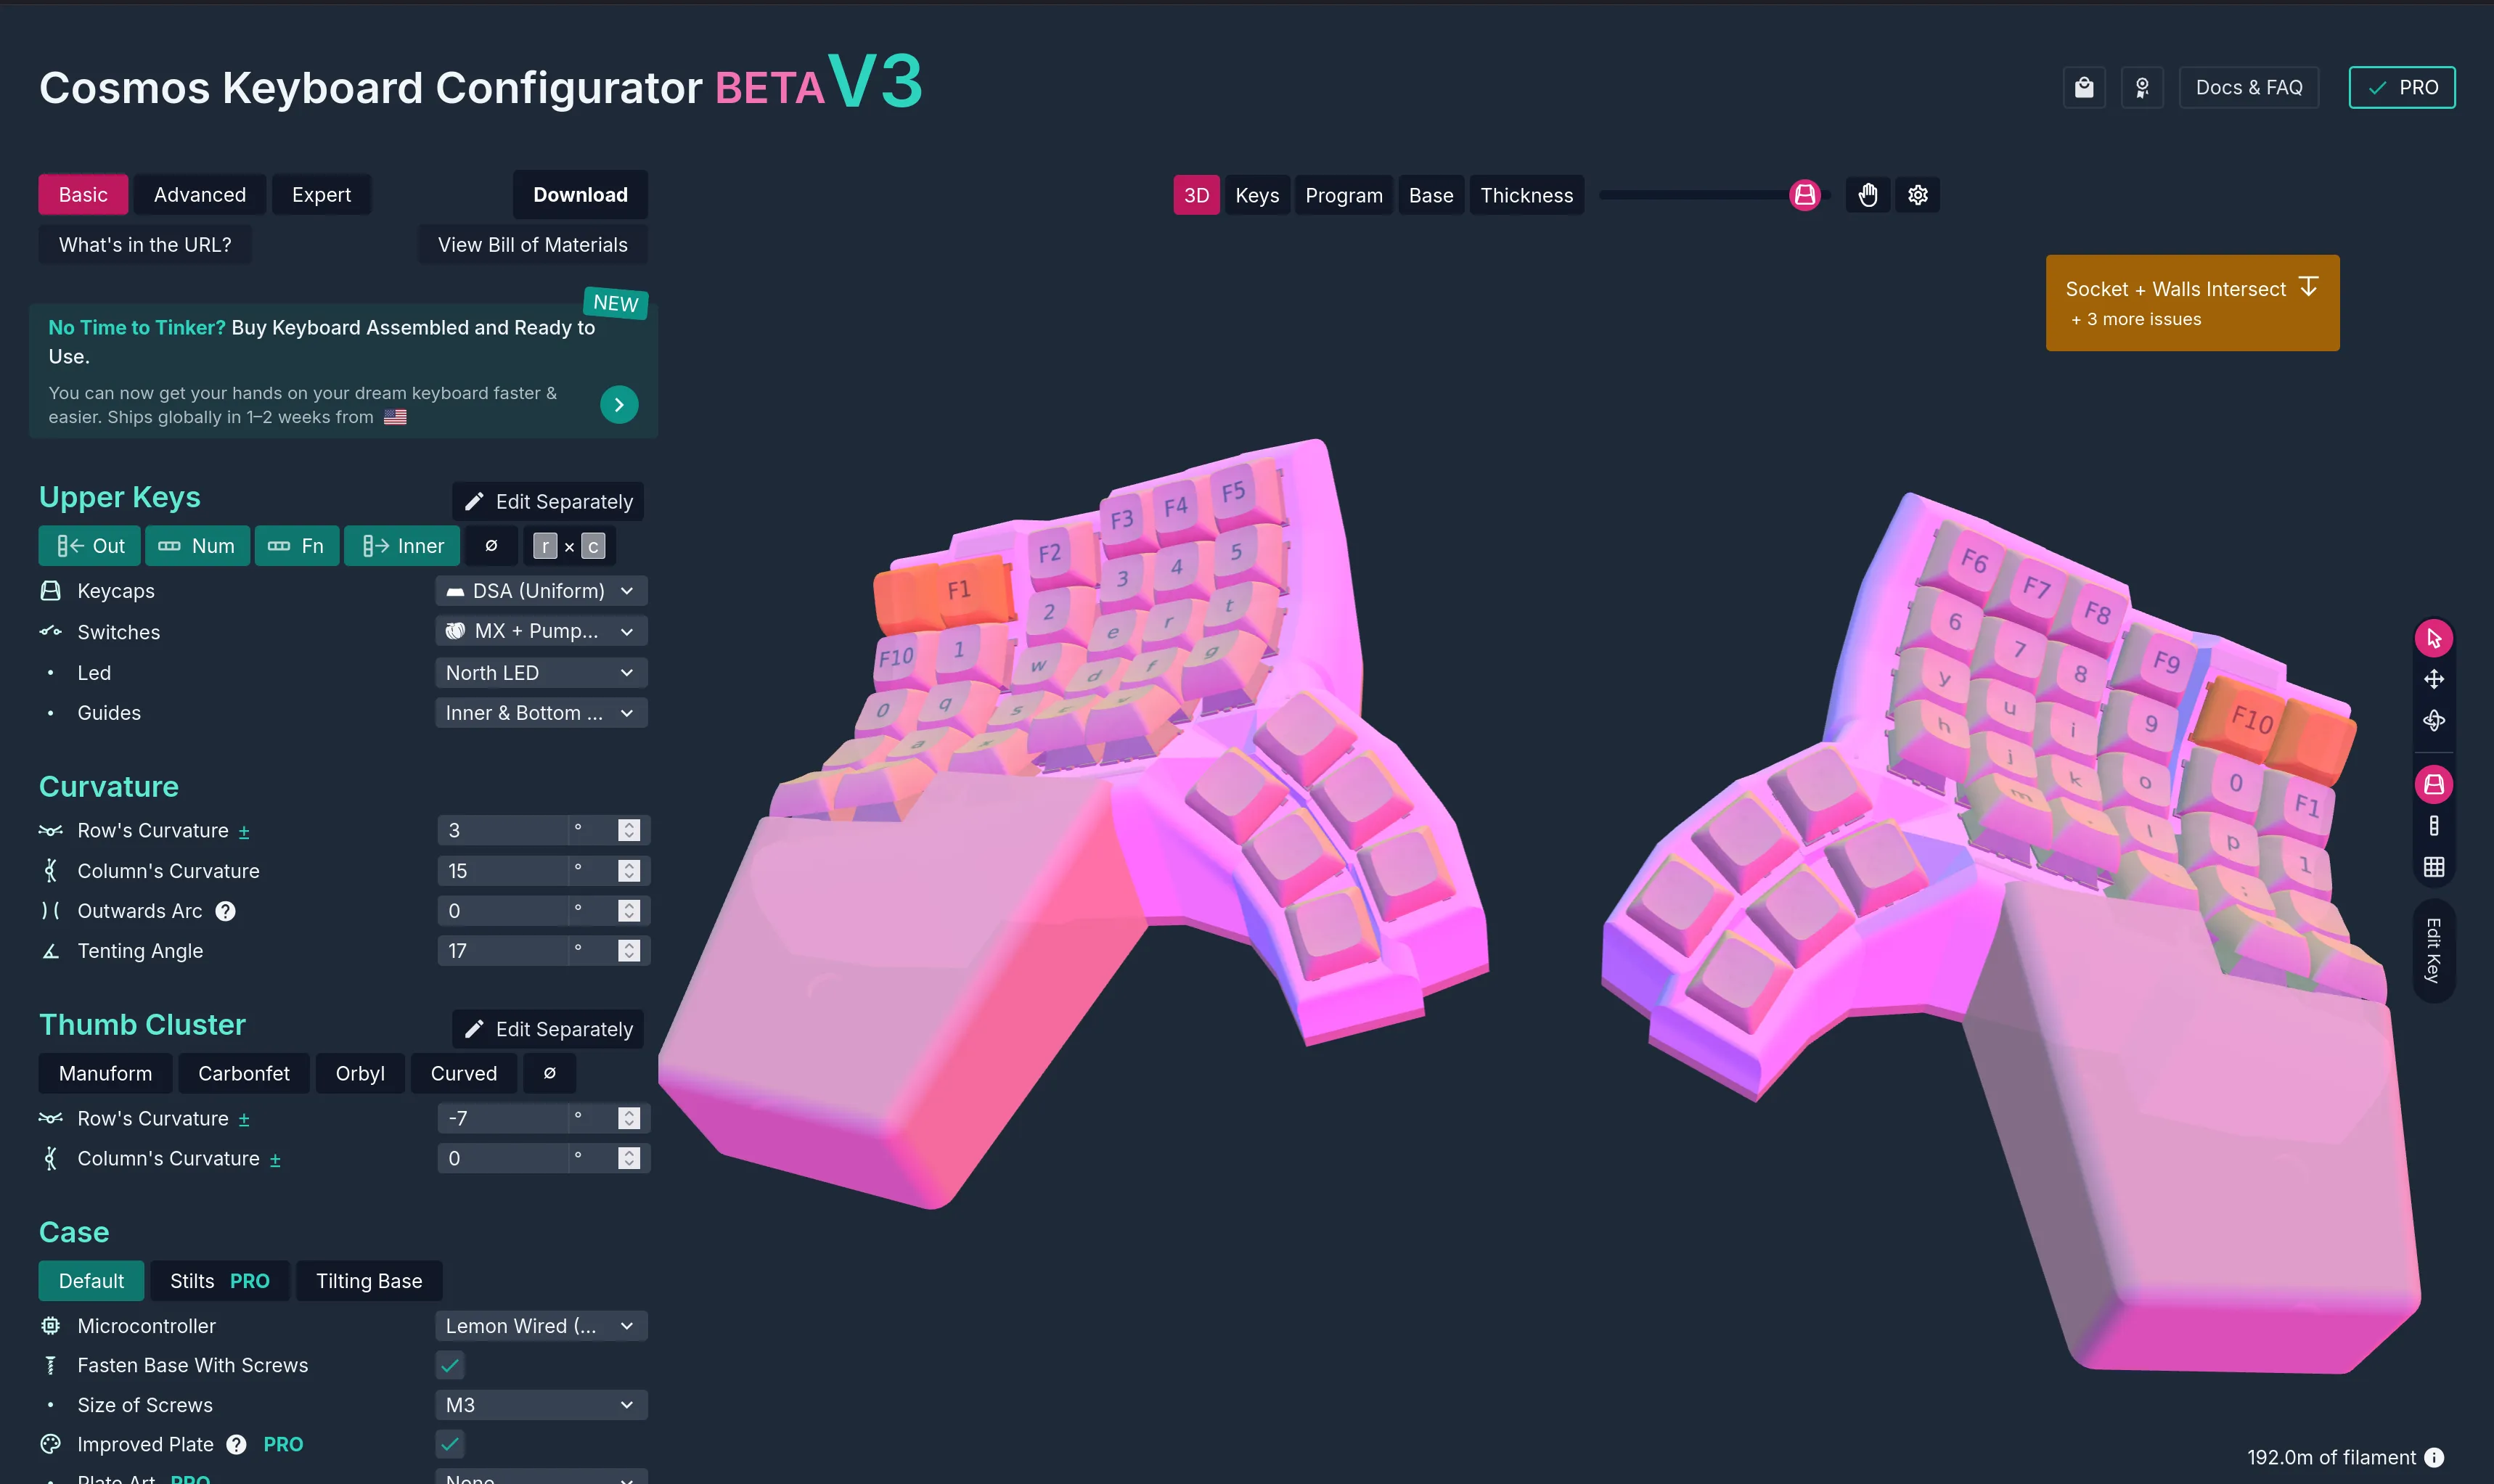
Once you’re done designing your keyboard, you 3D print the case and assemble it yourself.
Build parts
- 2x Cosmos Pumpkin Flex PCBs - no-solder PCB to connect your switches
- 2x Cosmos Pumpkin Vines - no-solder PCB extension to connect more / hard-to-reach switches
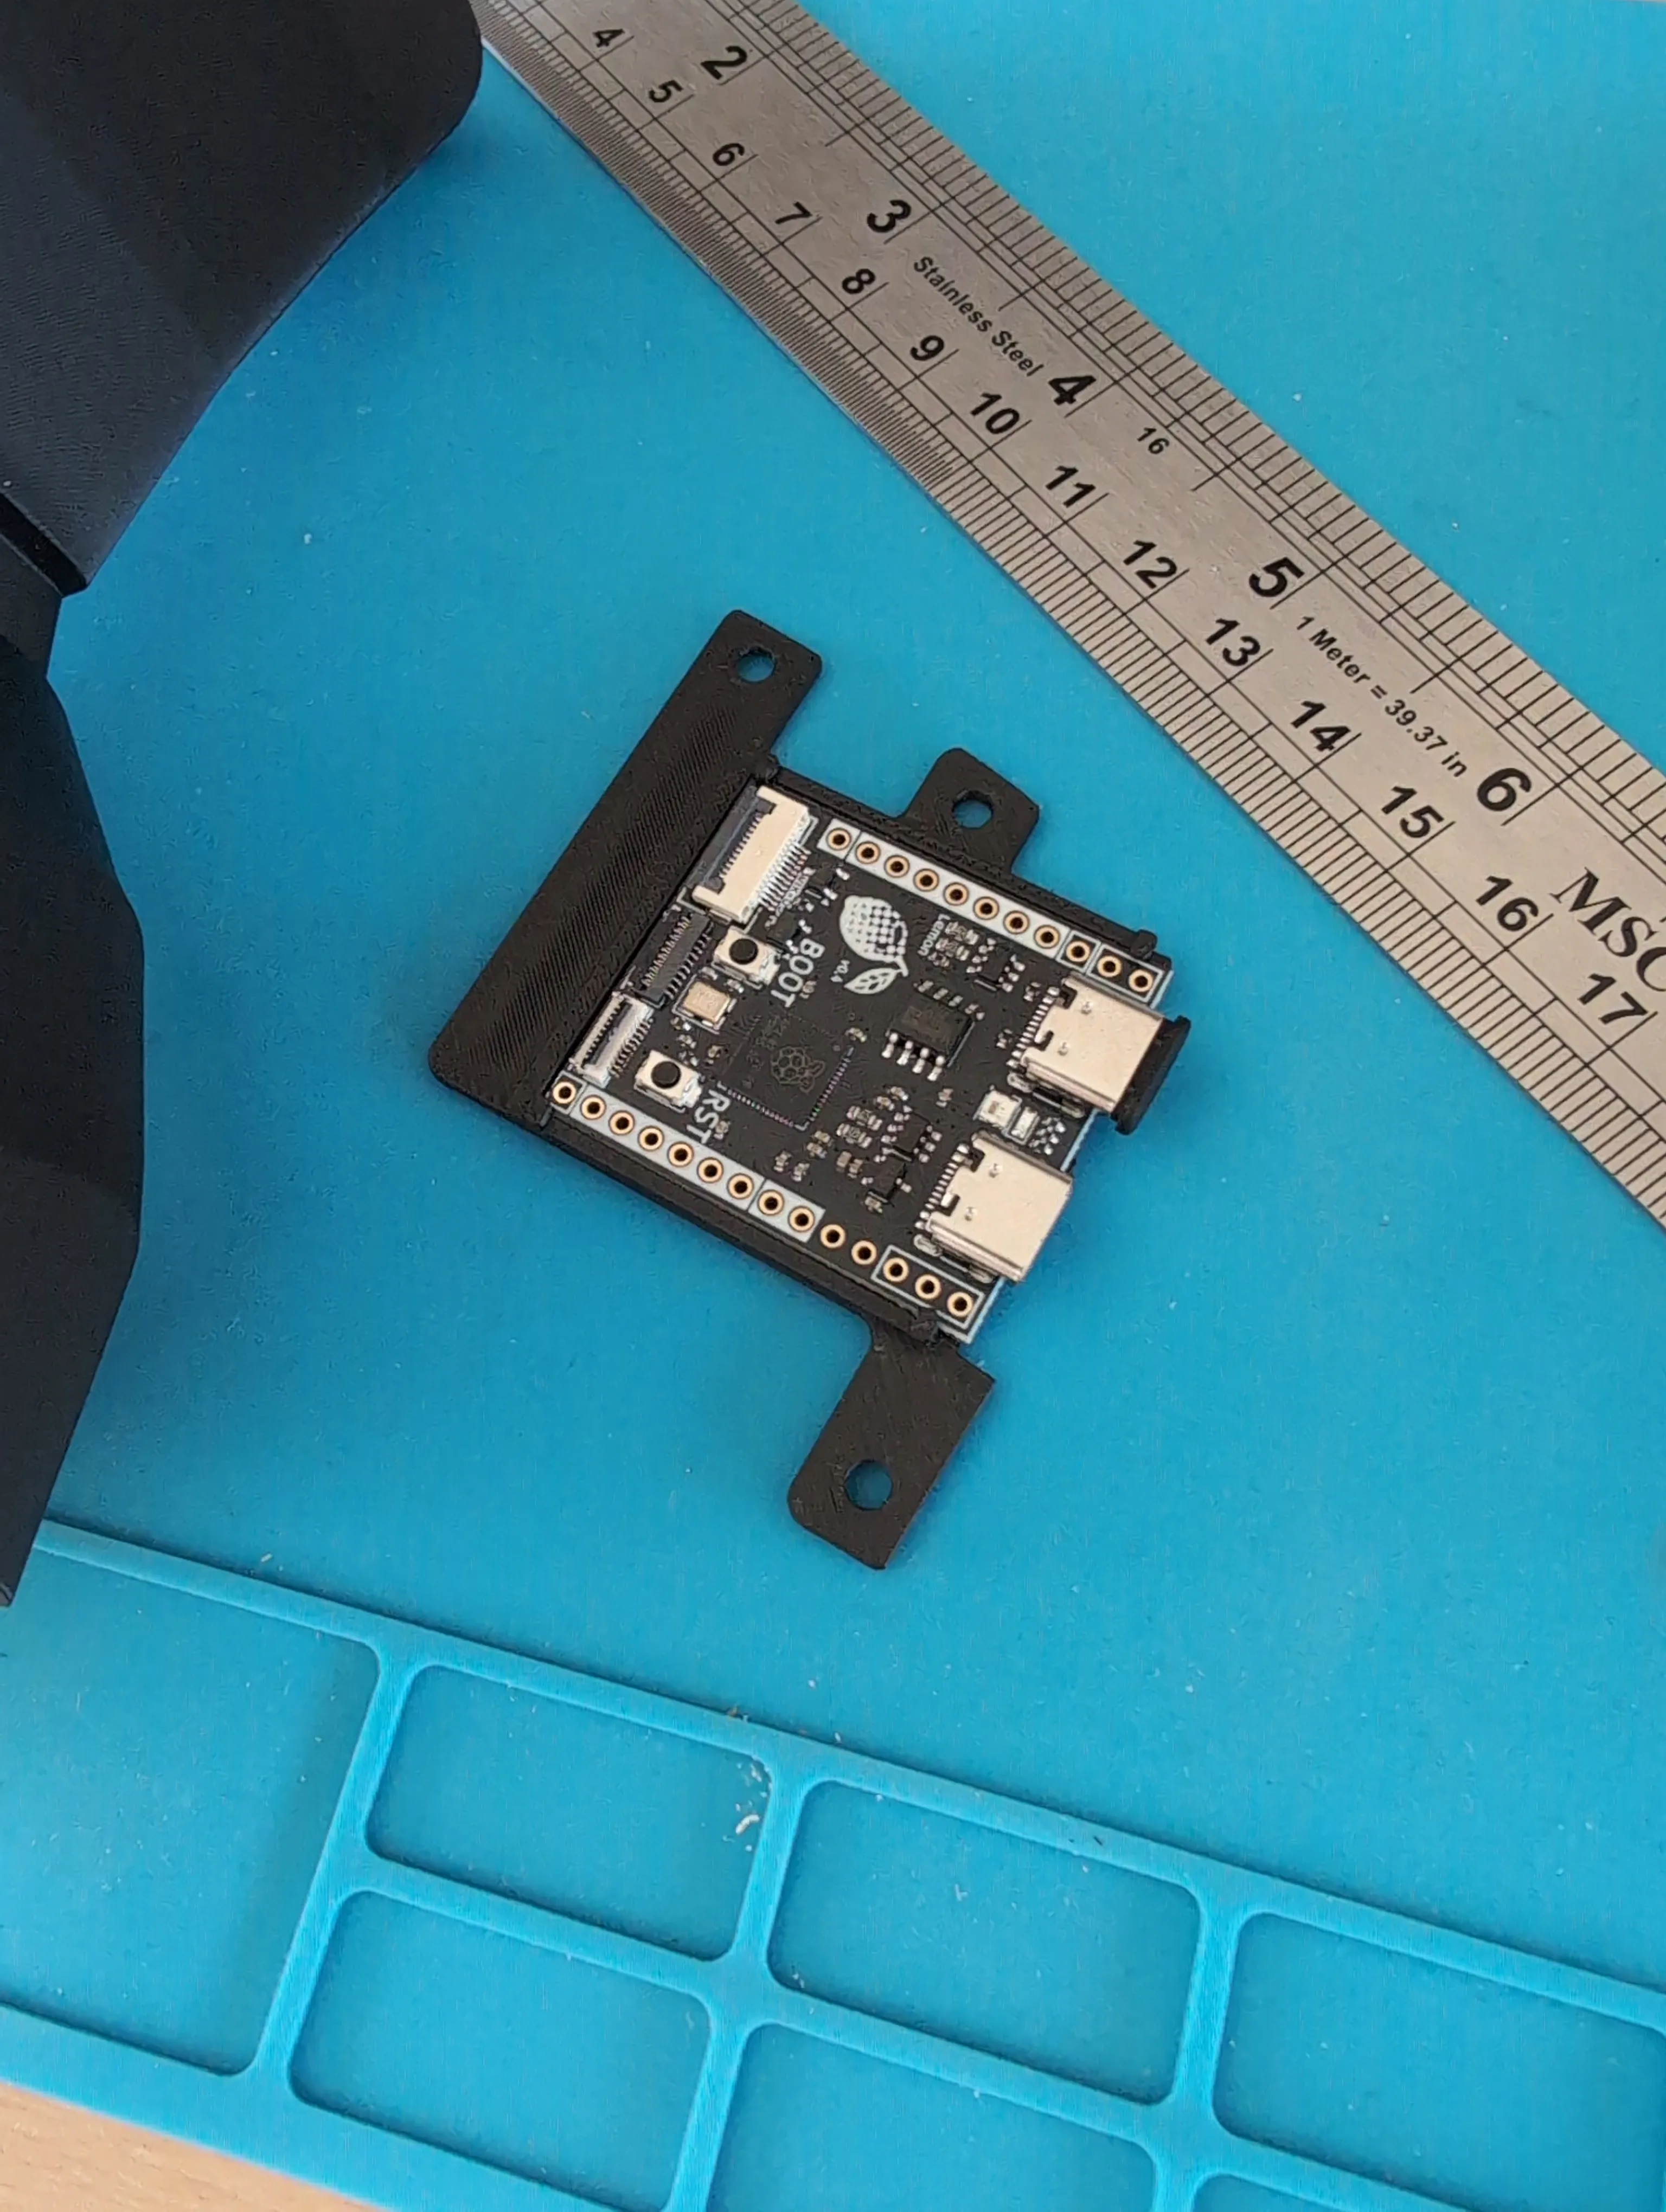
- 2x Cosmos Lemon Wired Boards - uses QMK firmware
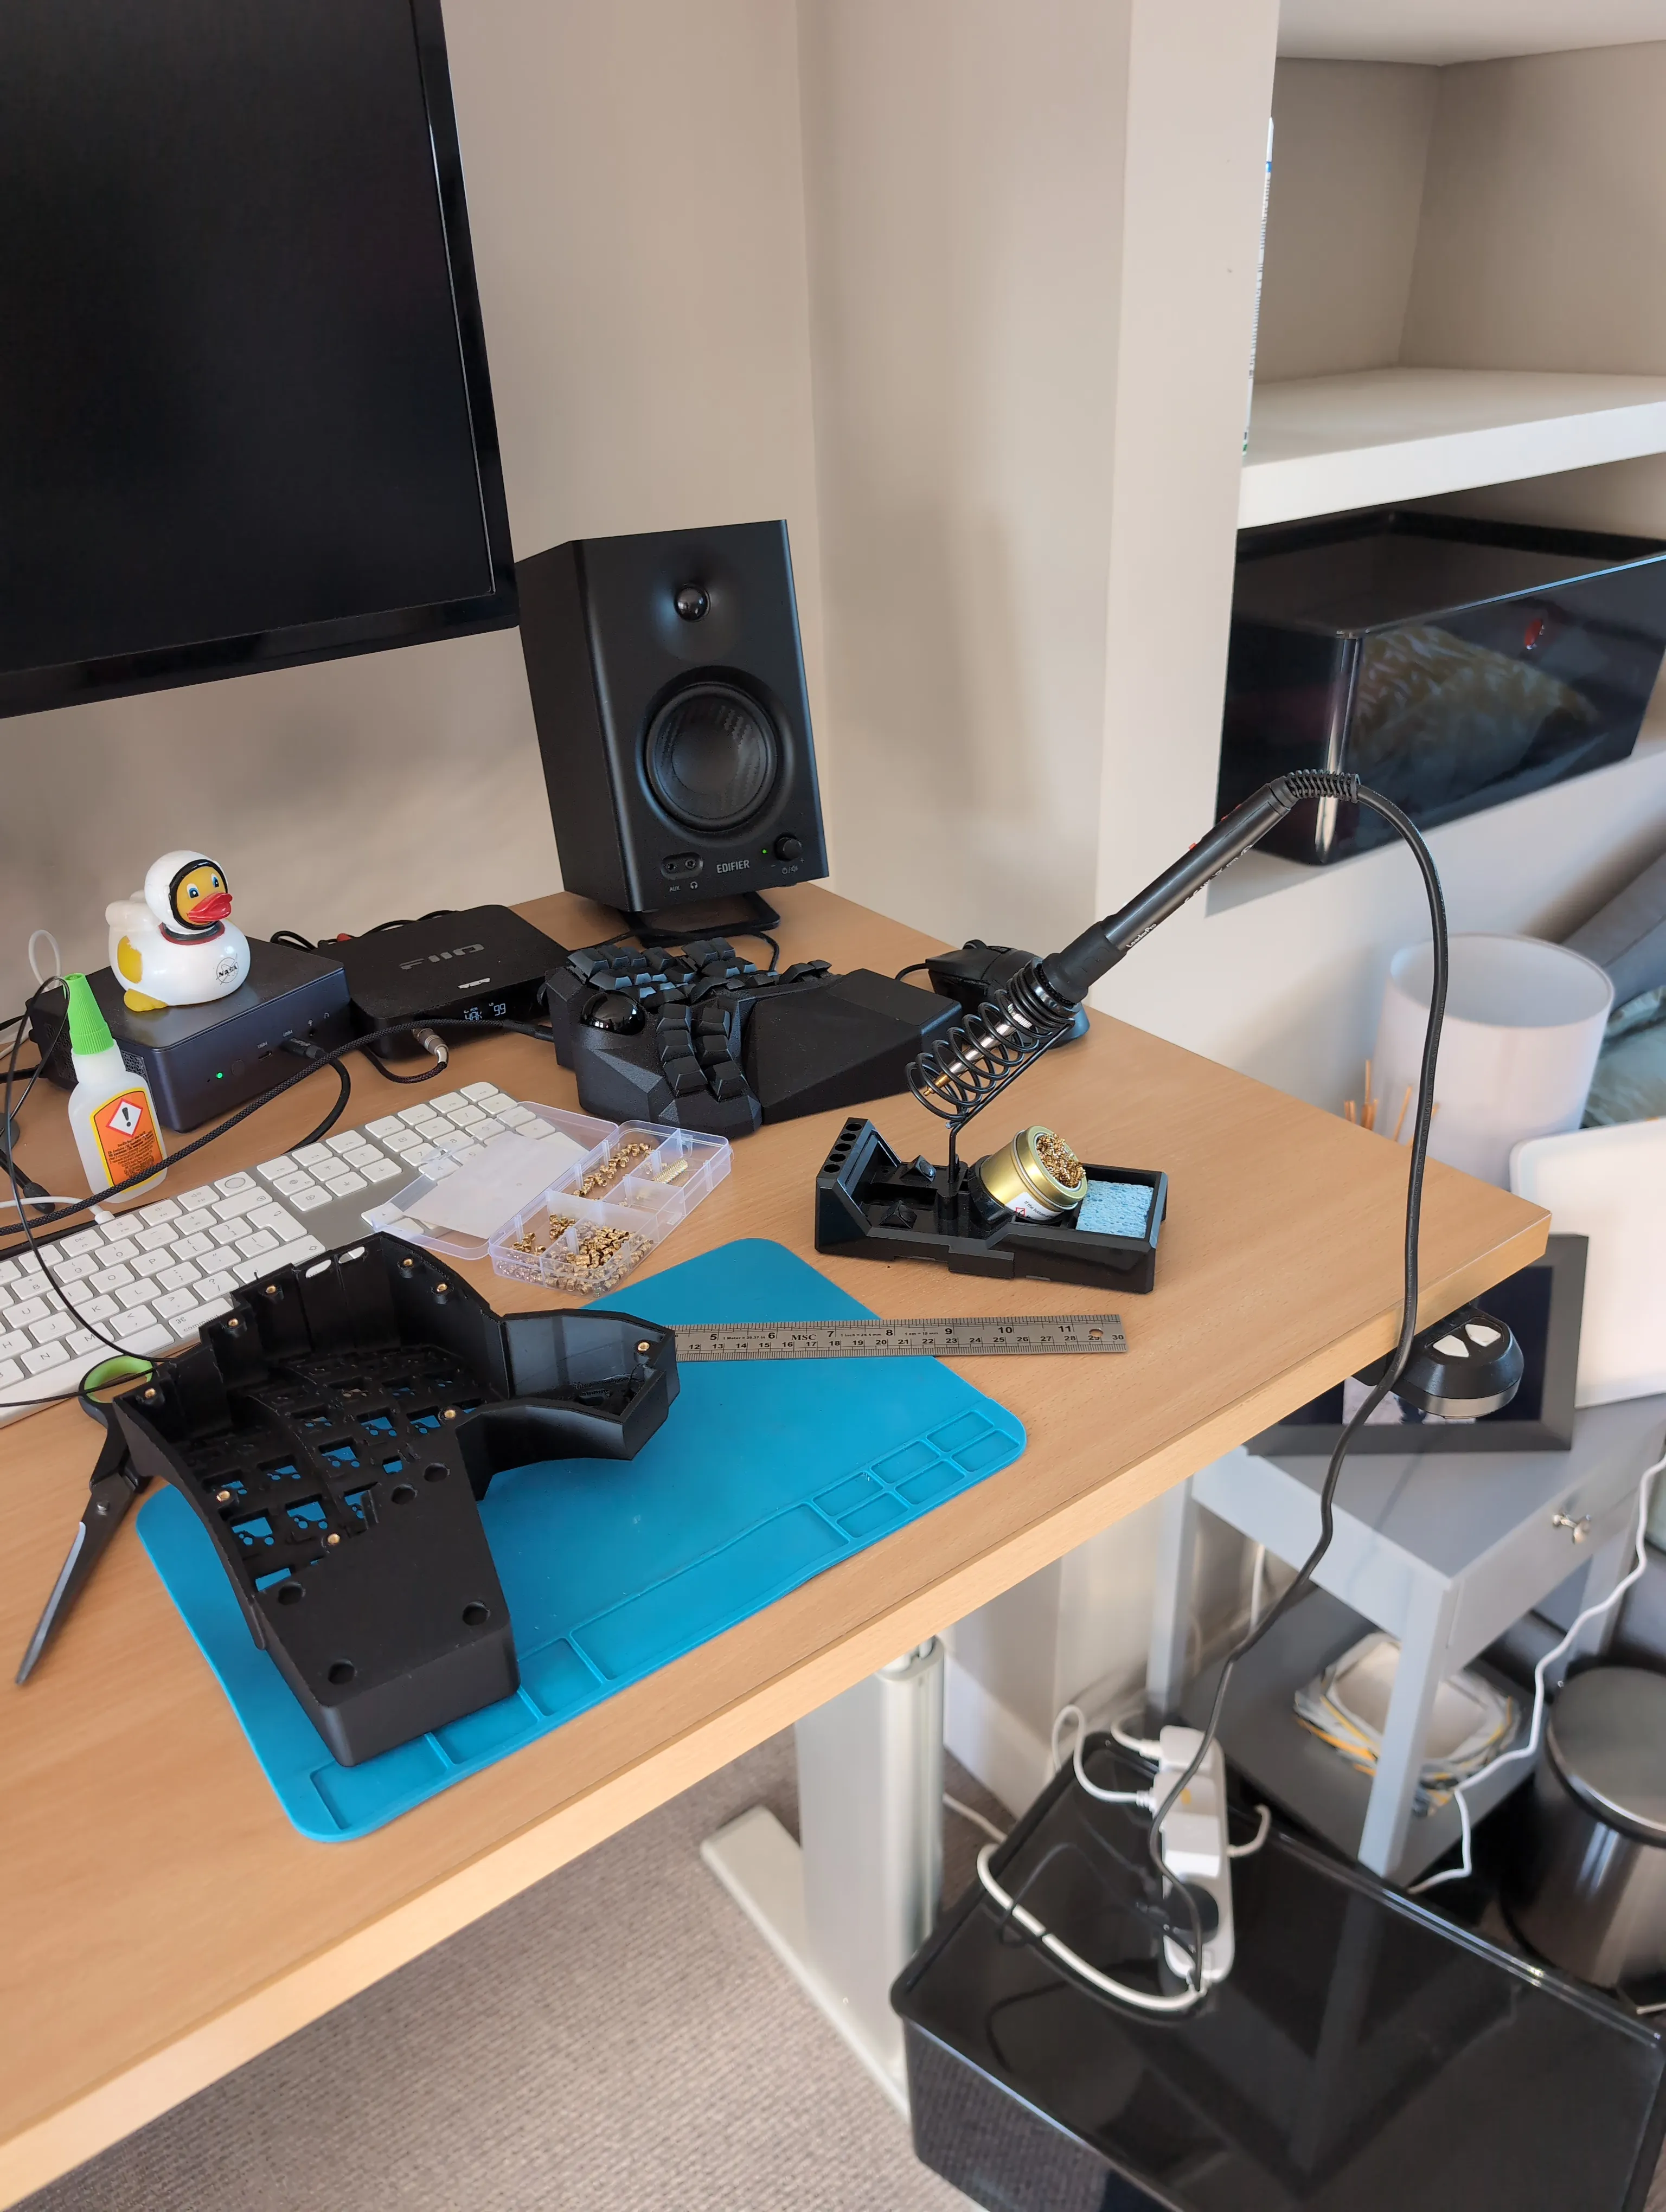
- 20x M3 heat-set inserts (you melt these into the case with a soldering iron)
- 16x M3x8 countersunk flat-head screws (slightly too long, but fine)
- 20x rubber/silicone feet (8mm wide, 3mm depth)
- Self-adhesive motorcycle wheel balance weights to add weight
- 70x MX switches (Gazzew Black Boba U4 62g)
- 70x 1u DSA keycaps (2 homing, with bumps)
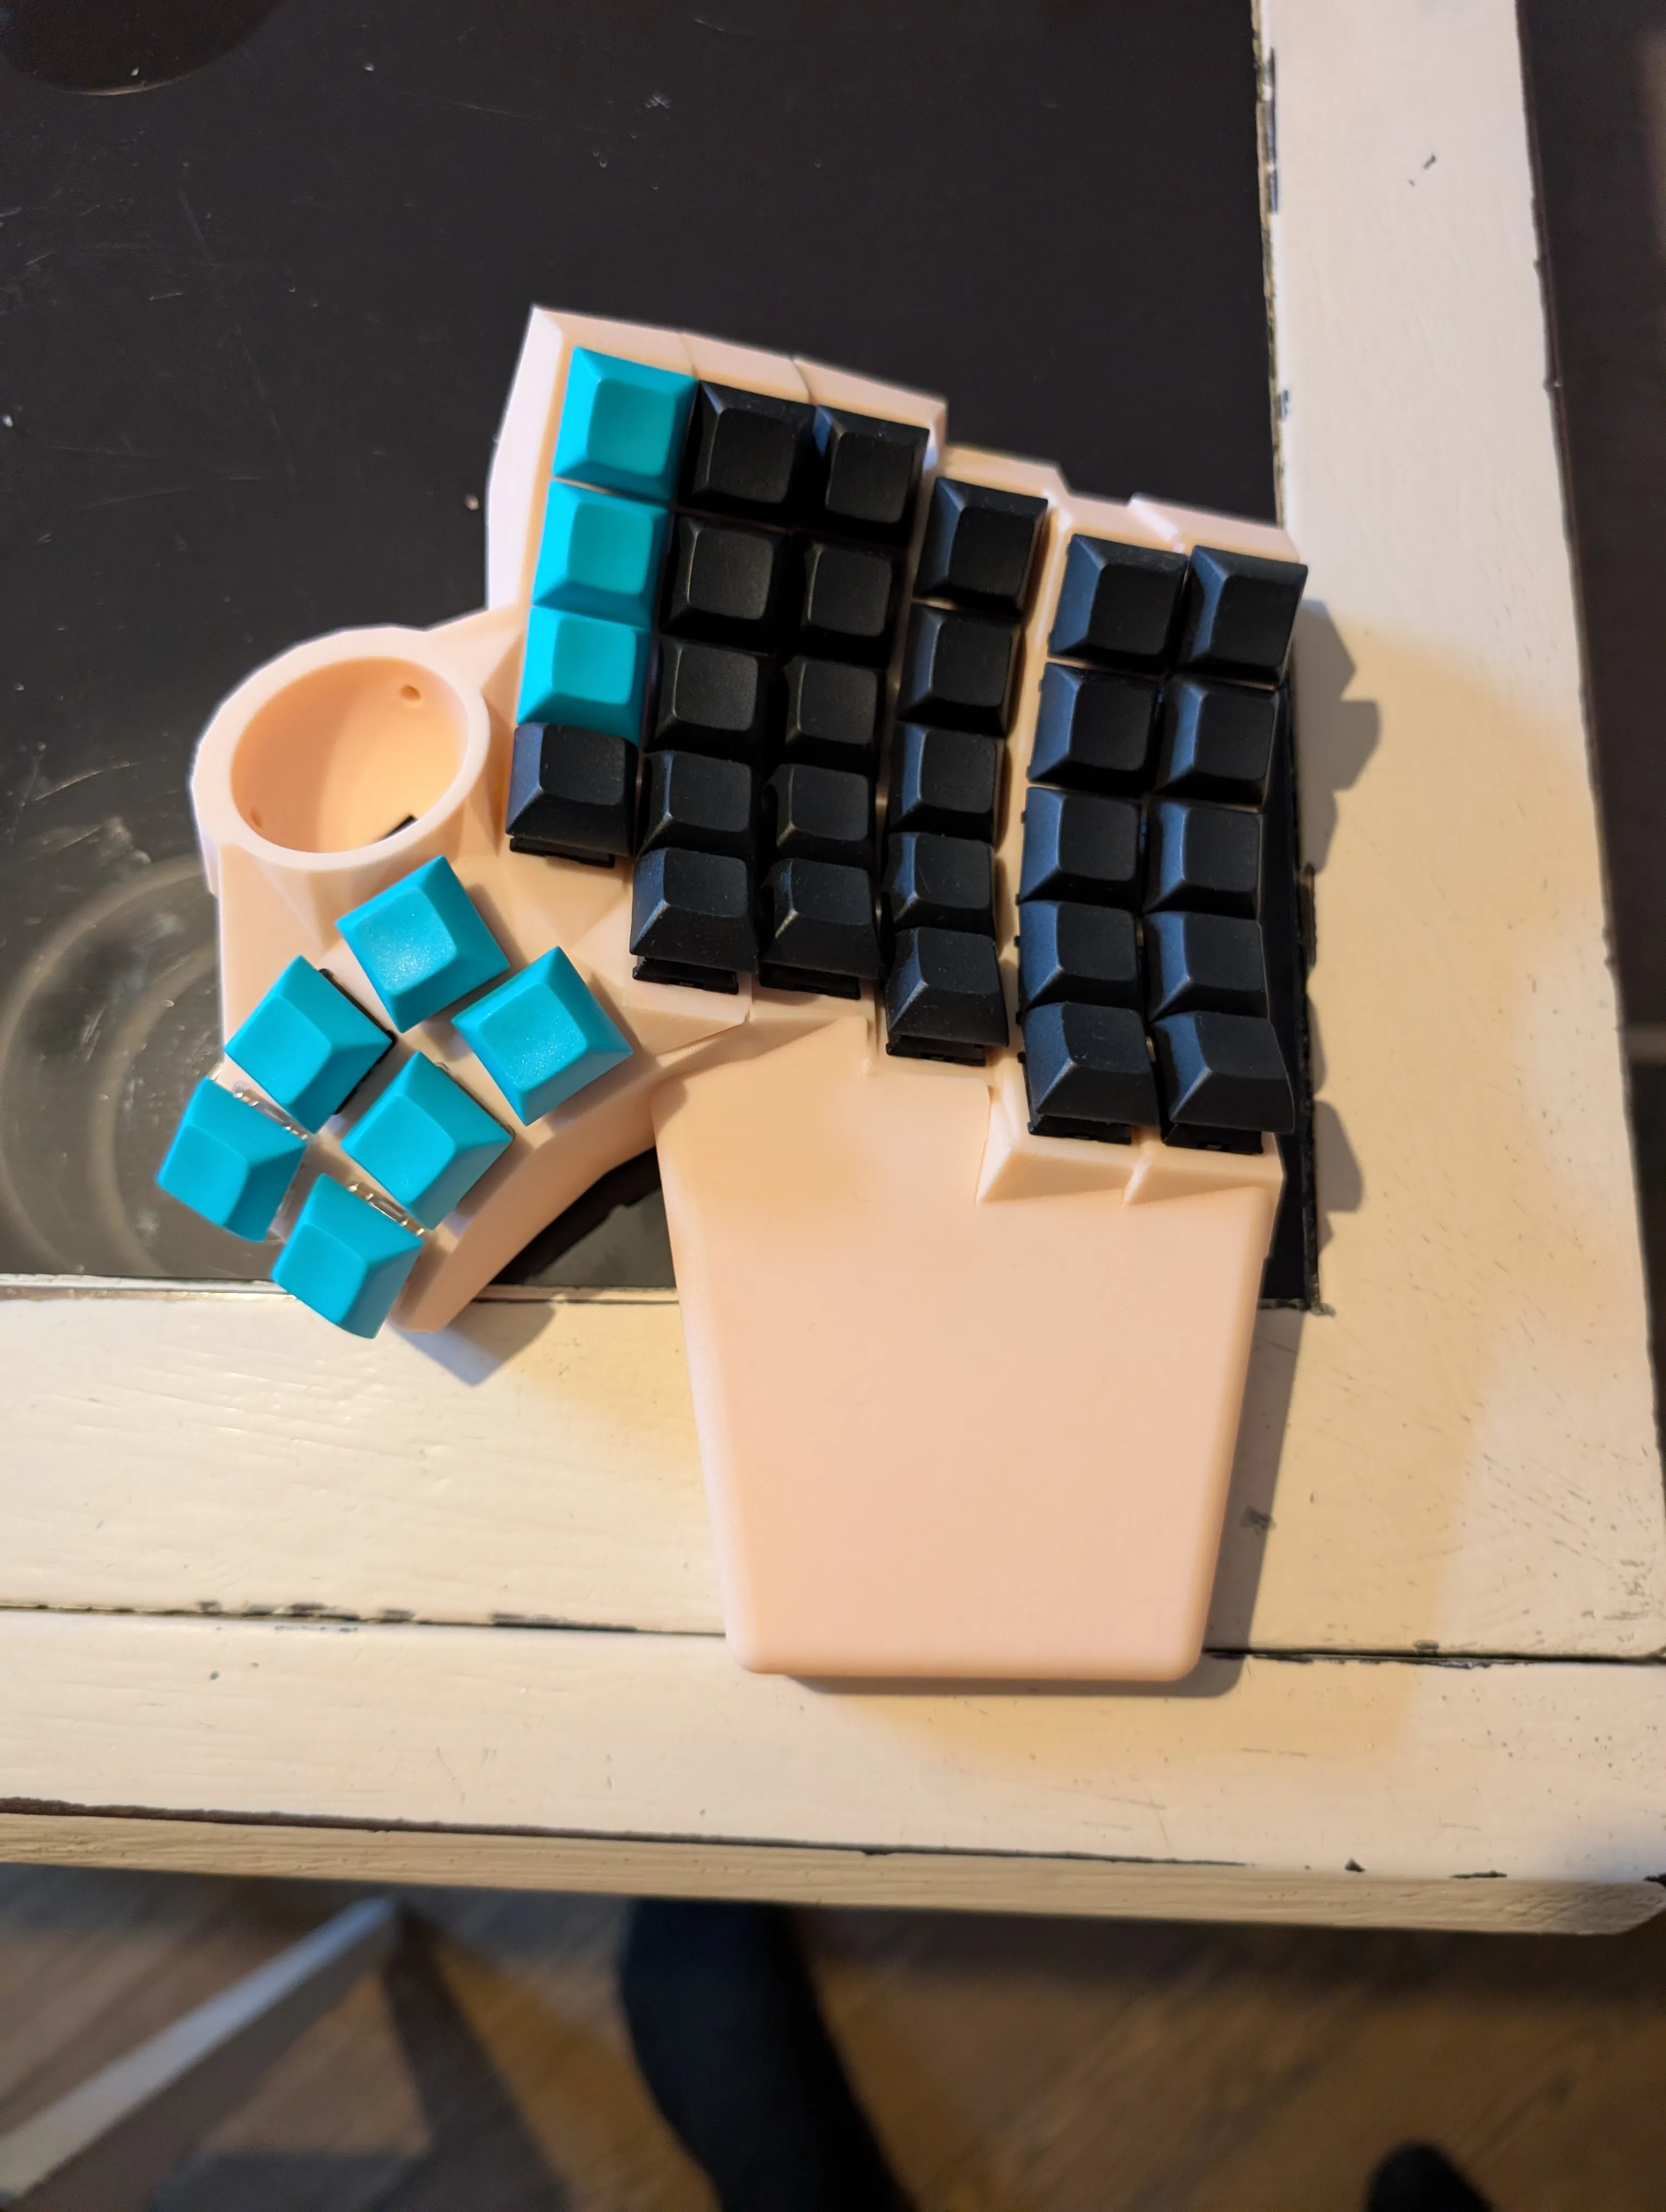
Modeling the keyboard
For me this involved recreating the, already perfect, layout of my Cyboard Imprint.
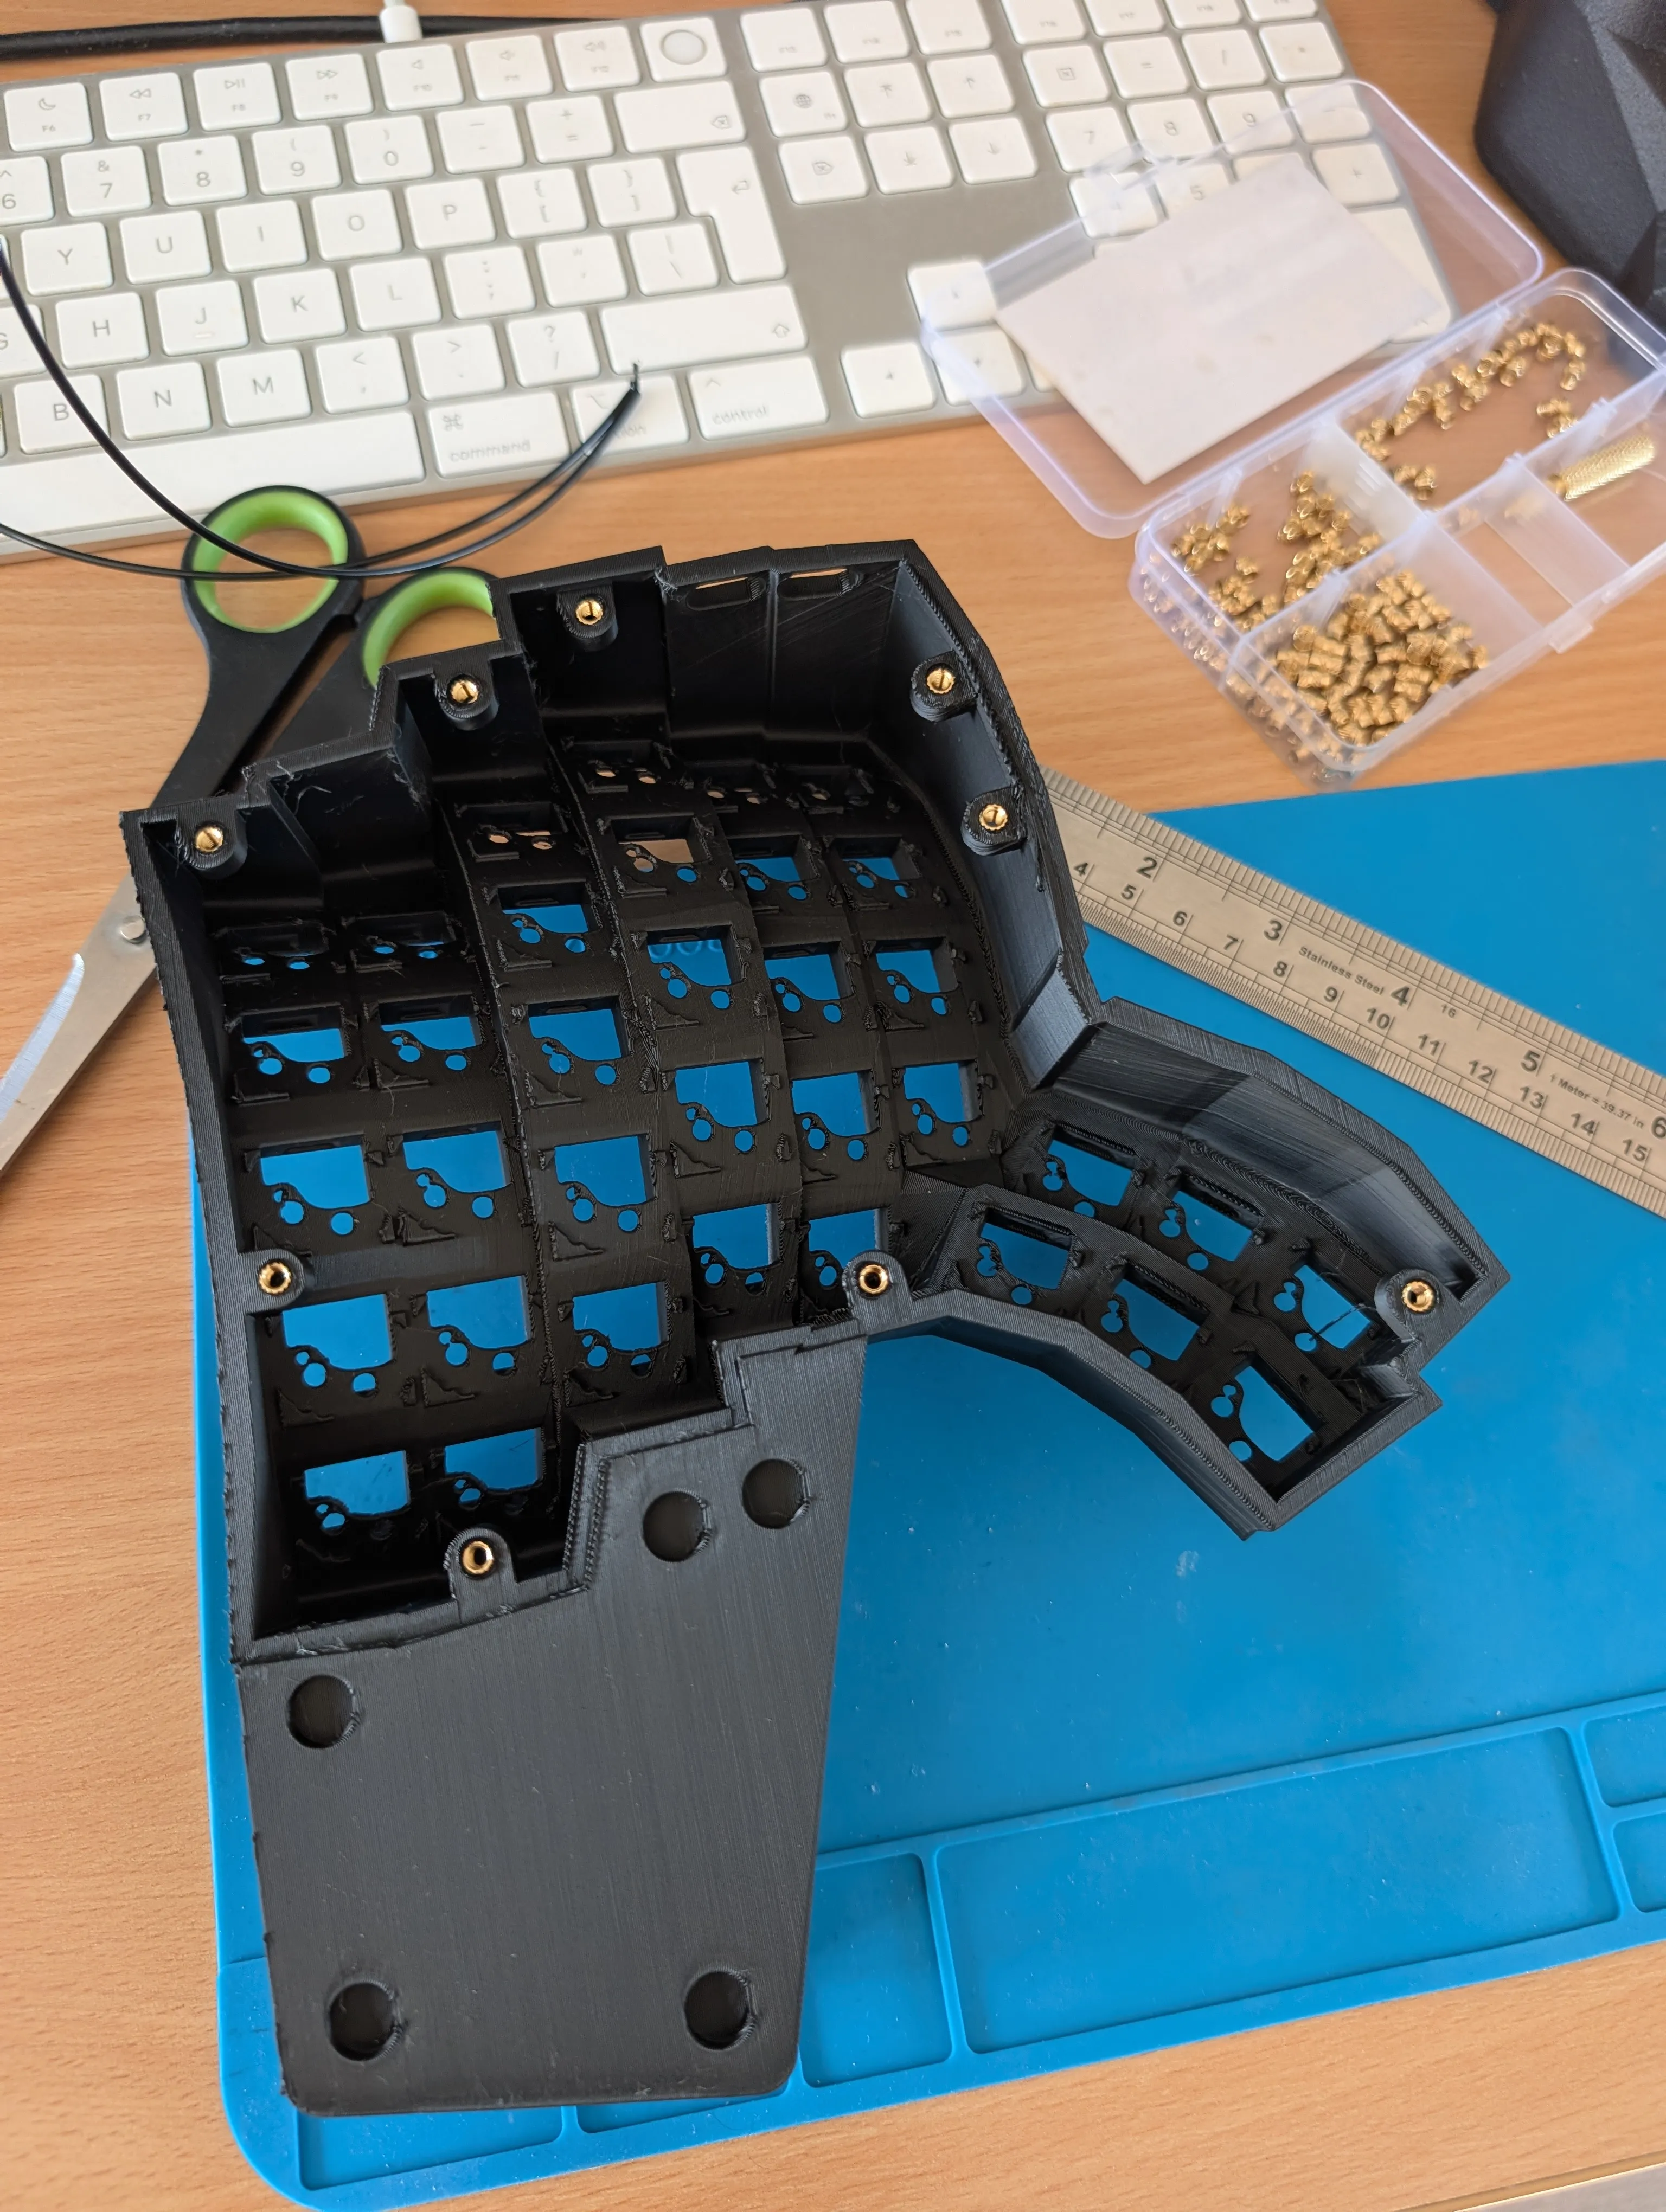
Here’s the finished model.
The Cosmos editor is still in beta and has a learning curve.
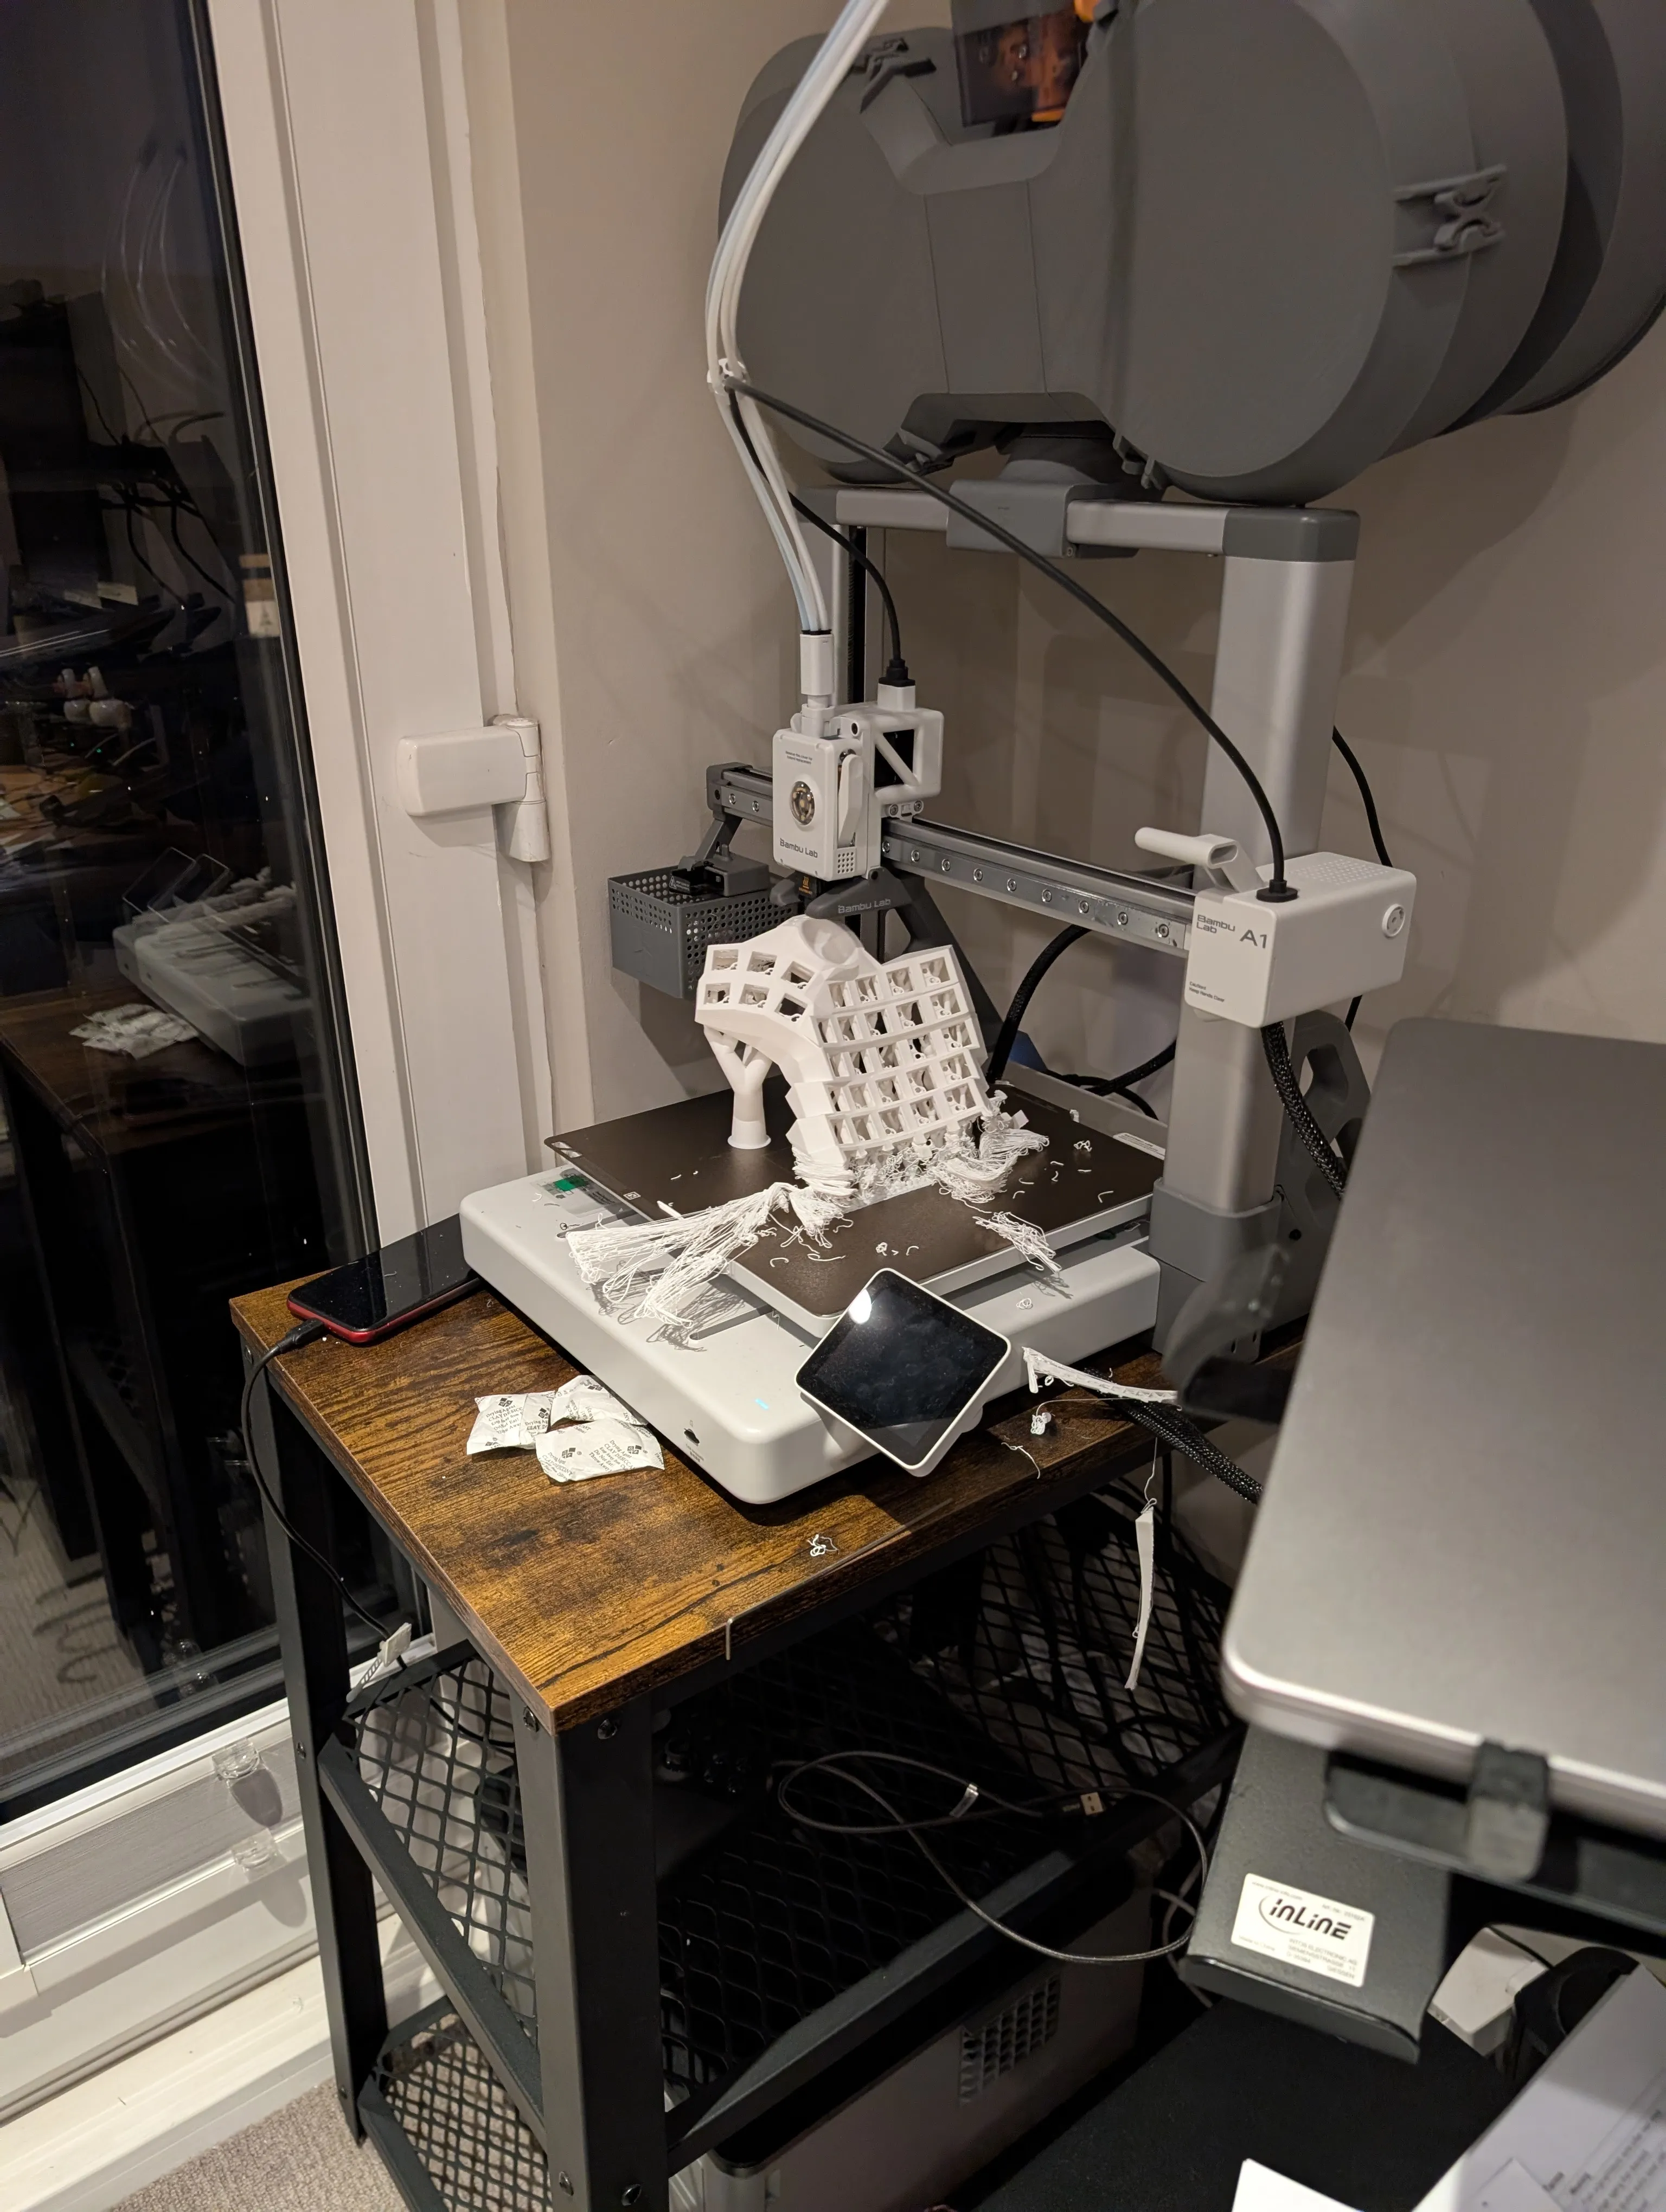
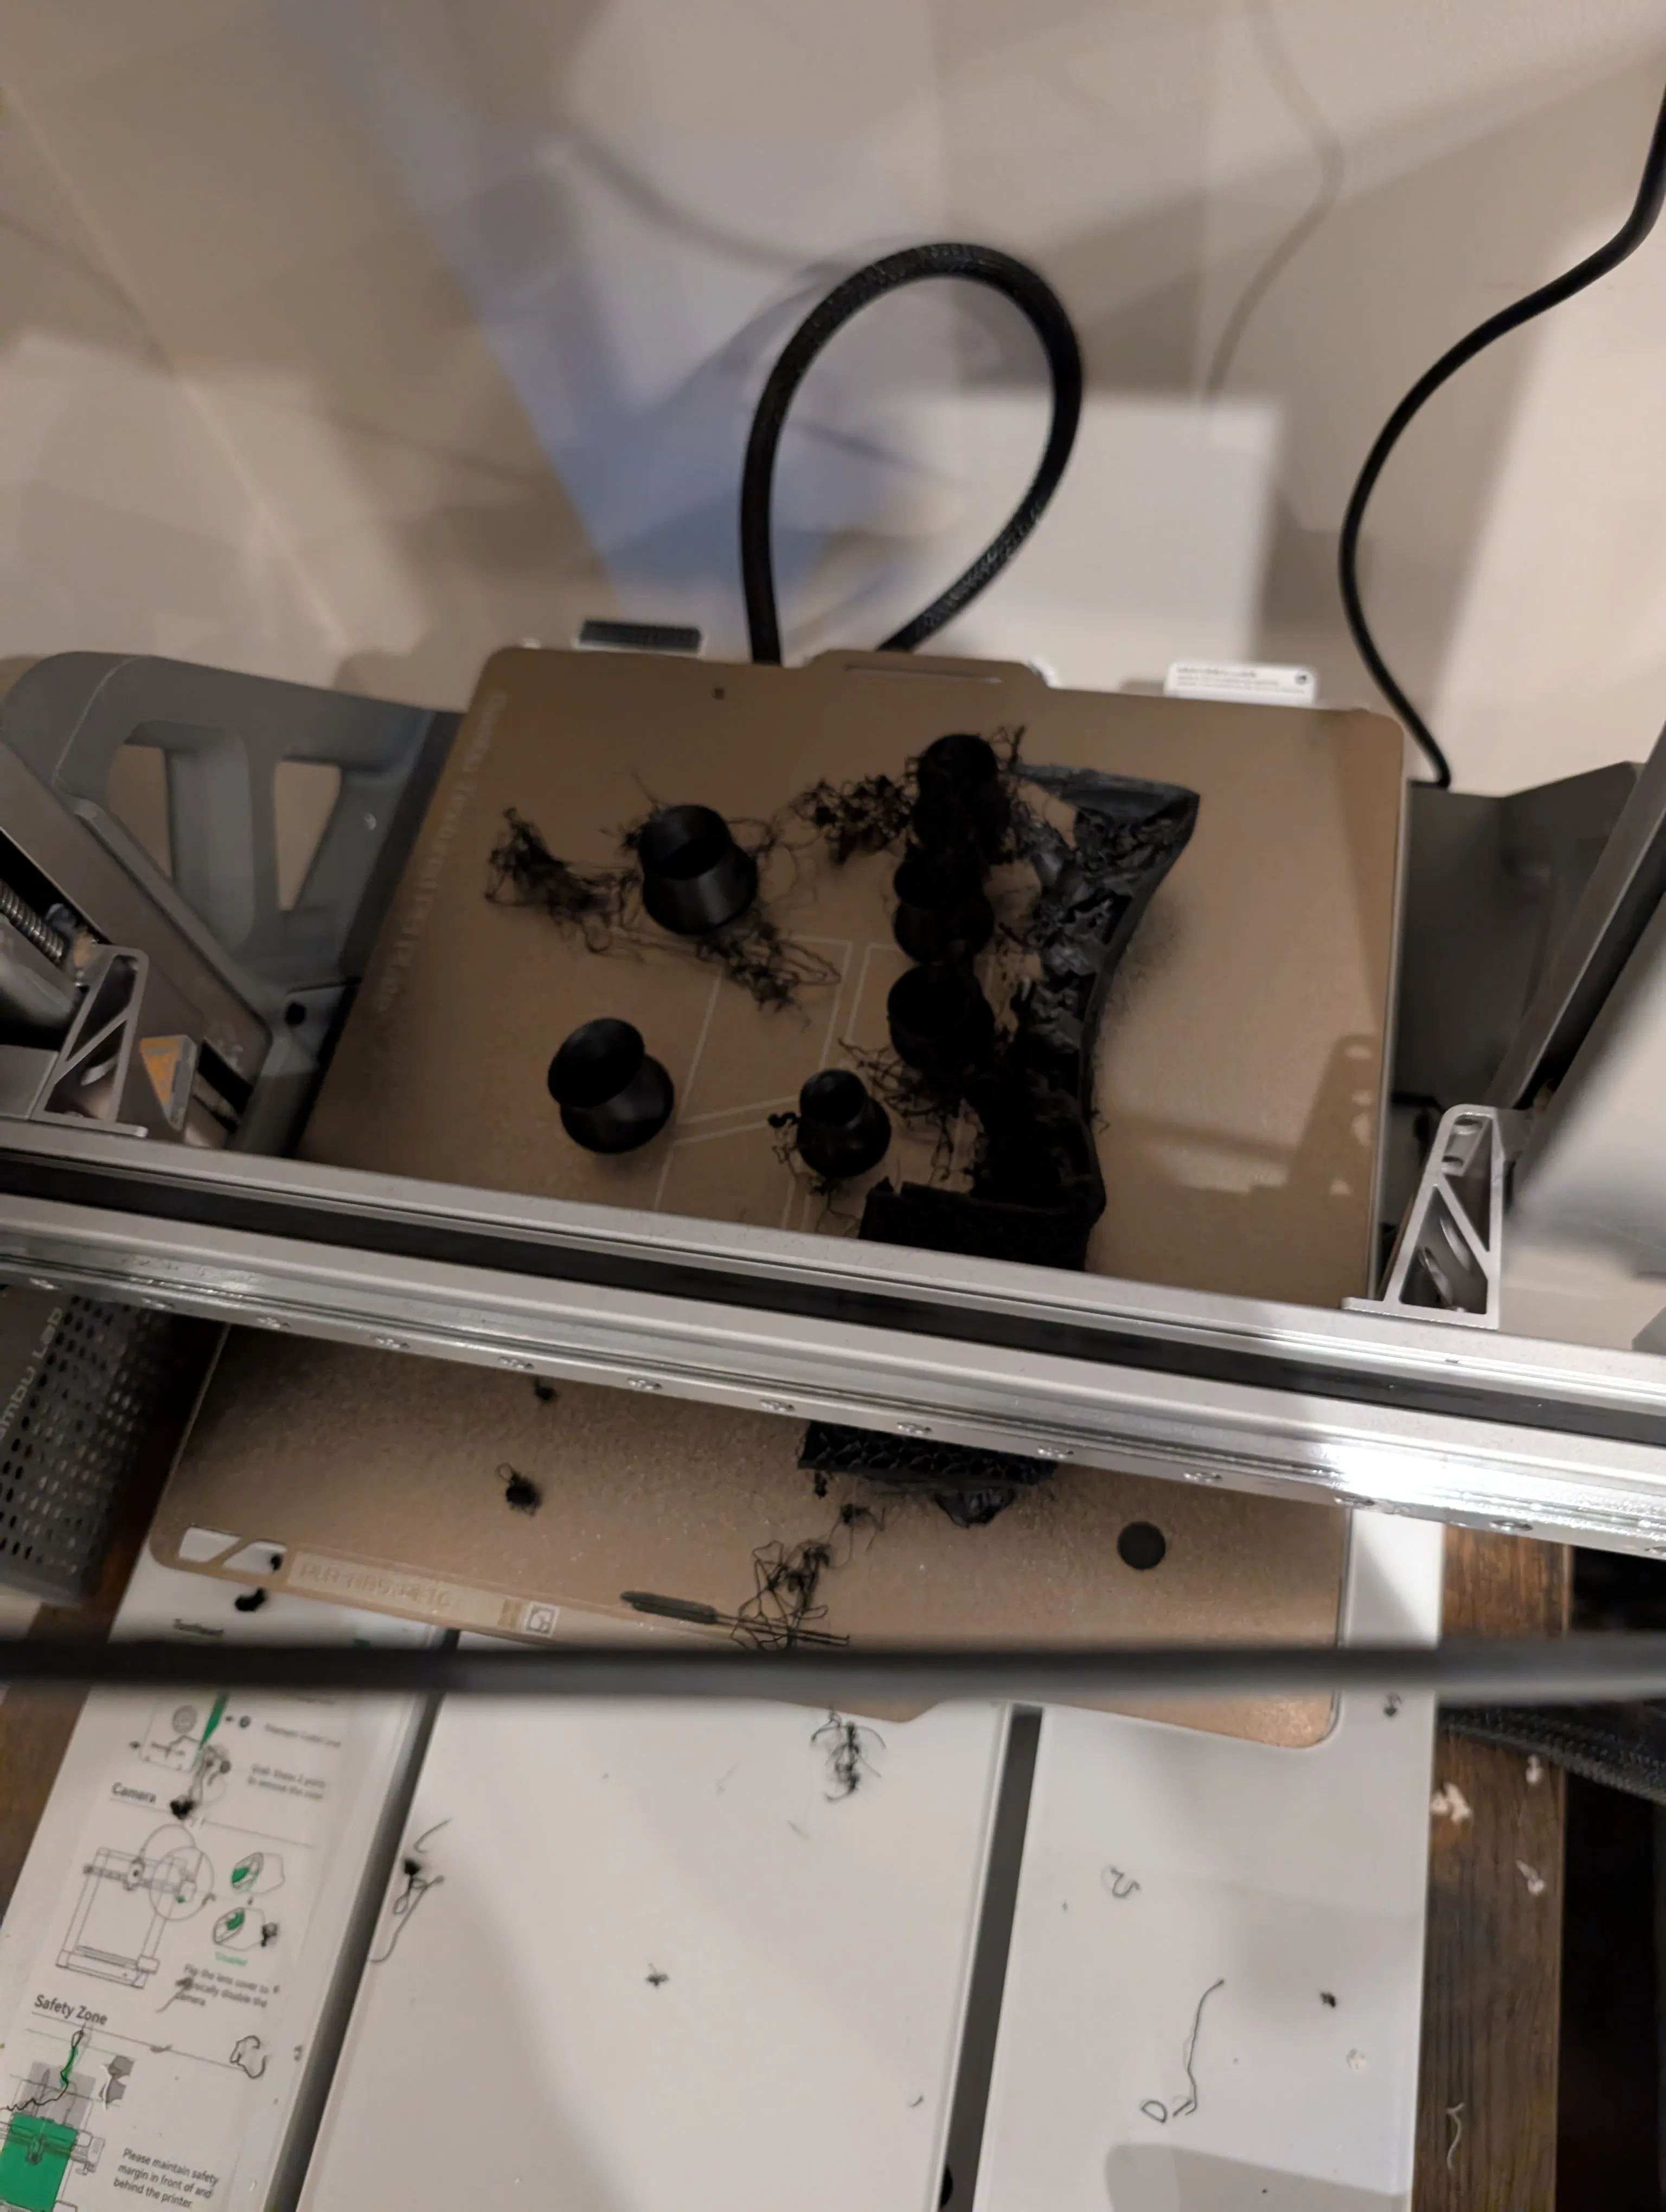
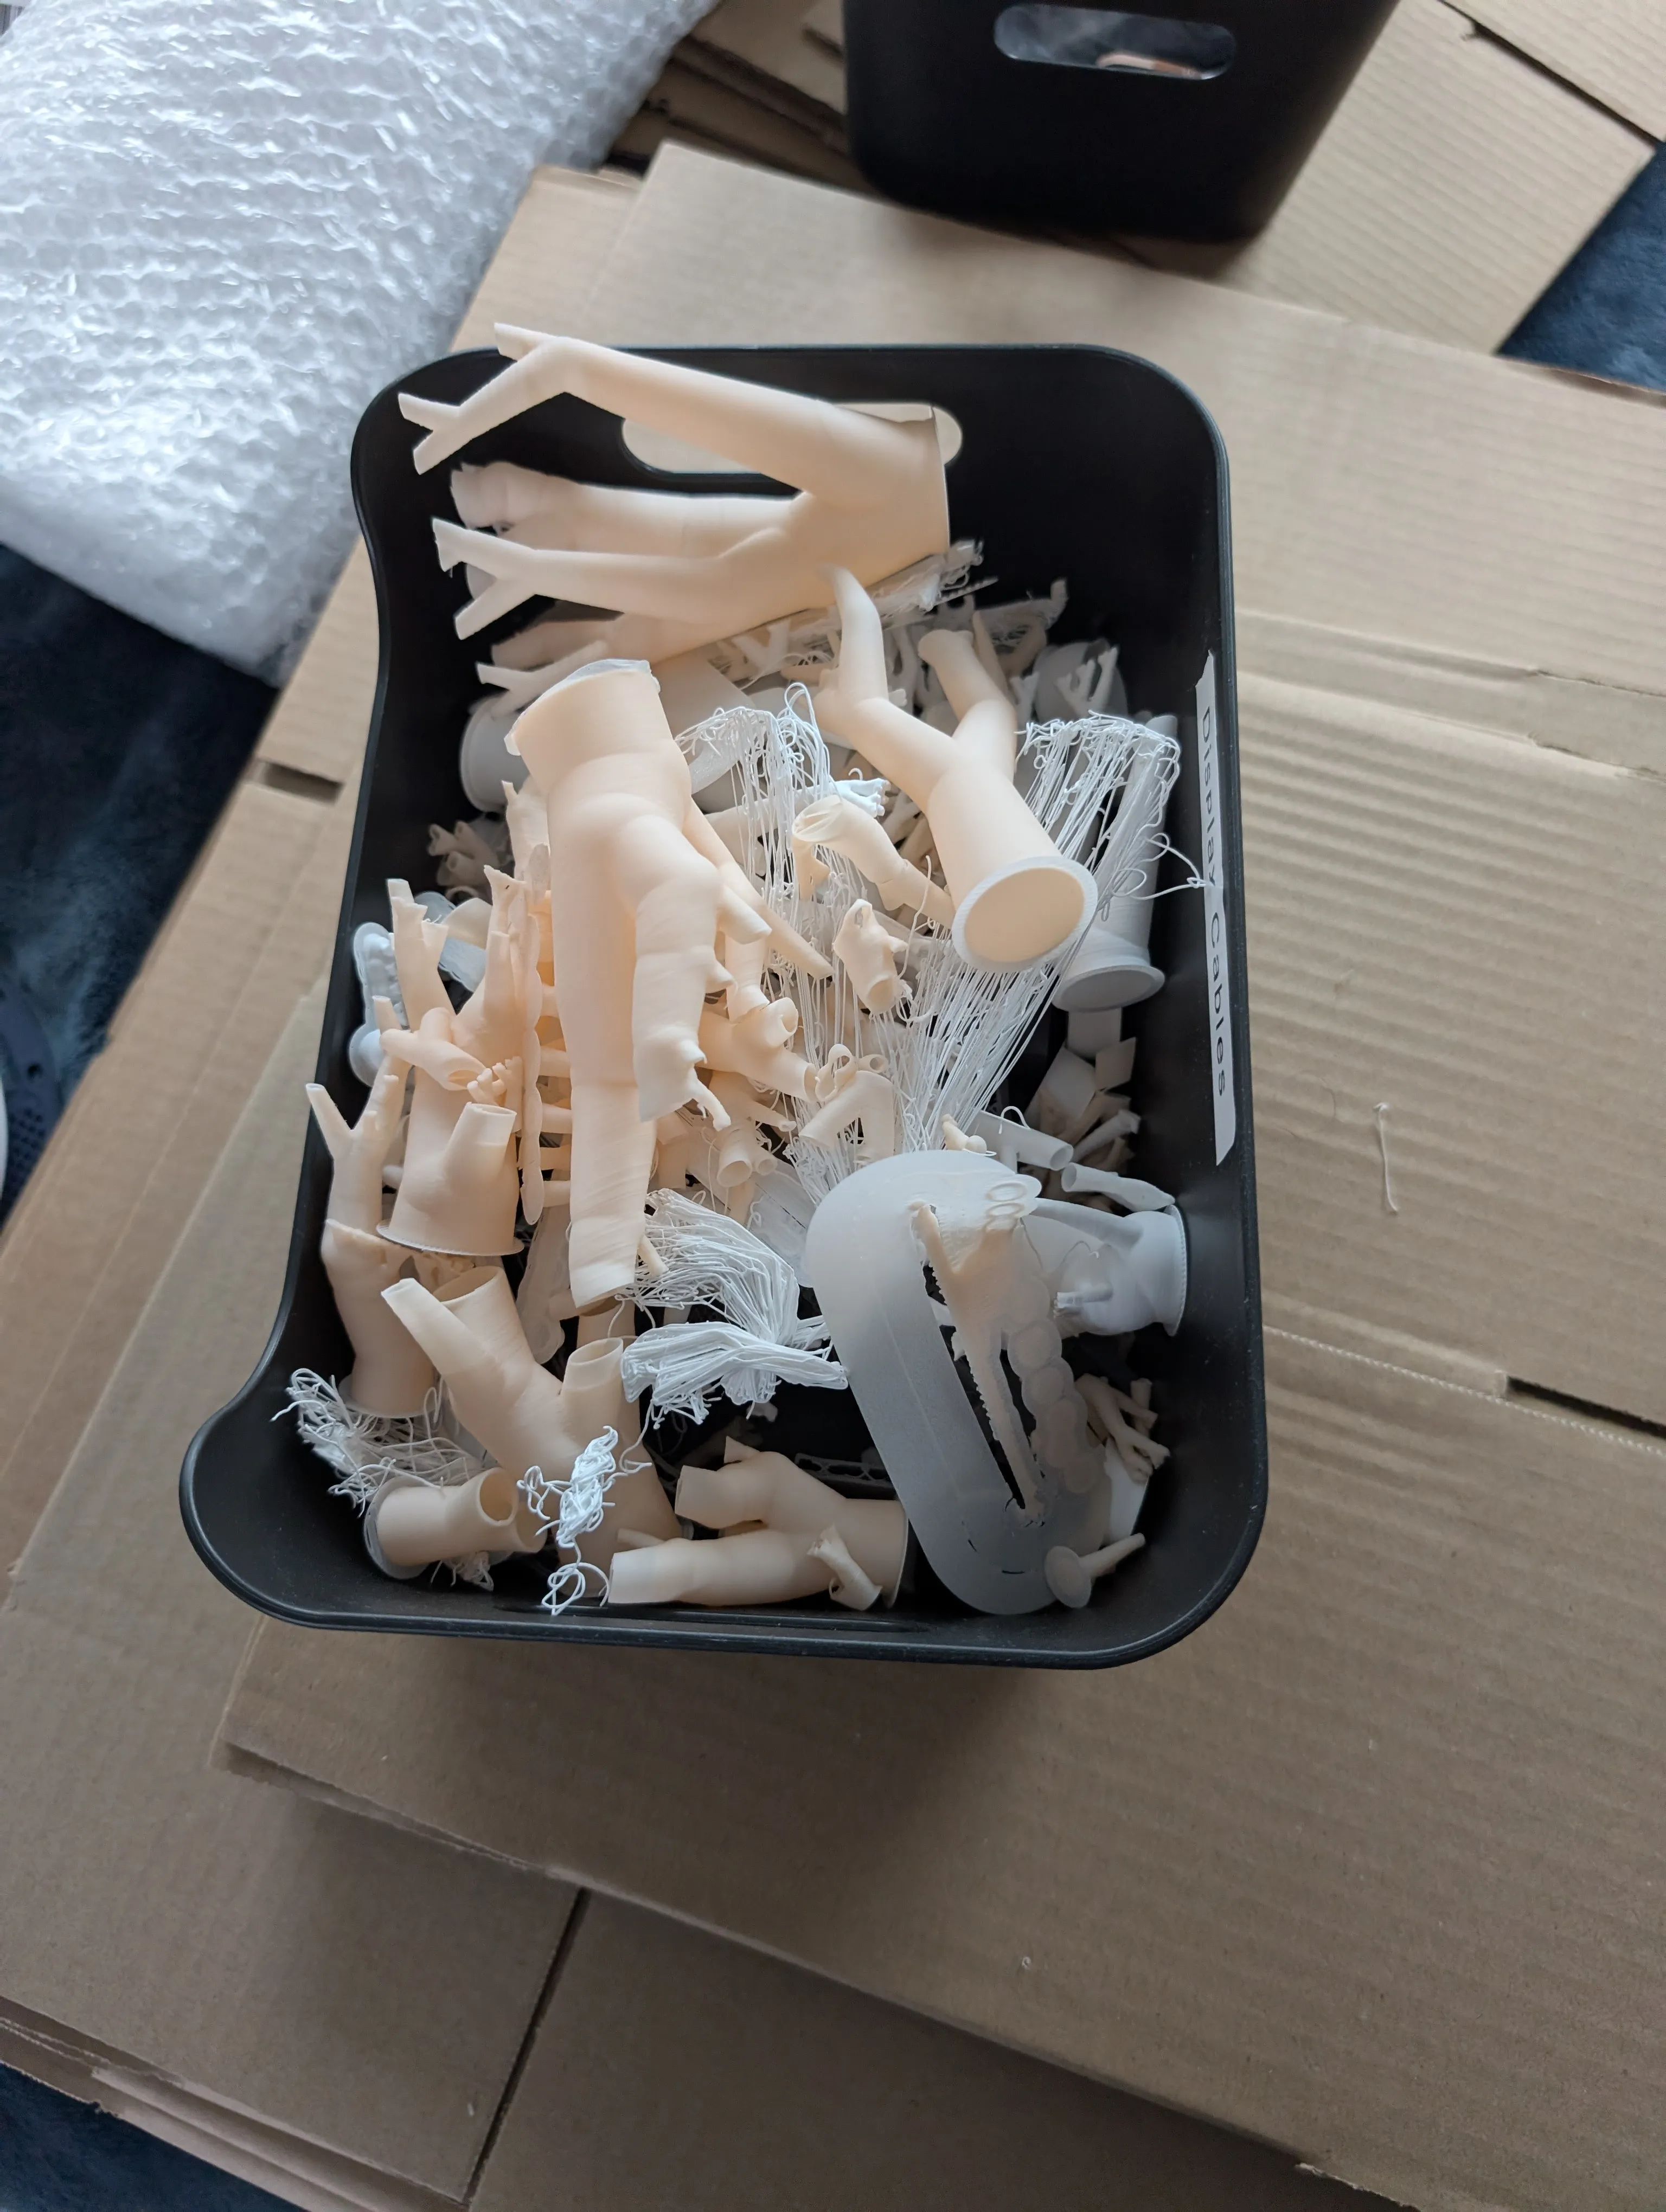
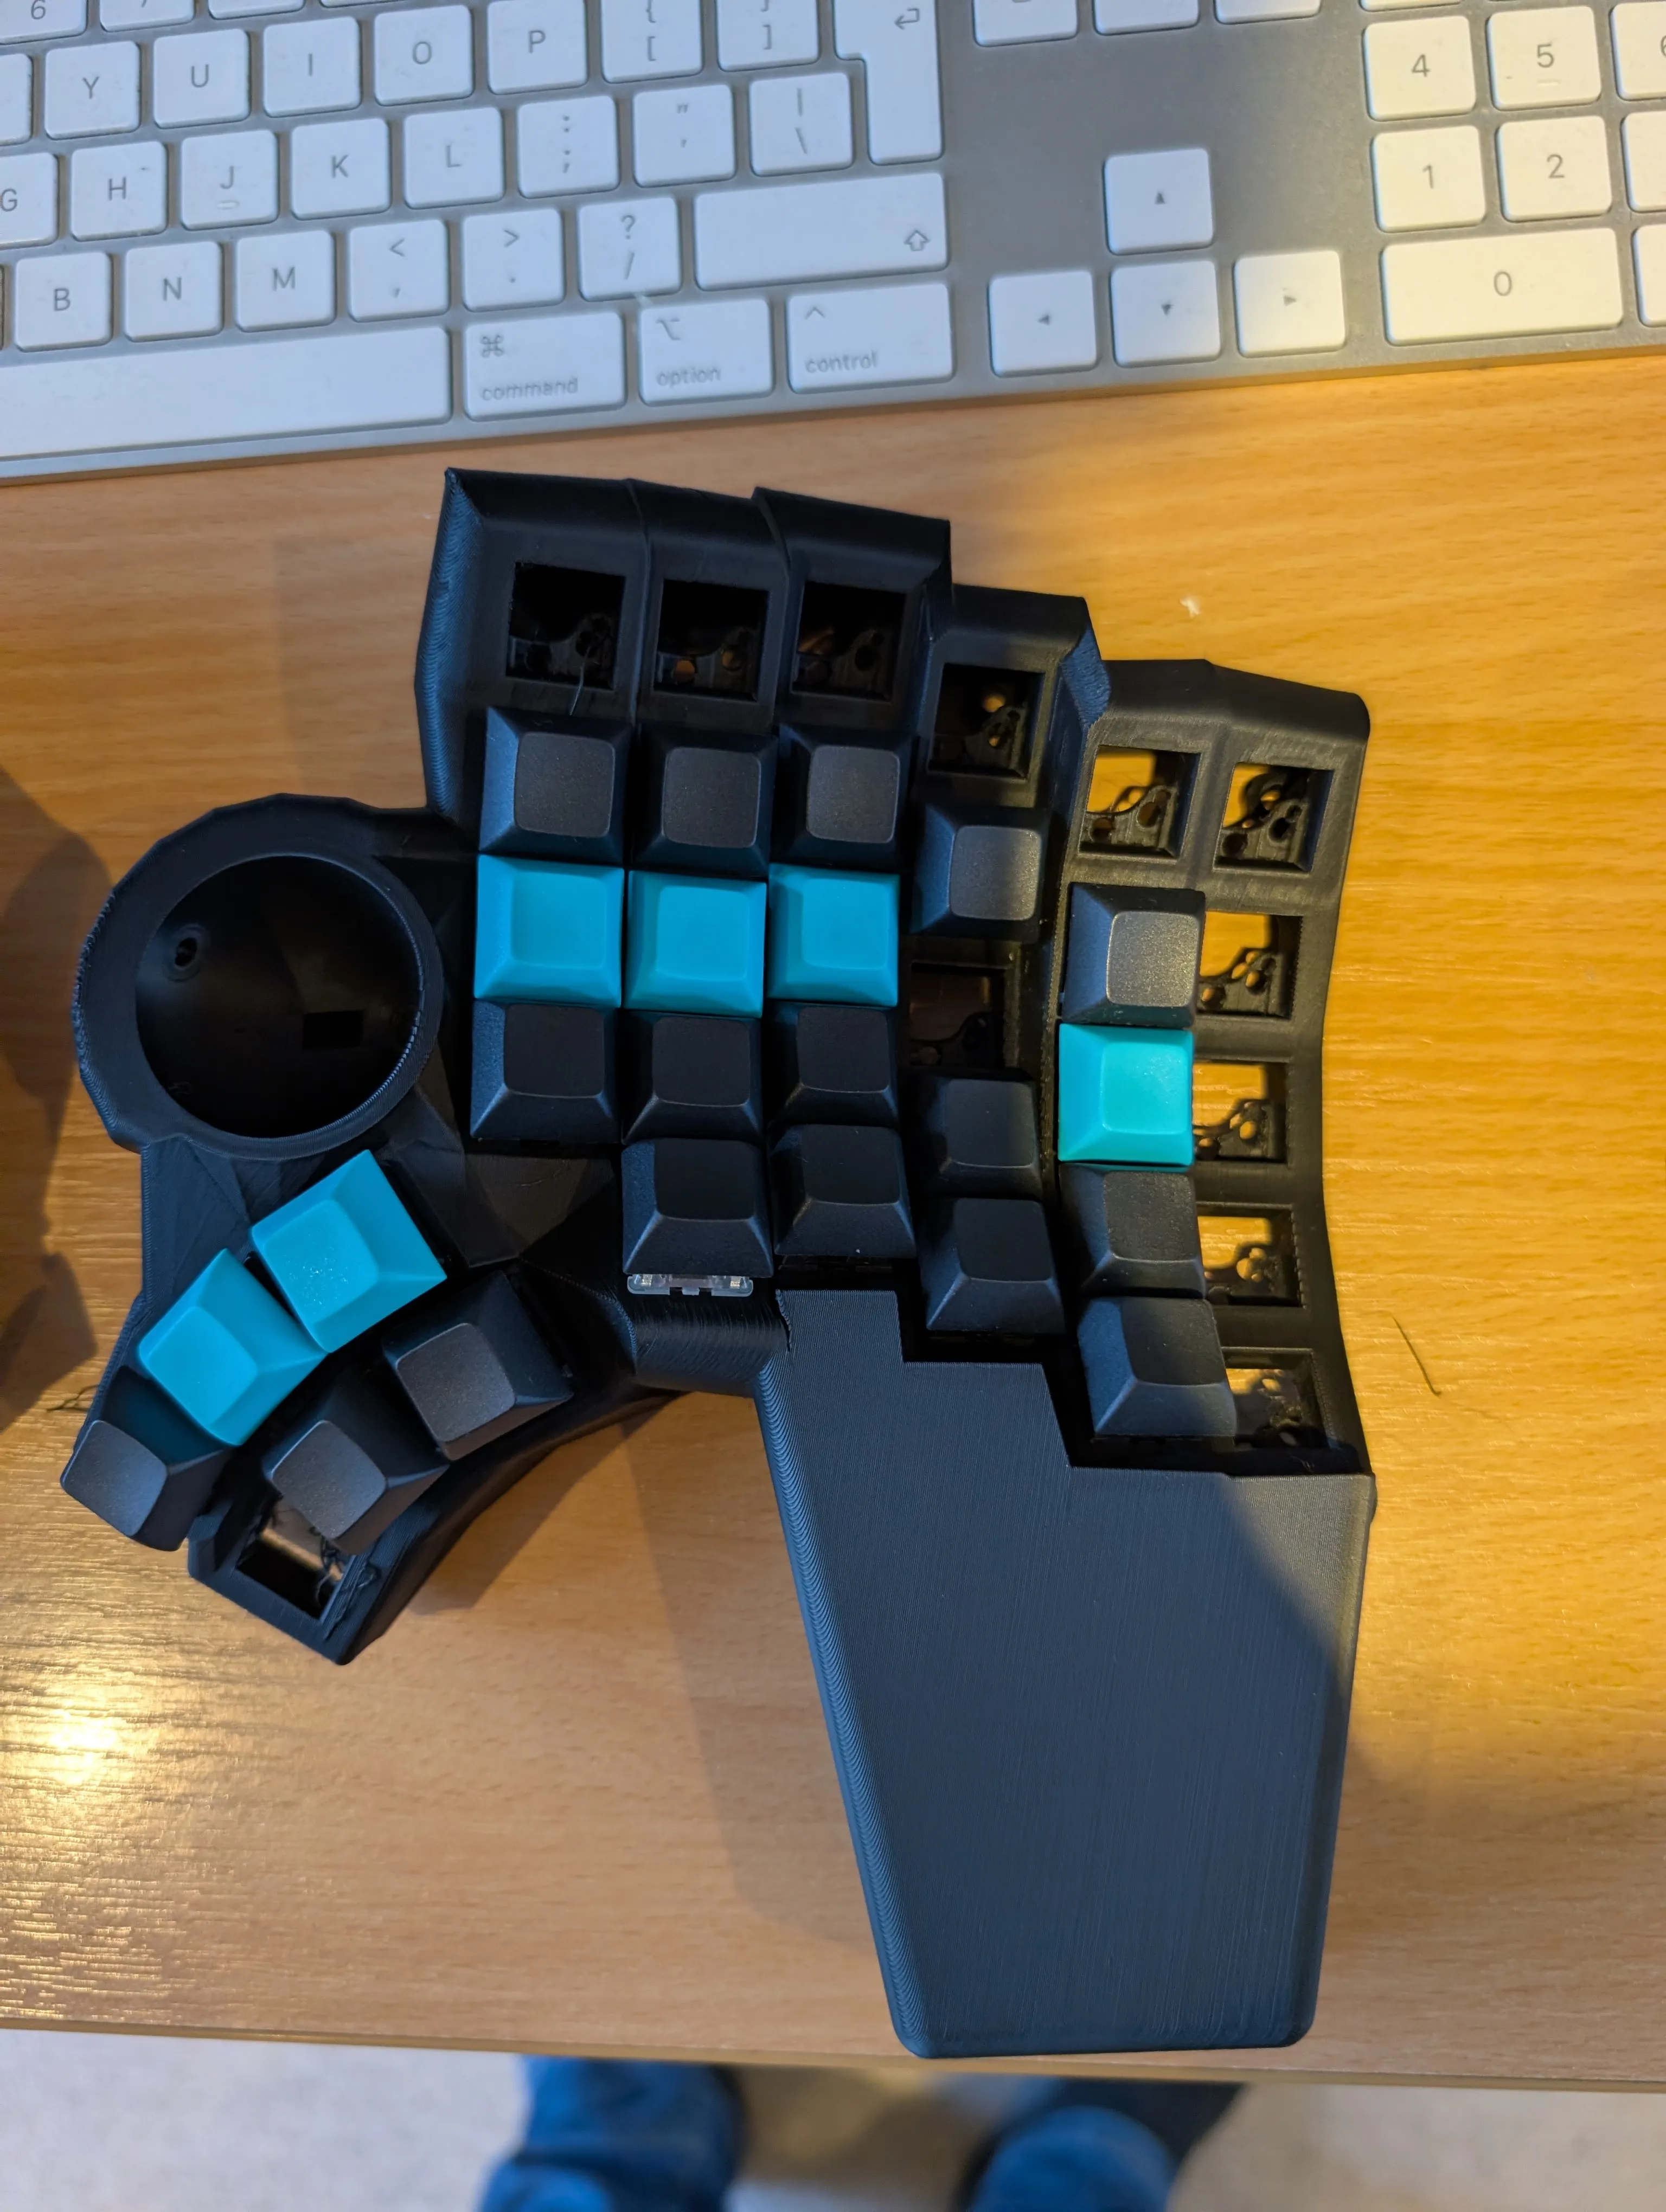
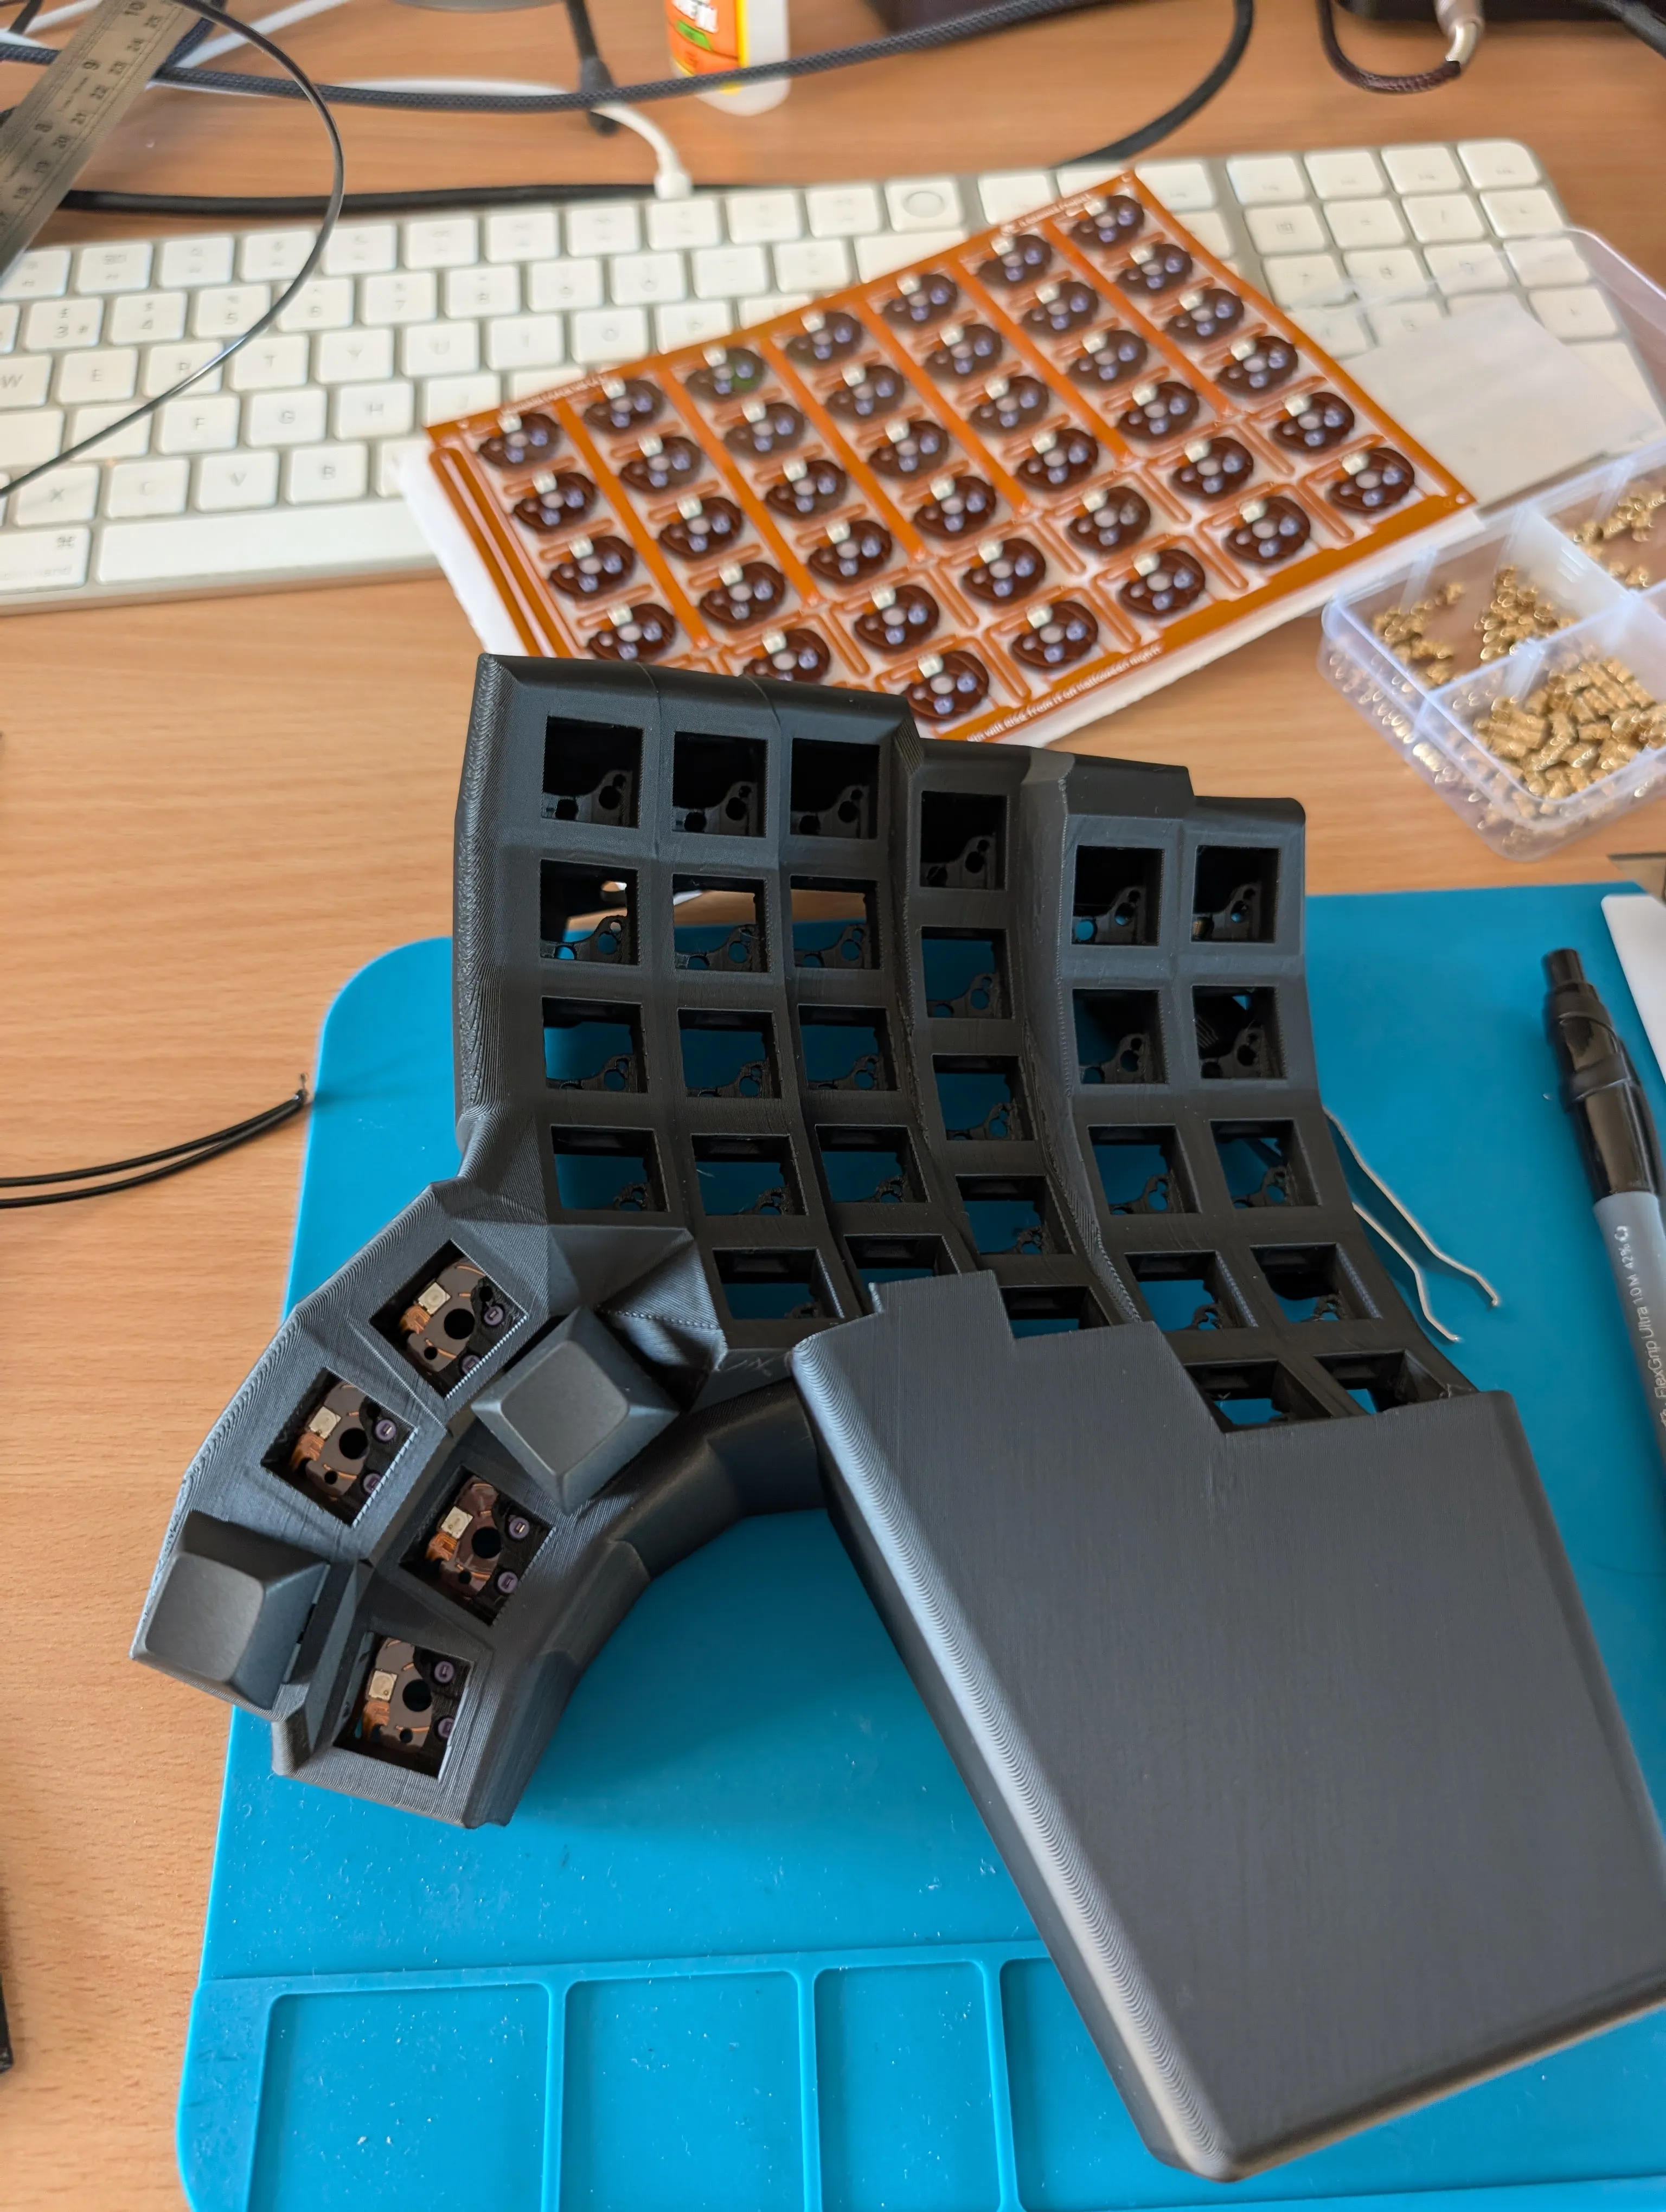
Along the way I printed a lot of keyboards, I’d estimate 18 prints. The first 8-10 had print issues as I learned which settings to use to print such a complex model. The last 8-10 were me iterating on the layout and ironing out other issues.
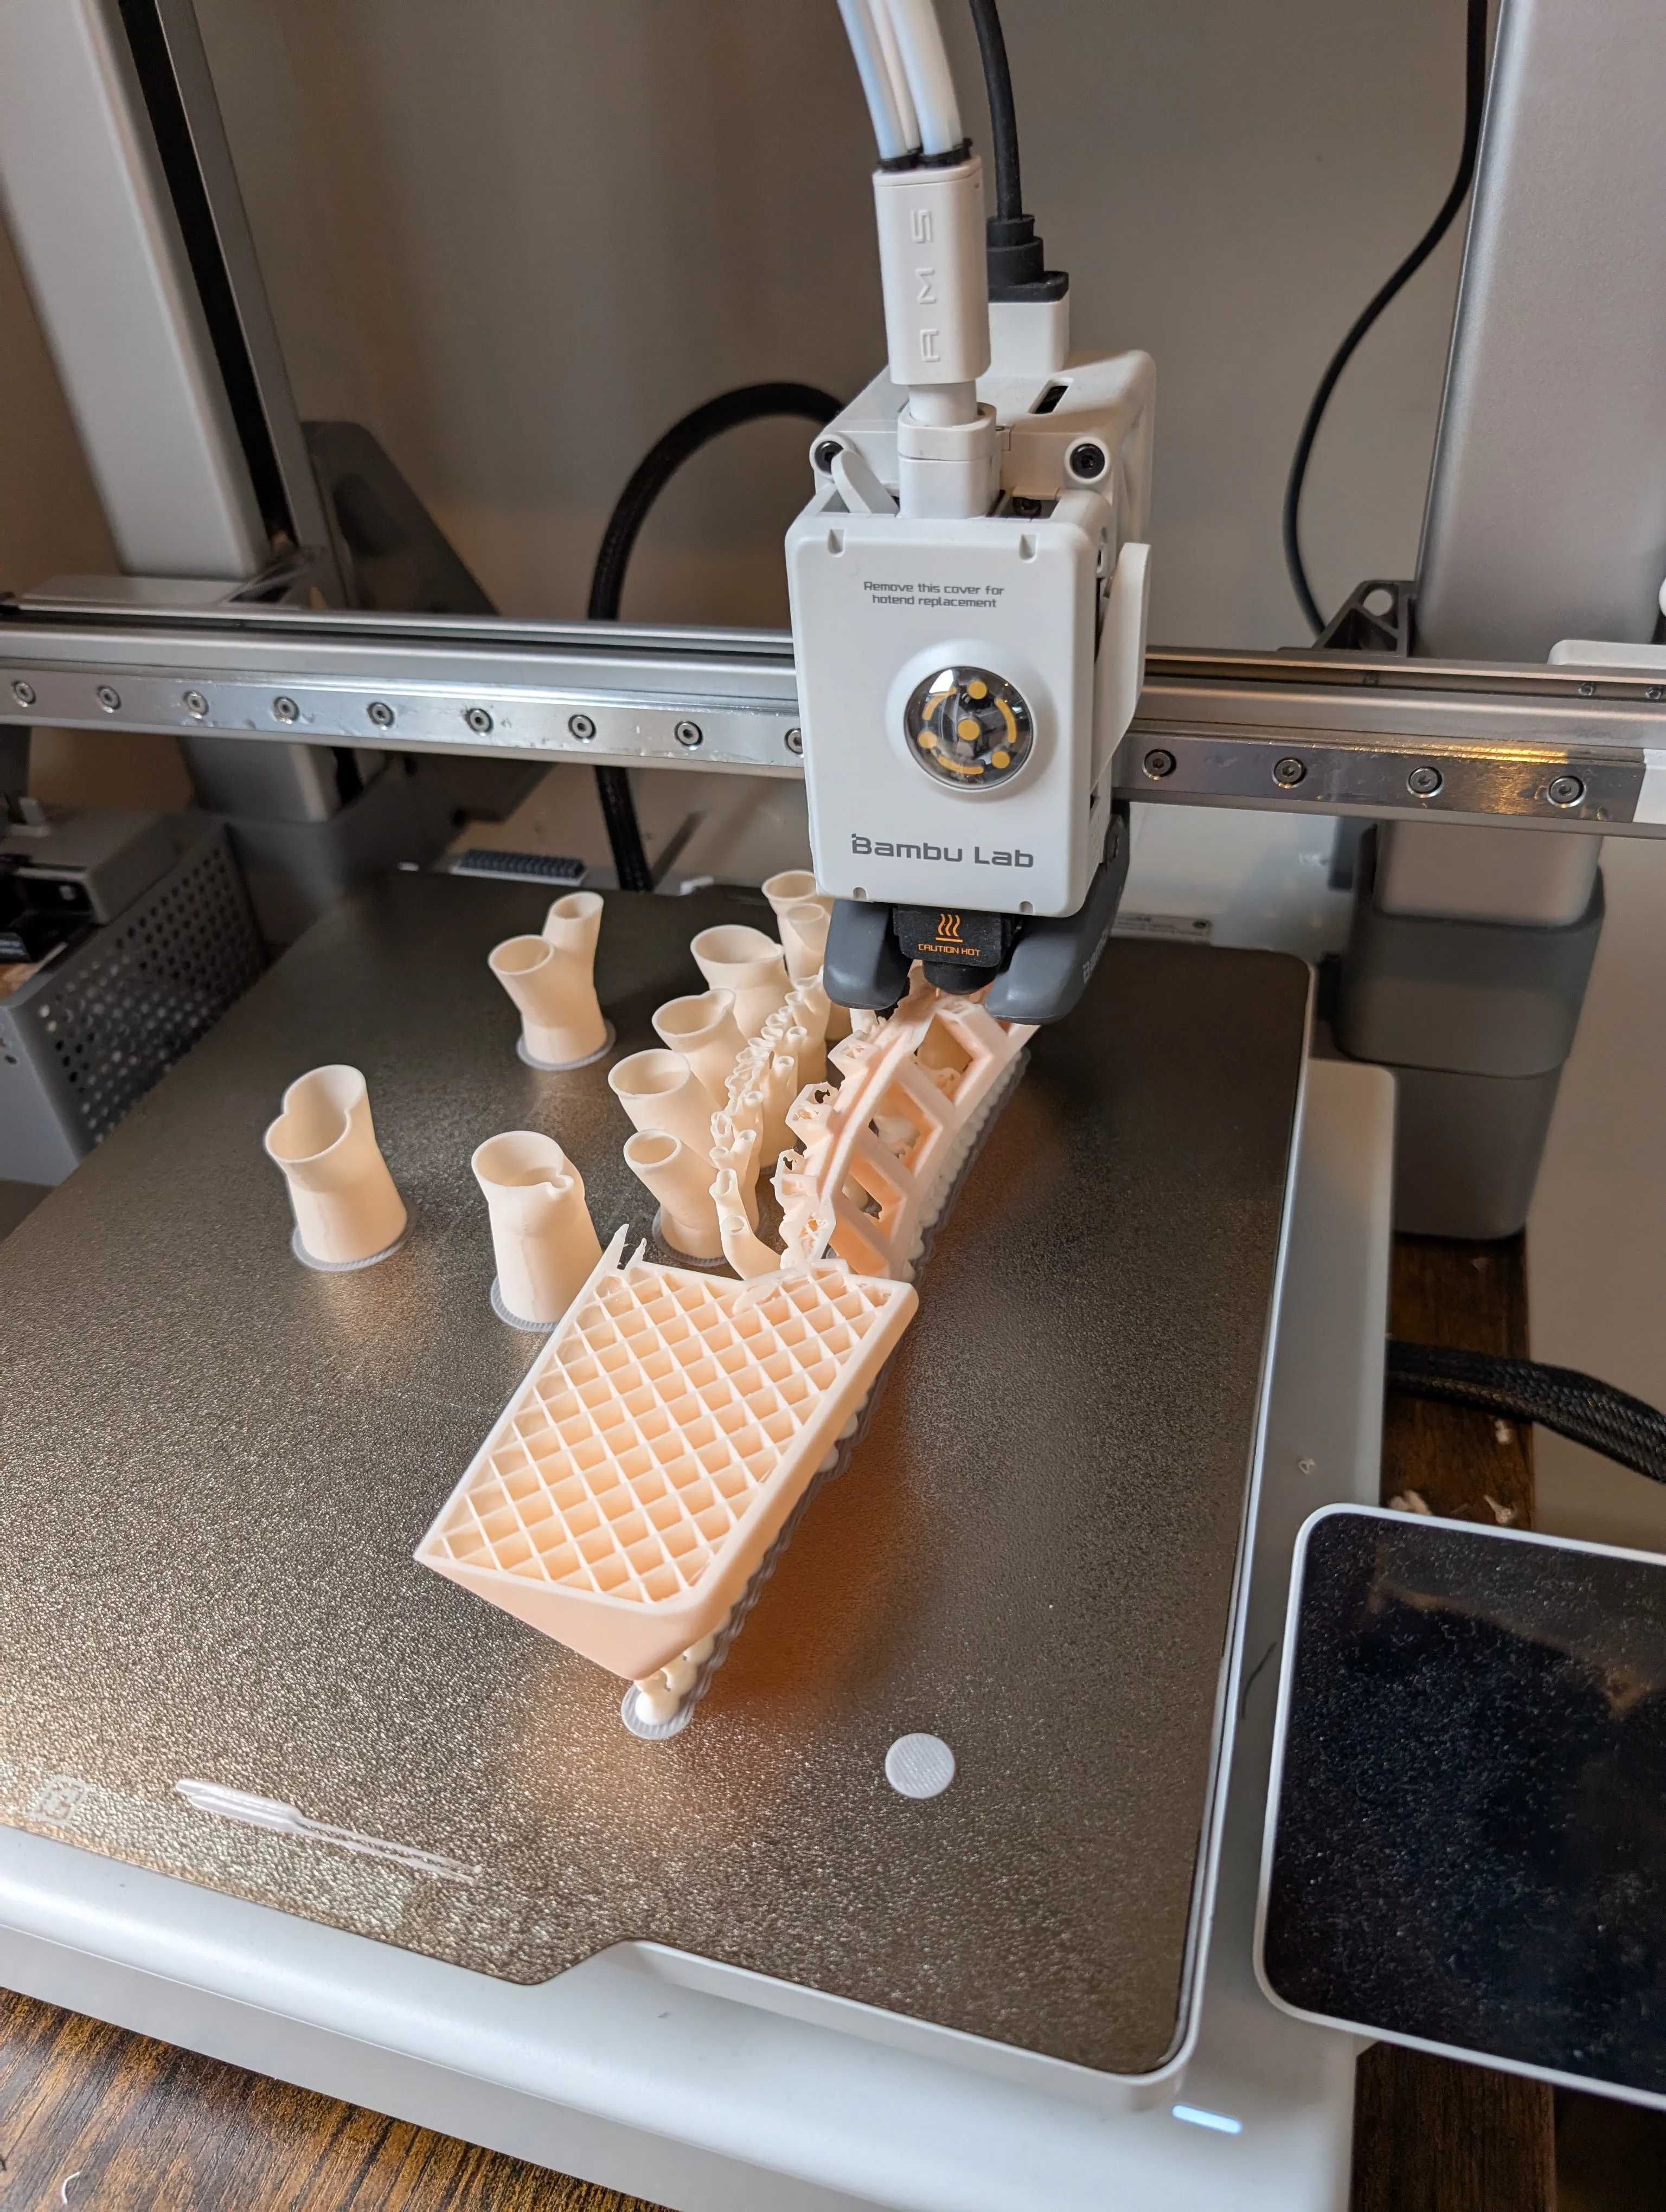
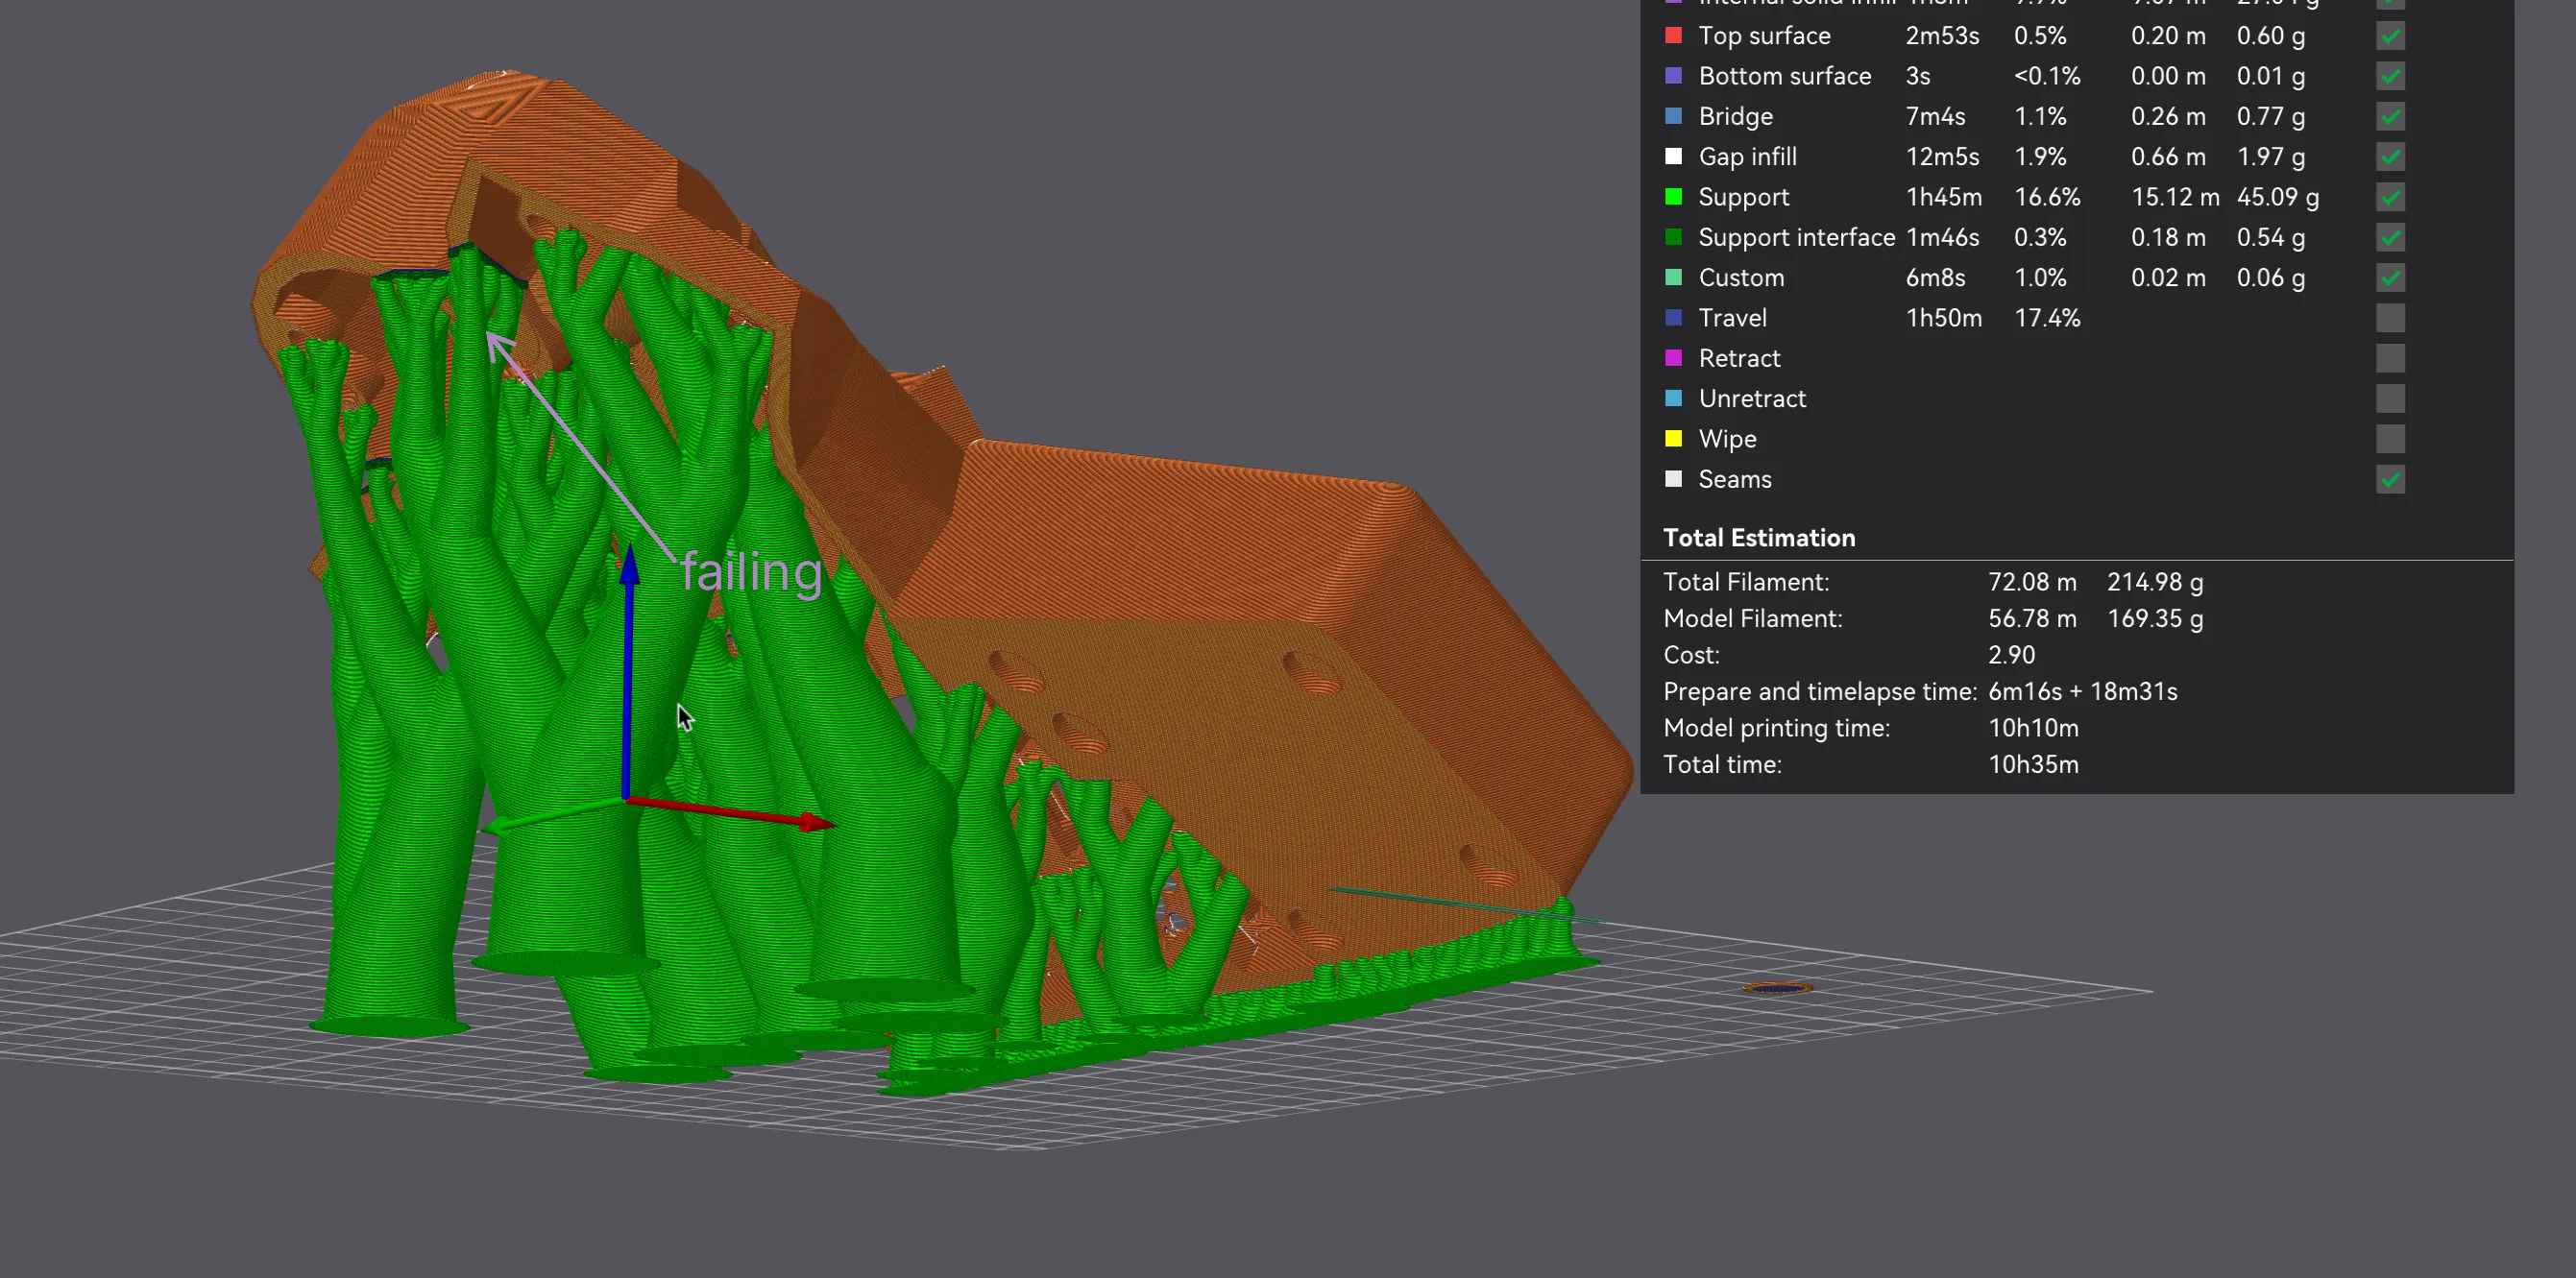
I settled on printing the keyboard at a 36 degree angle which requires less supports (the tree like structures propping up the keyboard). And found the incantation of settings for my Bambu printer that printed it reliably. Printing it at a 0.2mm layer height takes ~11 hours, printing it at 0.16mm takes ~18 hours (some of which failed at 15 hours (: )
I combined the wrist rest and the keyboard case into one solid piece since I always use a wrist rest.
I’ve included my print method at the bottom: Jump to method.
Photo montage
Initially I was going to add a trackball, but I don’t use it very much so I decided to ditch it.
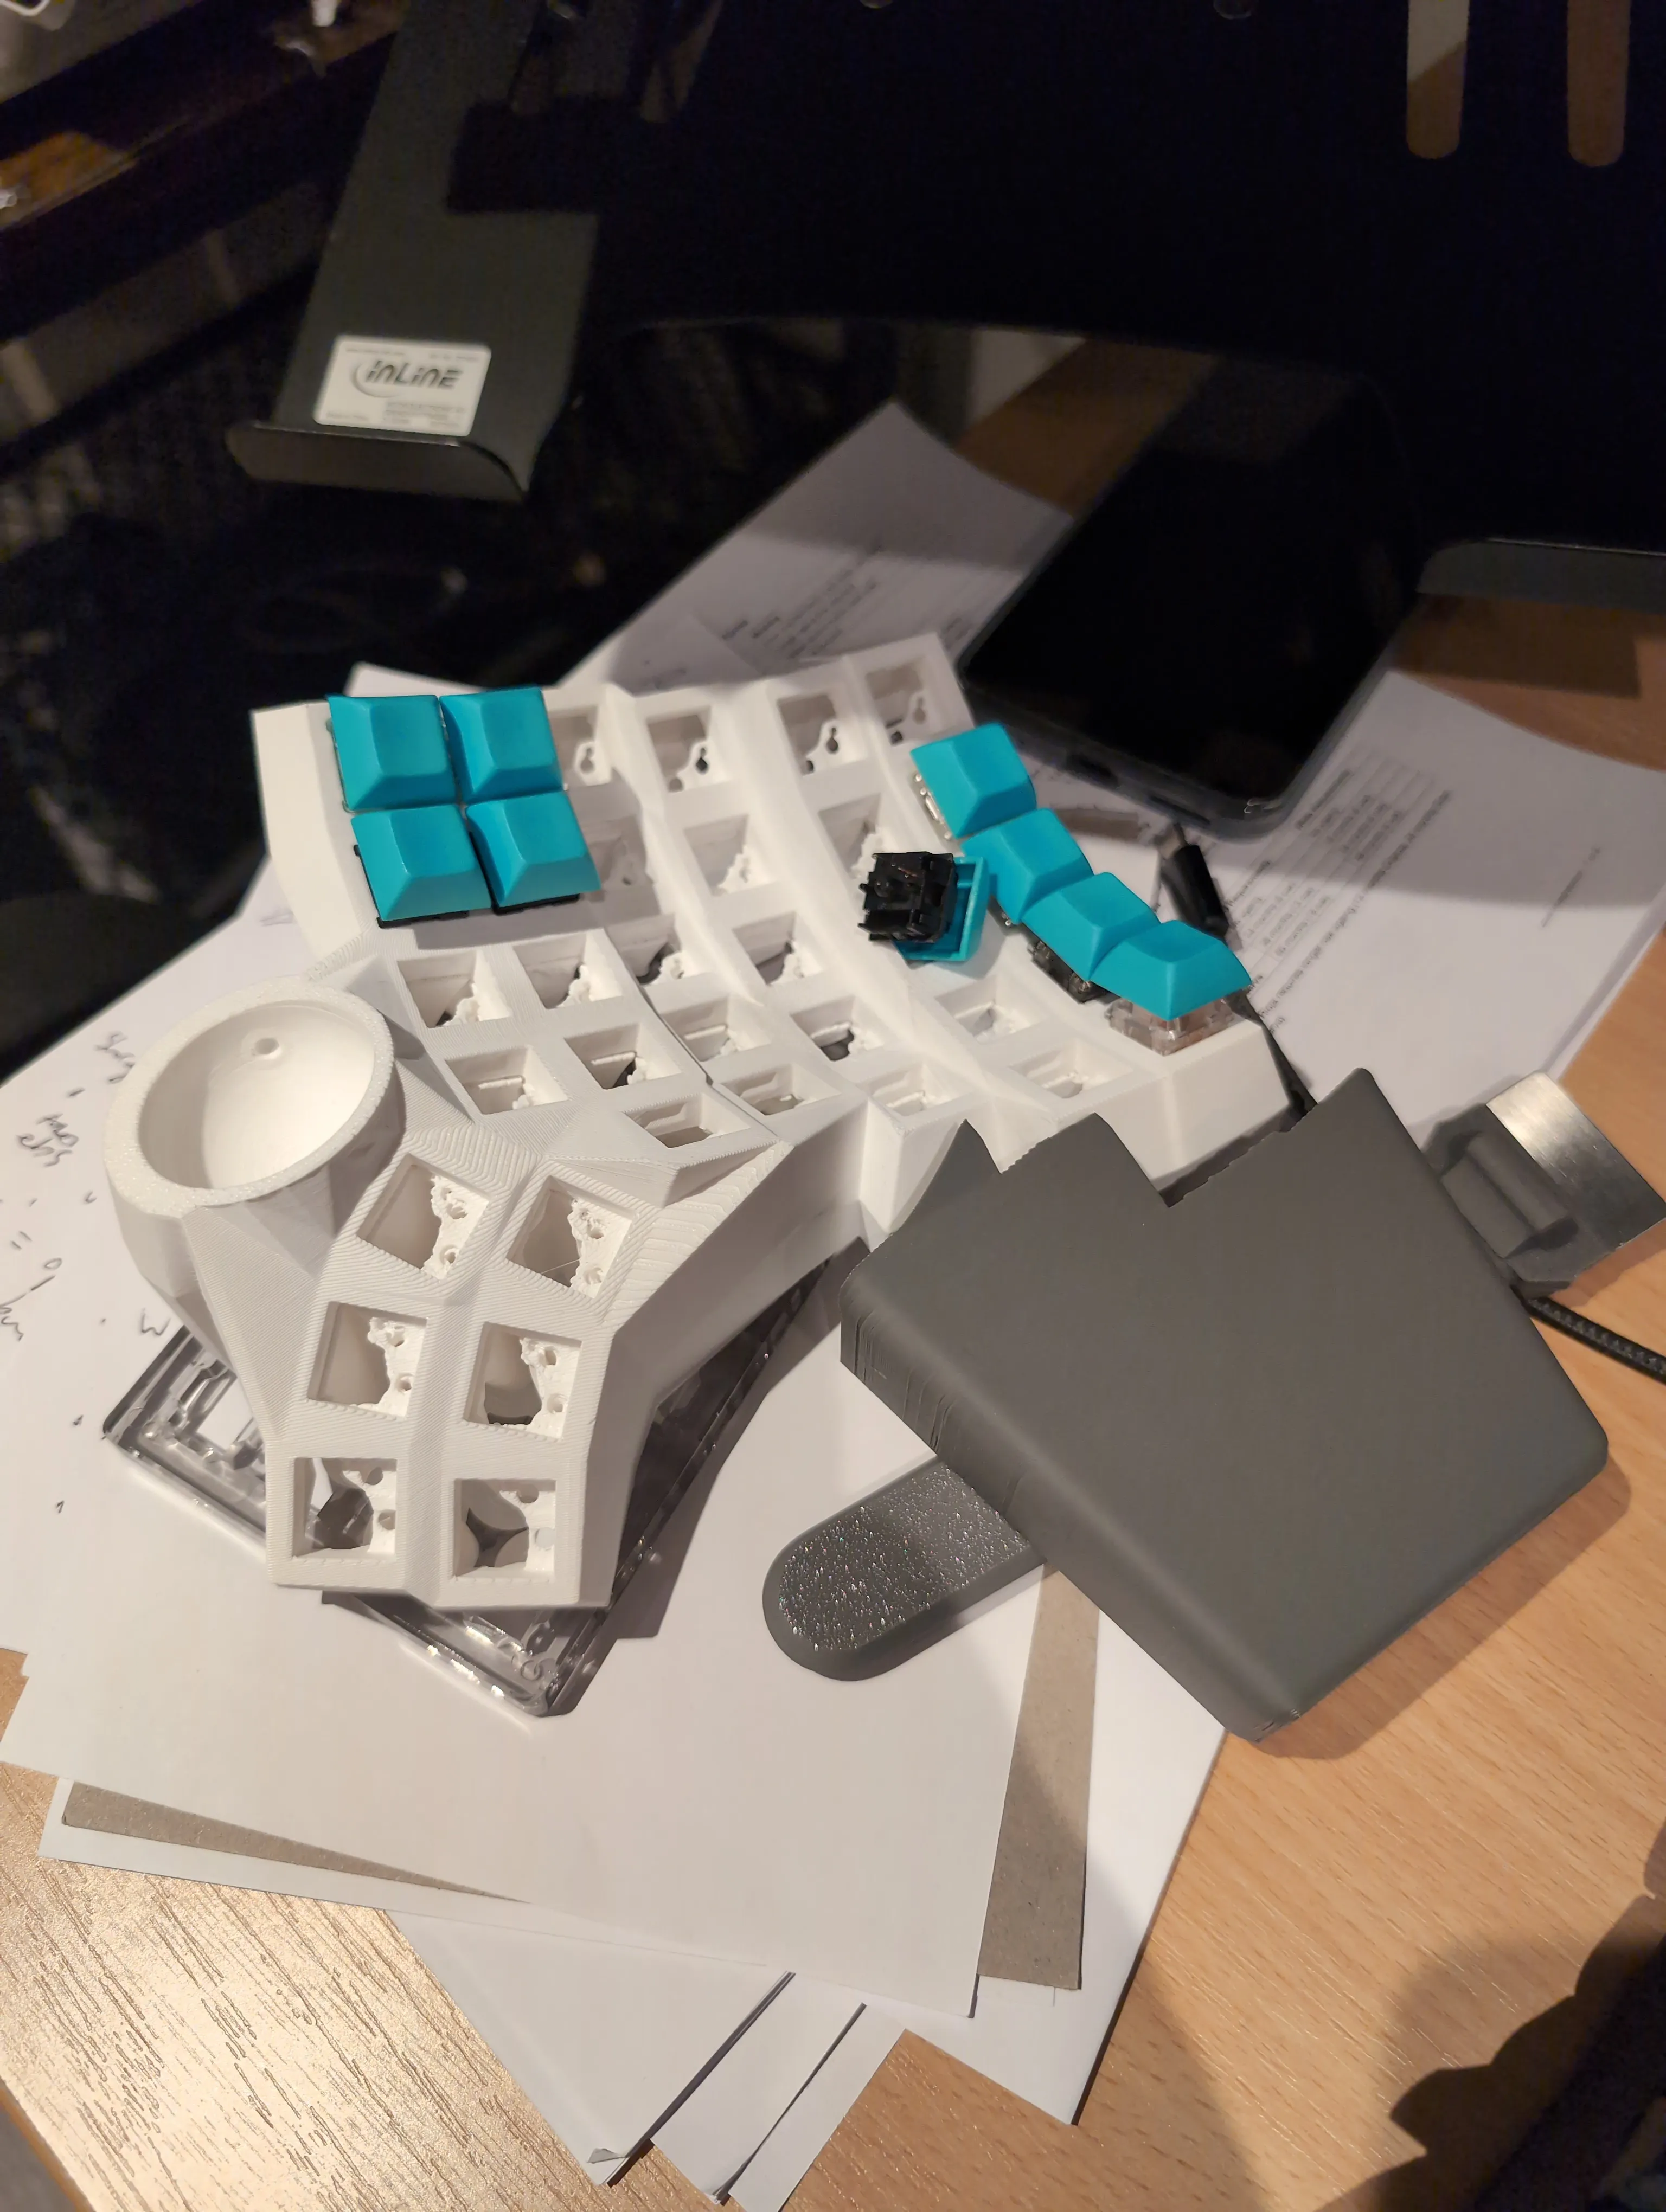
 Luckily a bunch of parts got stuck at UK customs, so I didn’t completely lose my mind during this phase.
Next: Soldering in the screw inserts
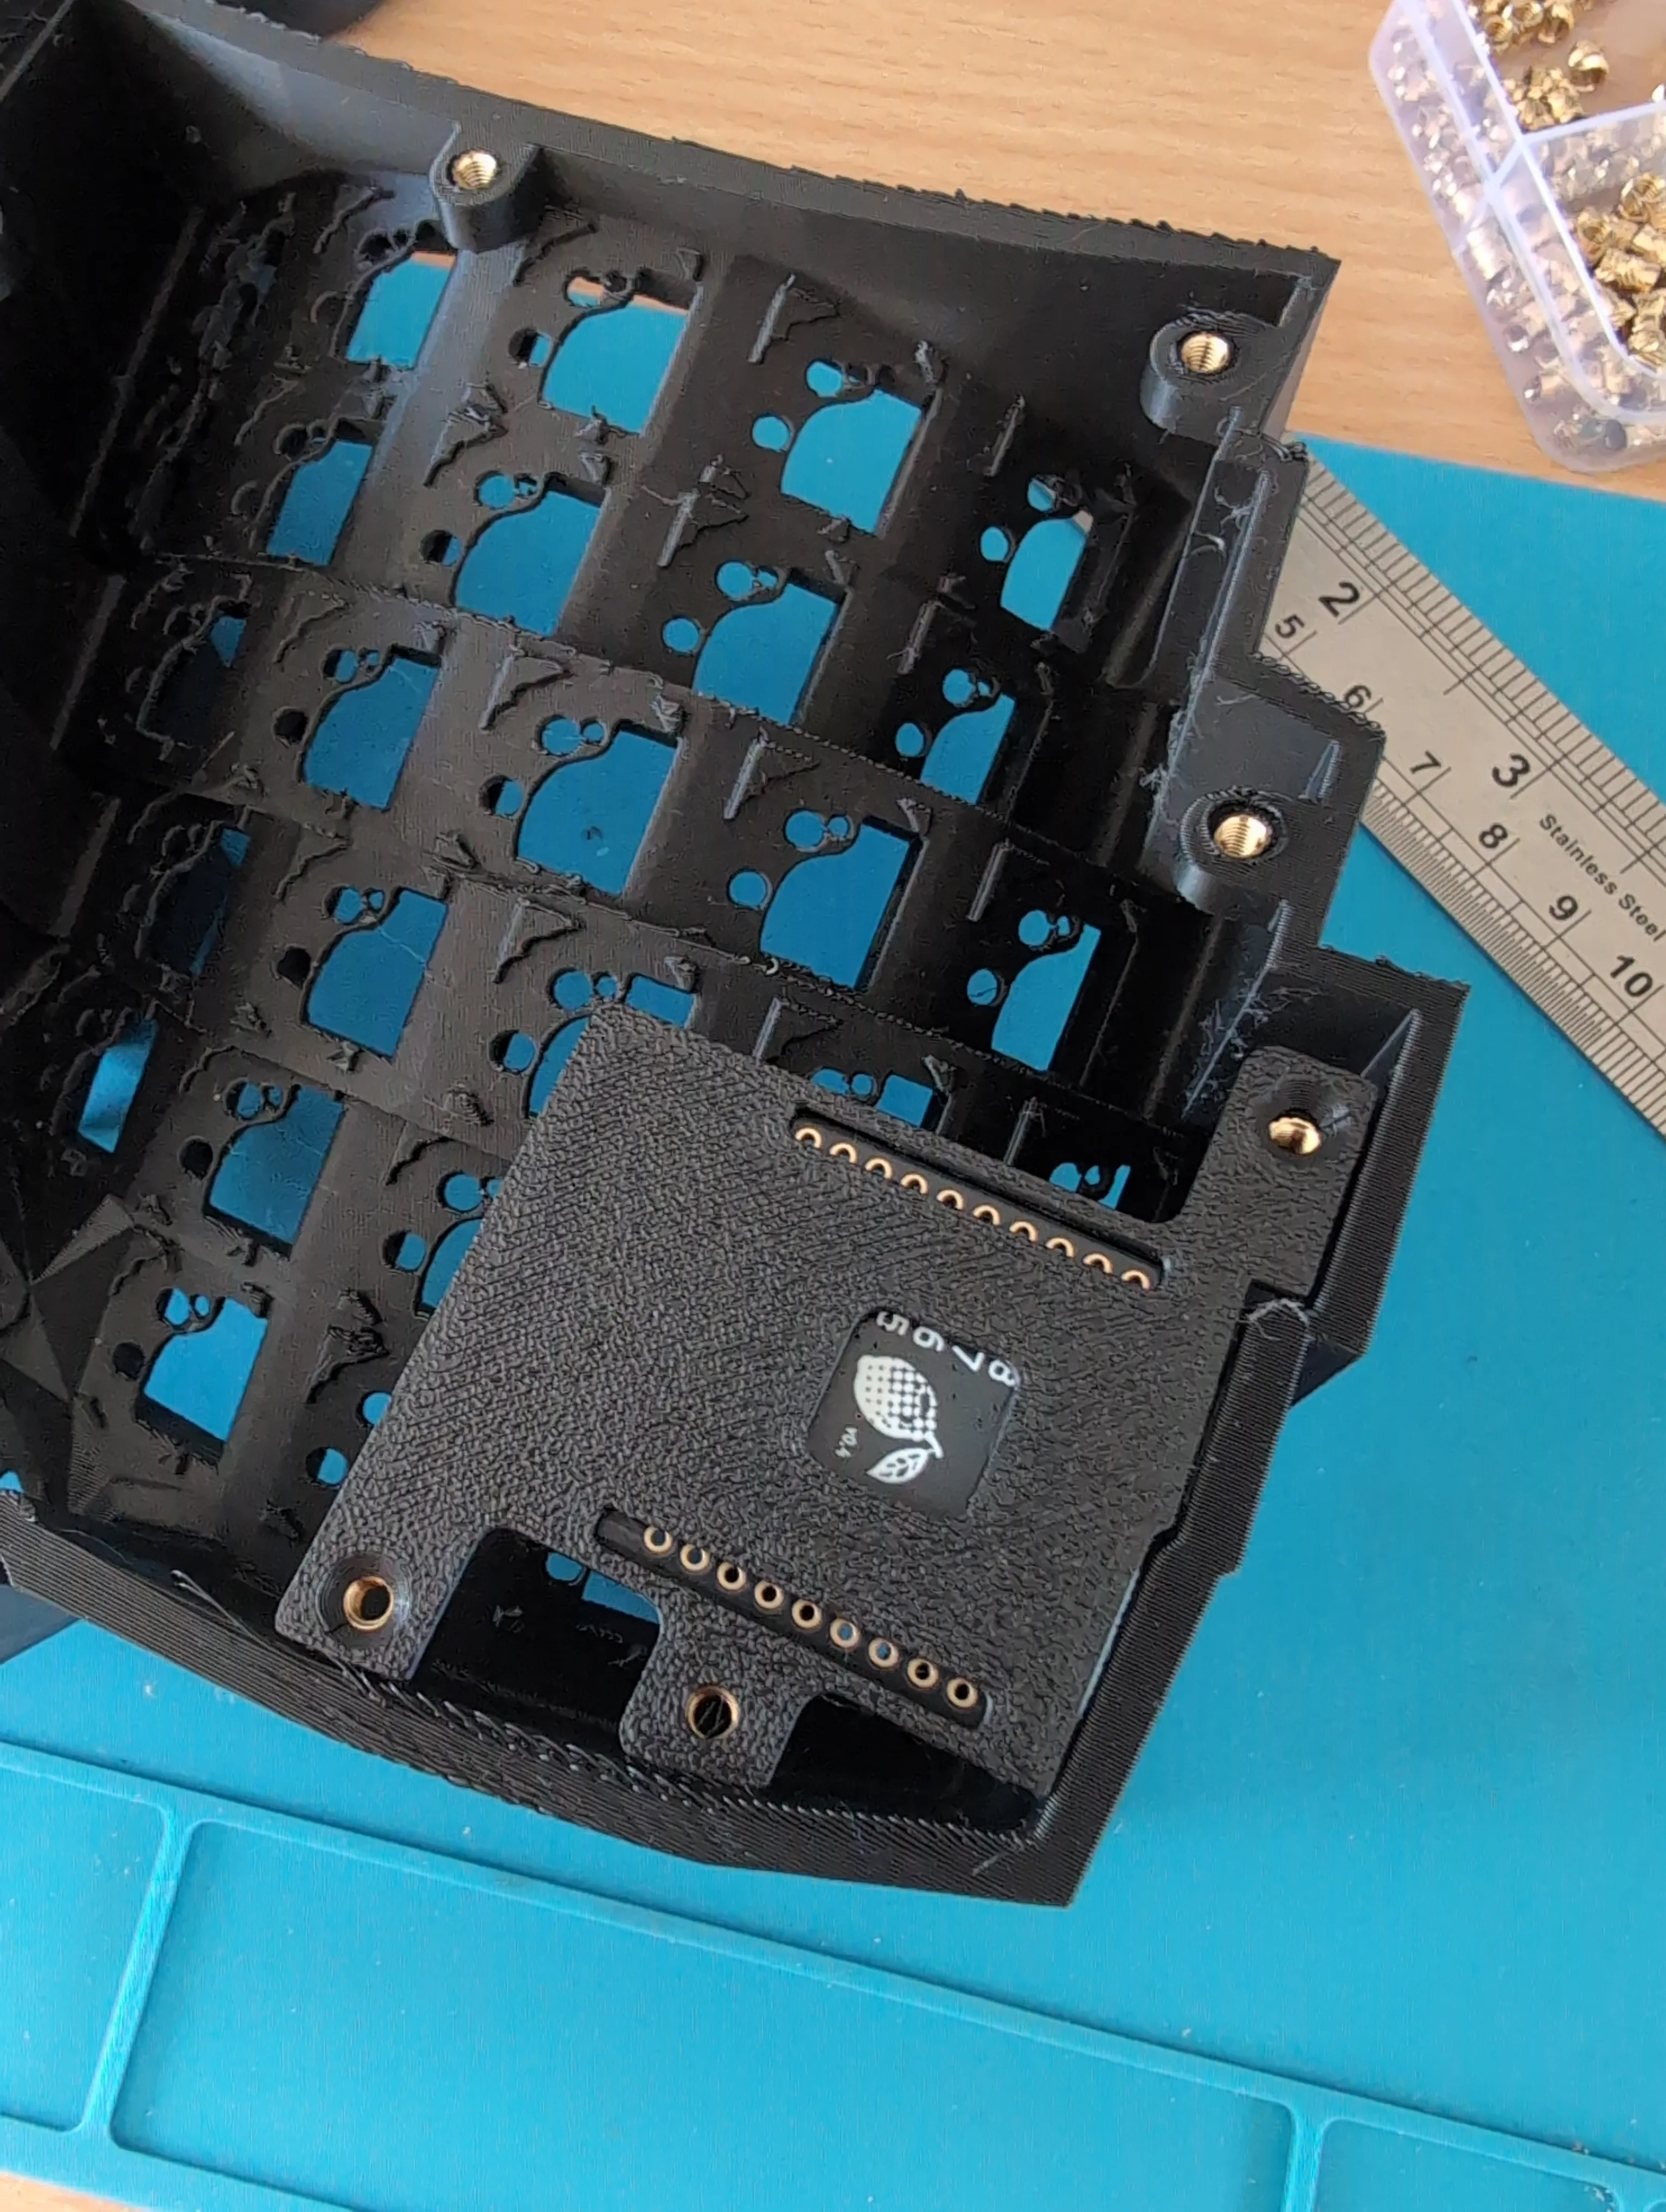
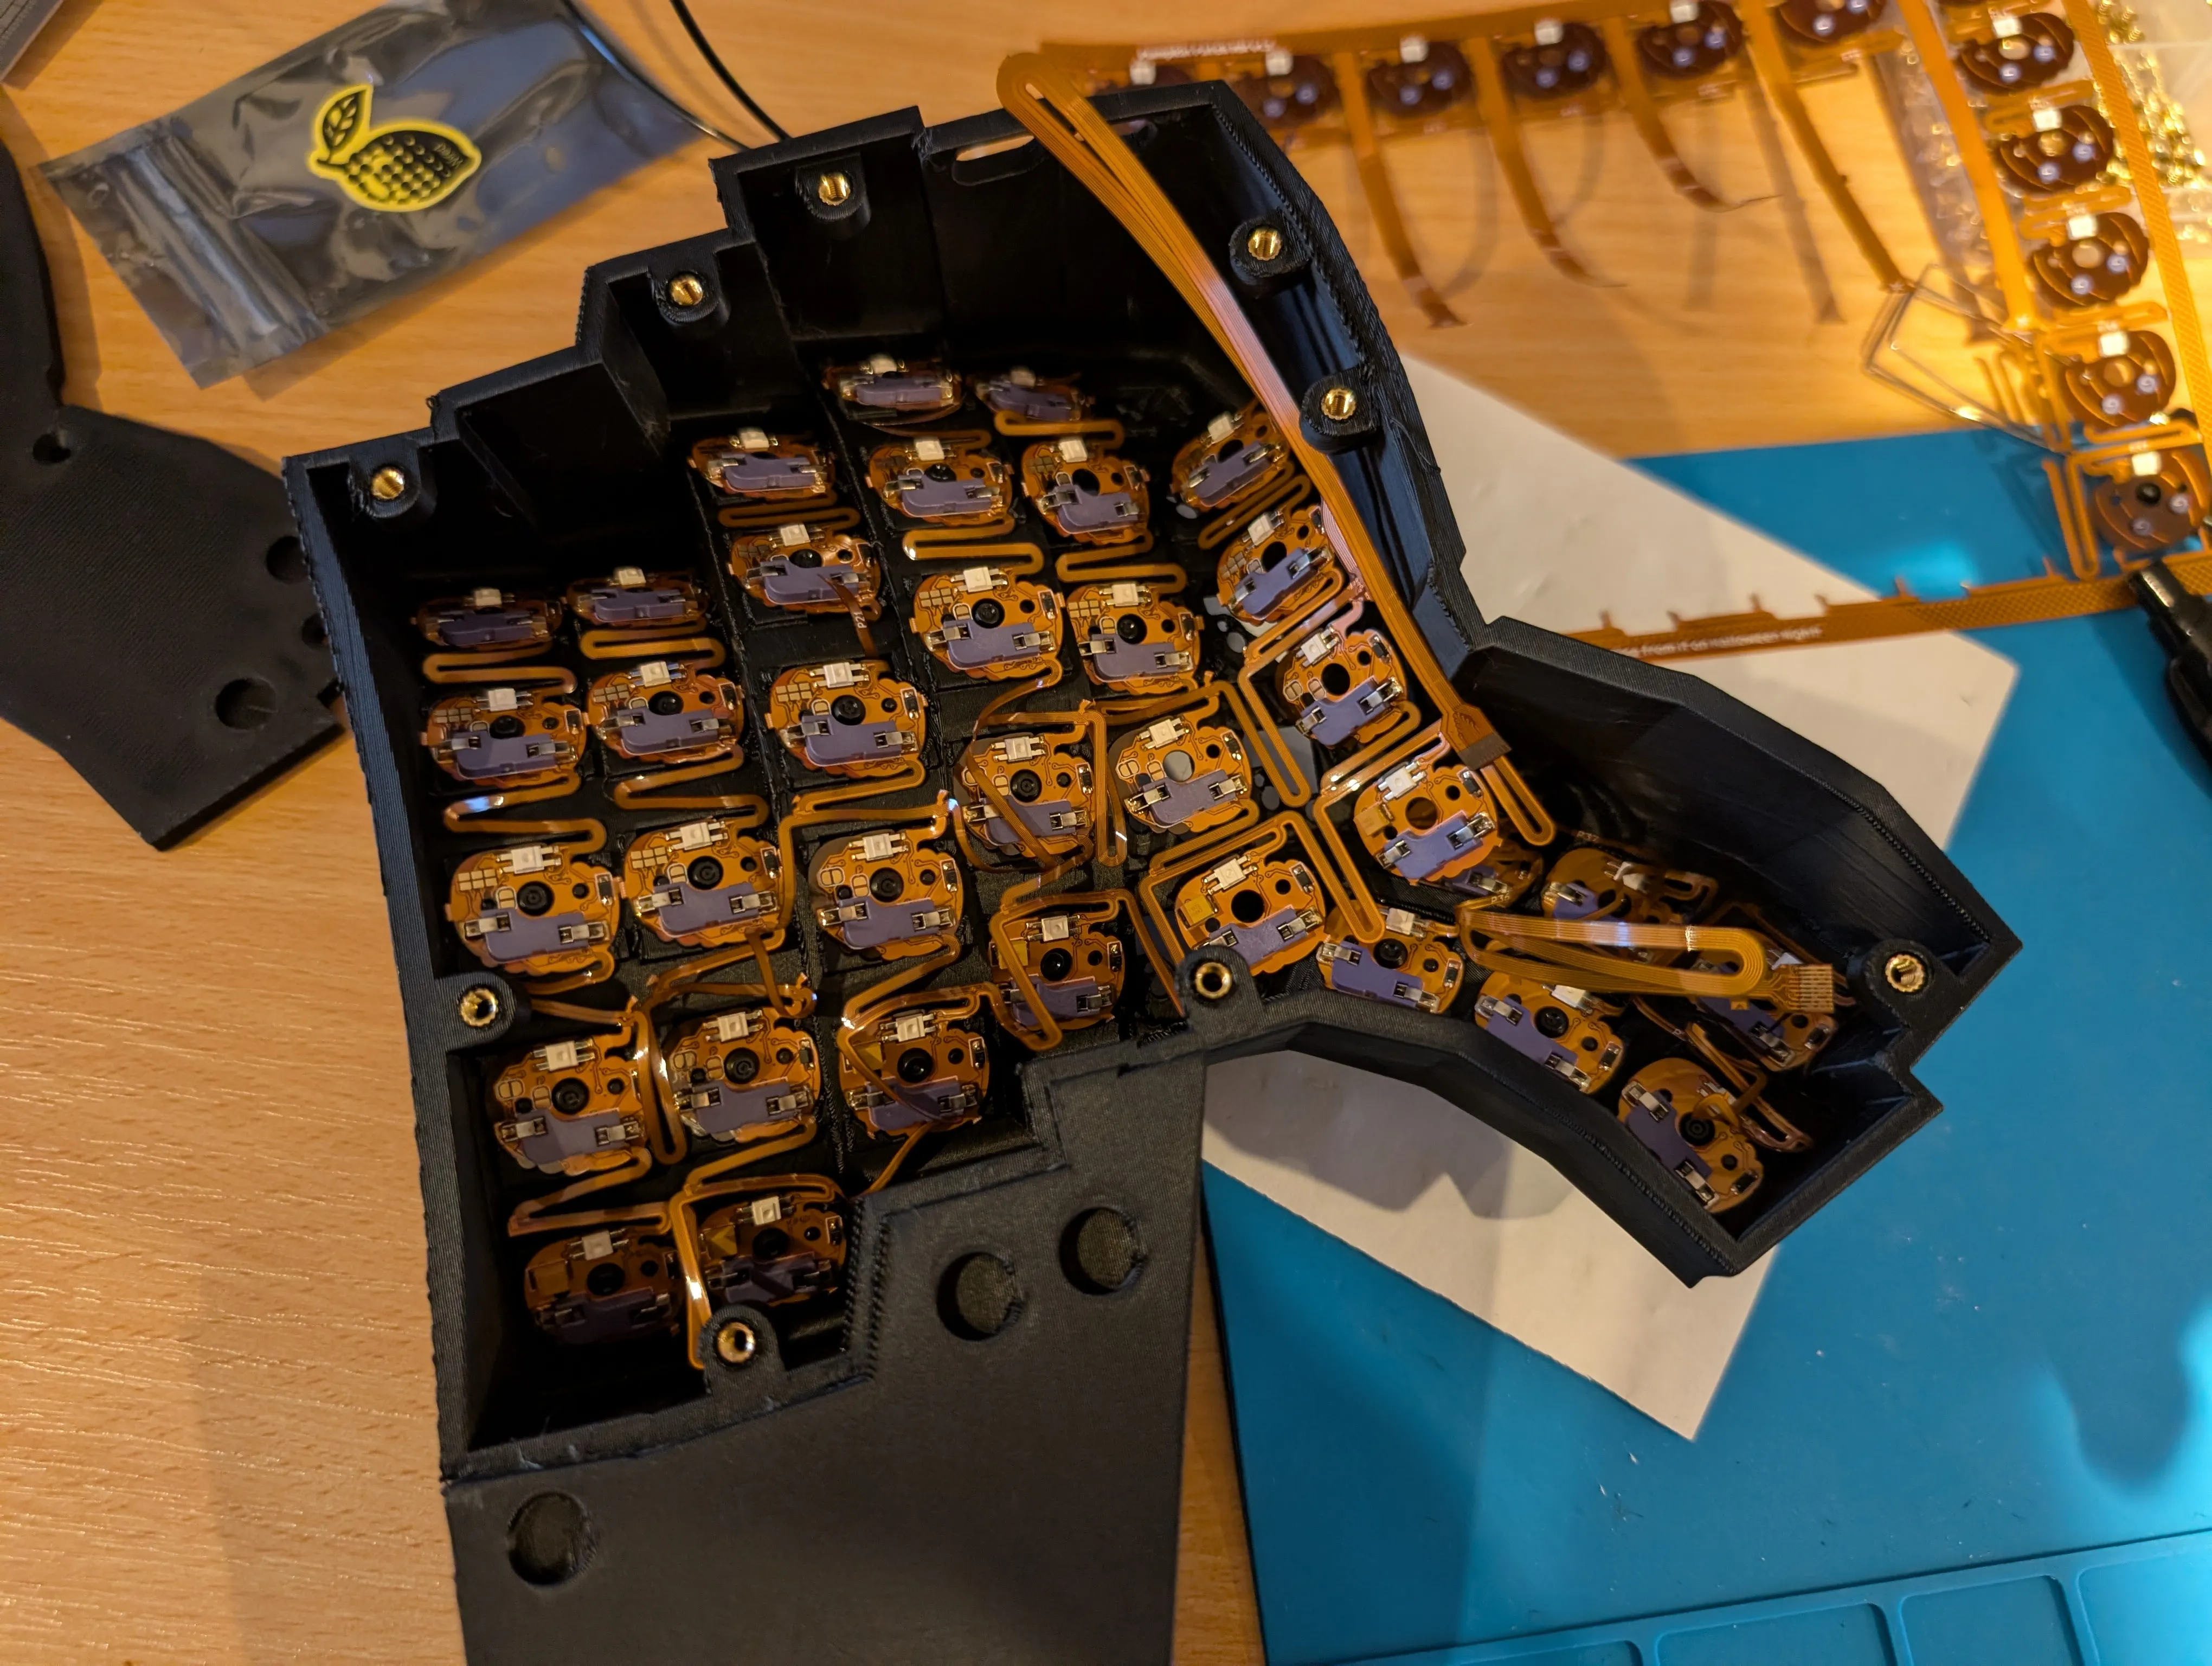
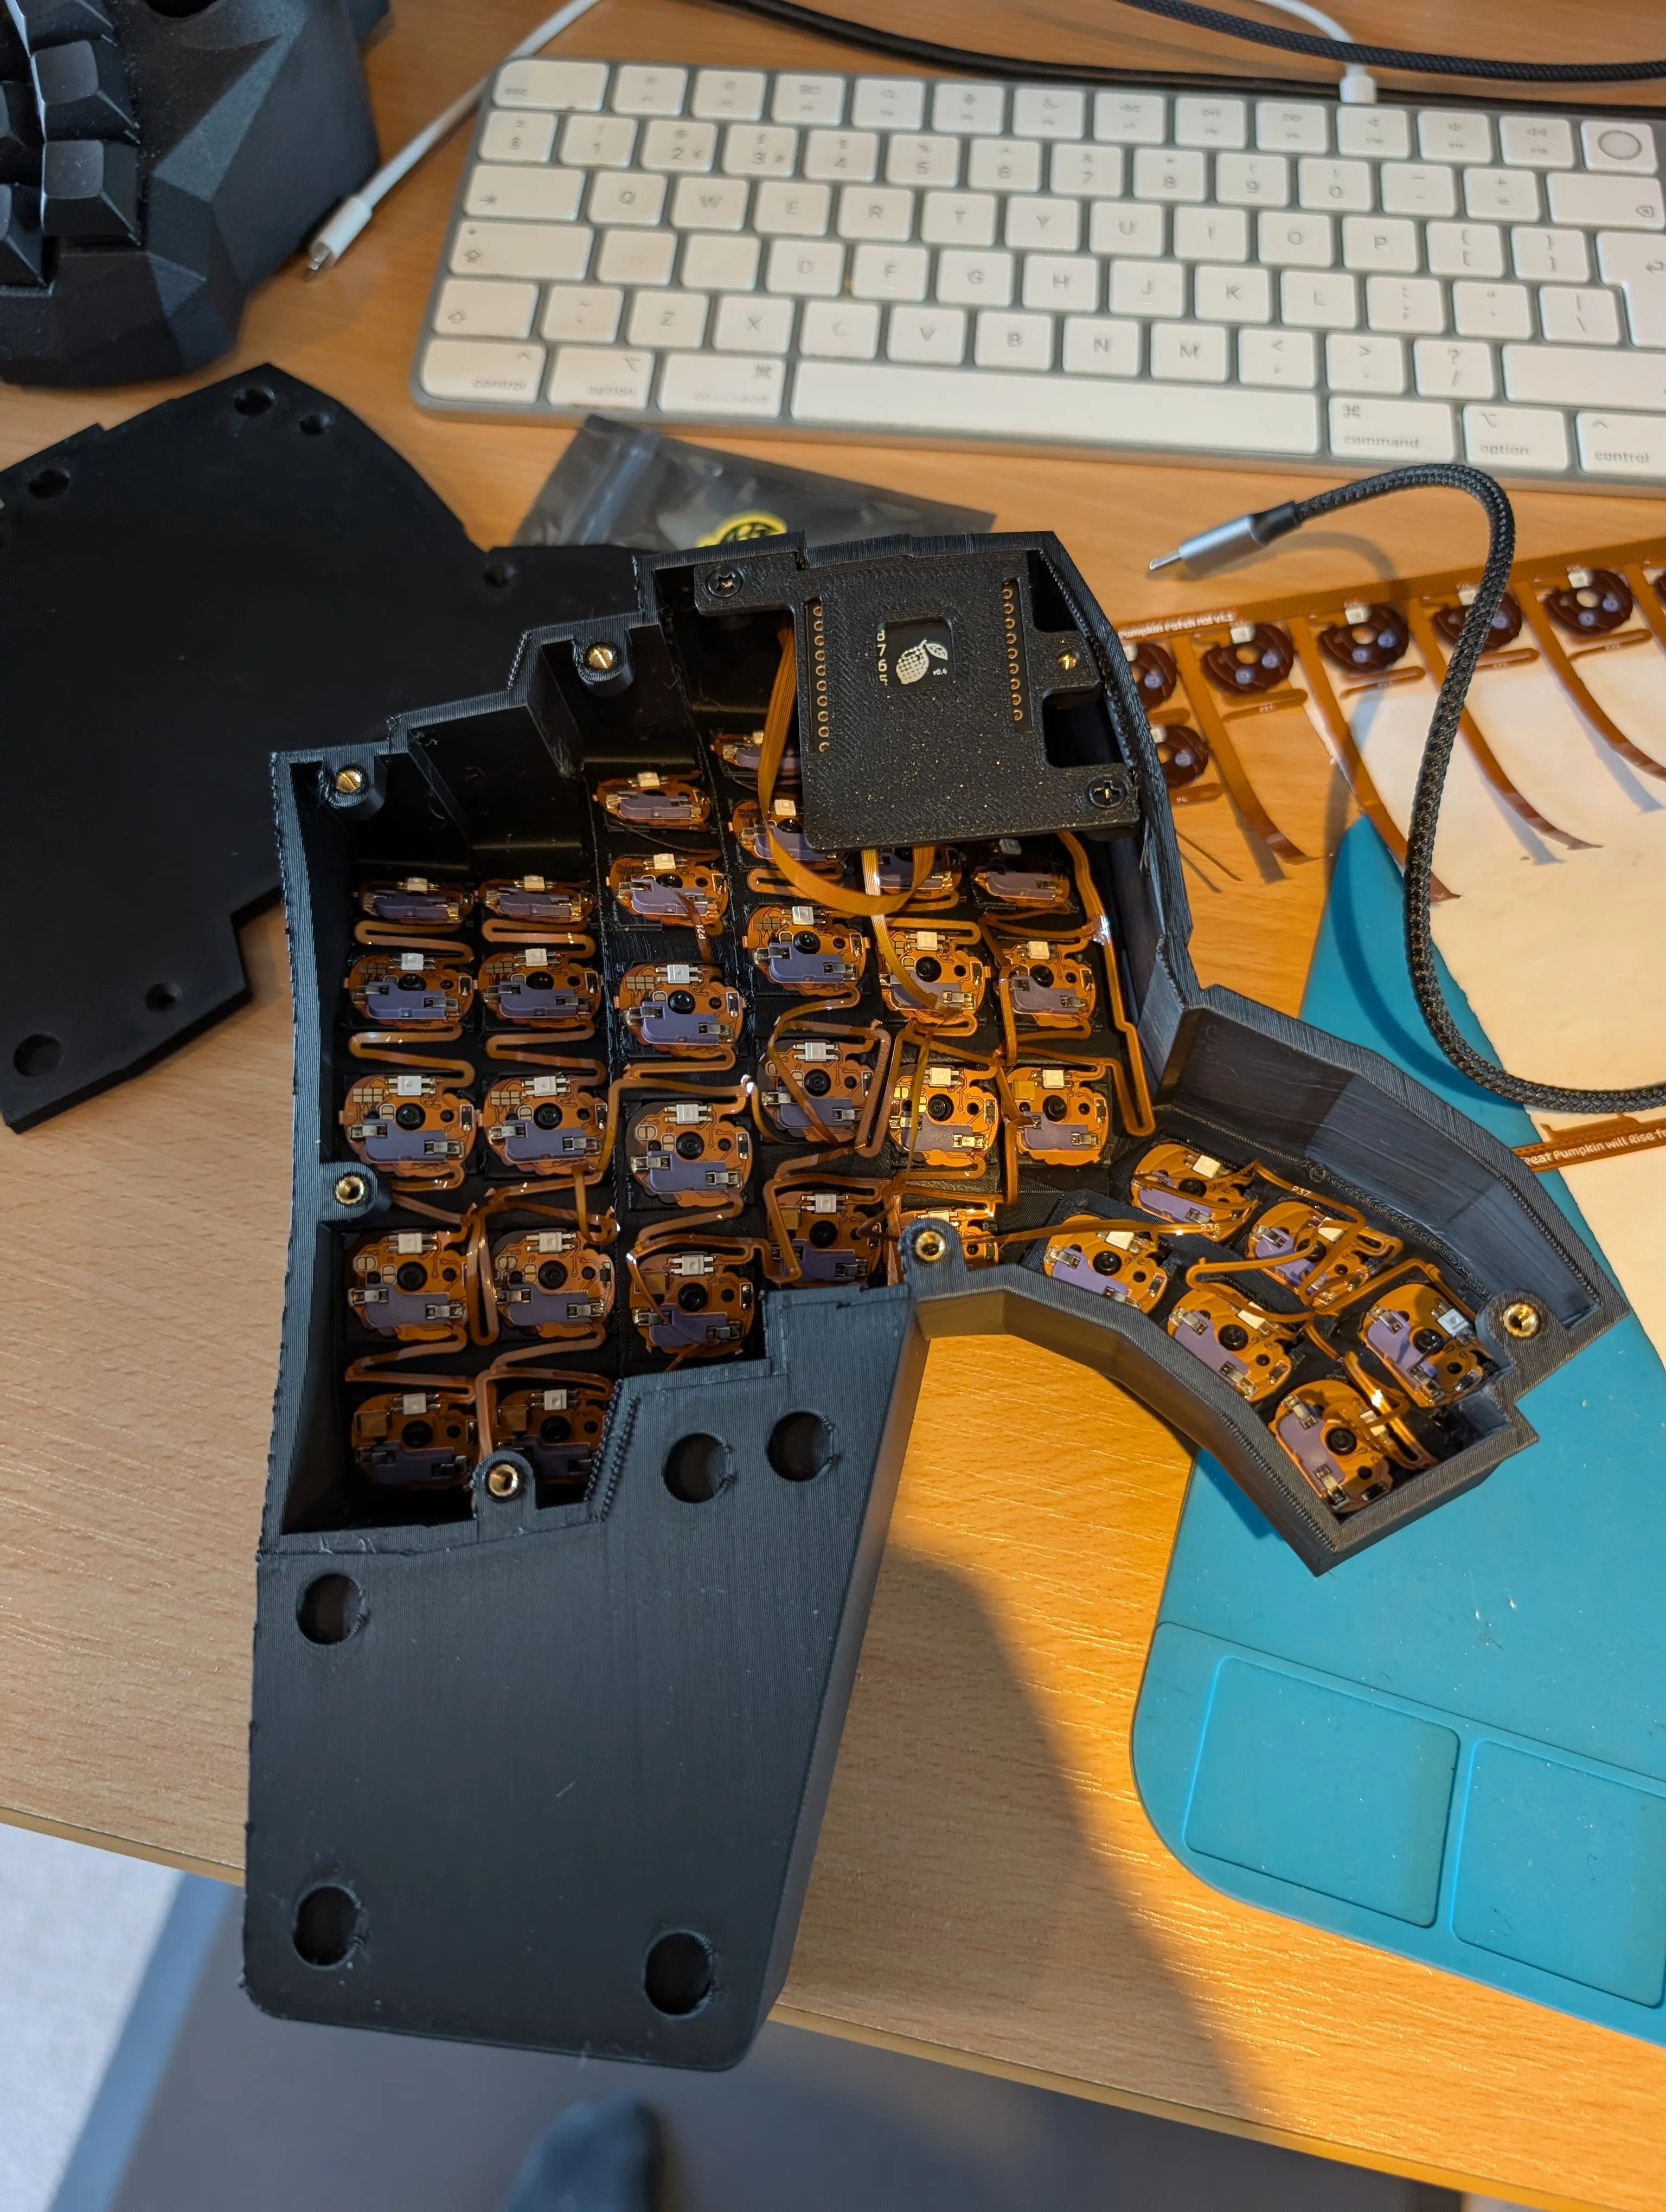
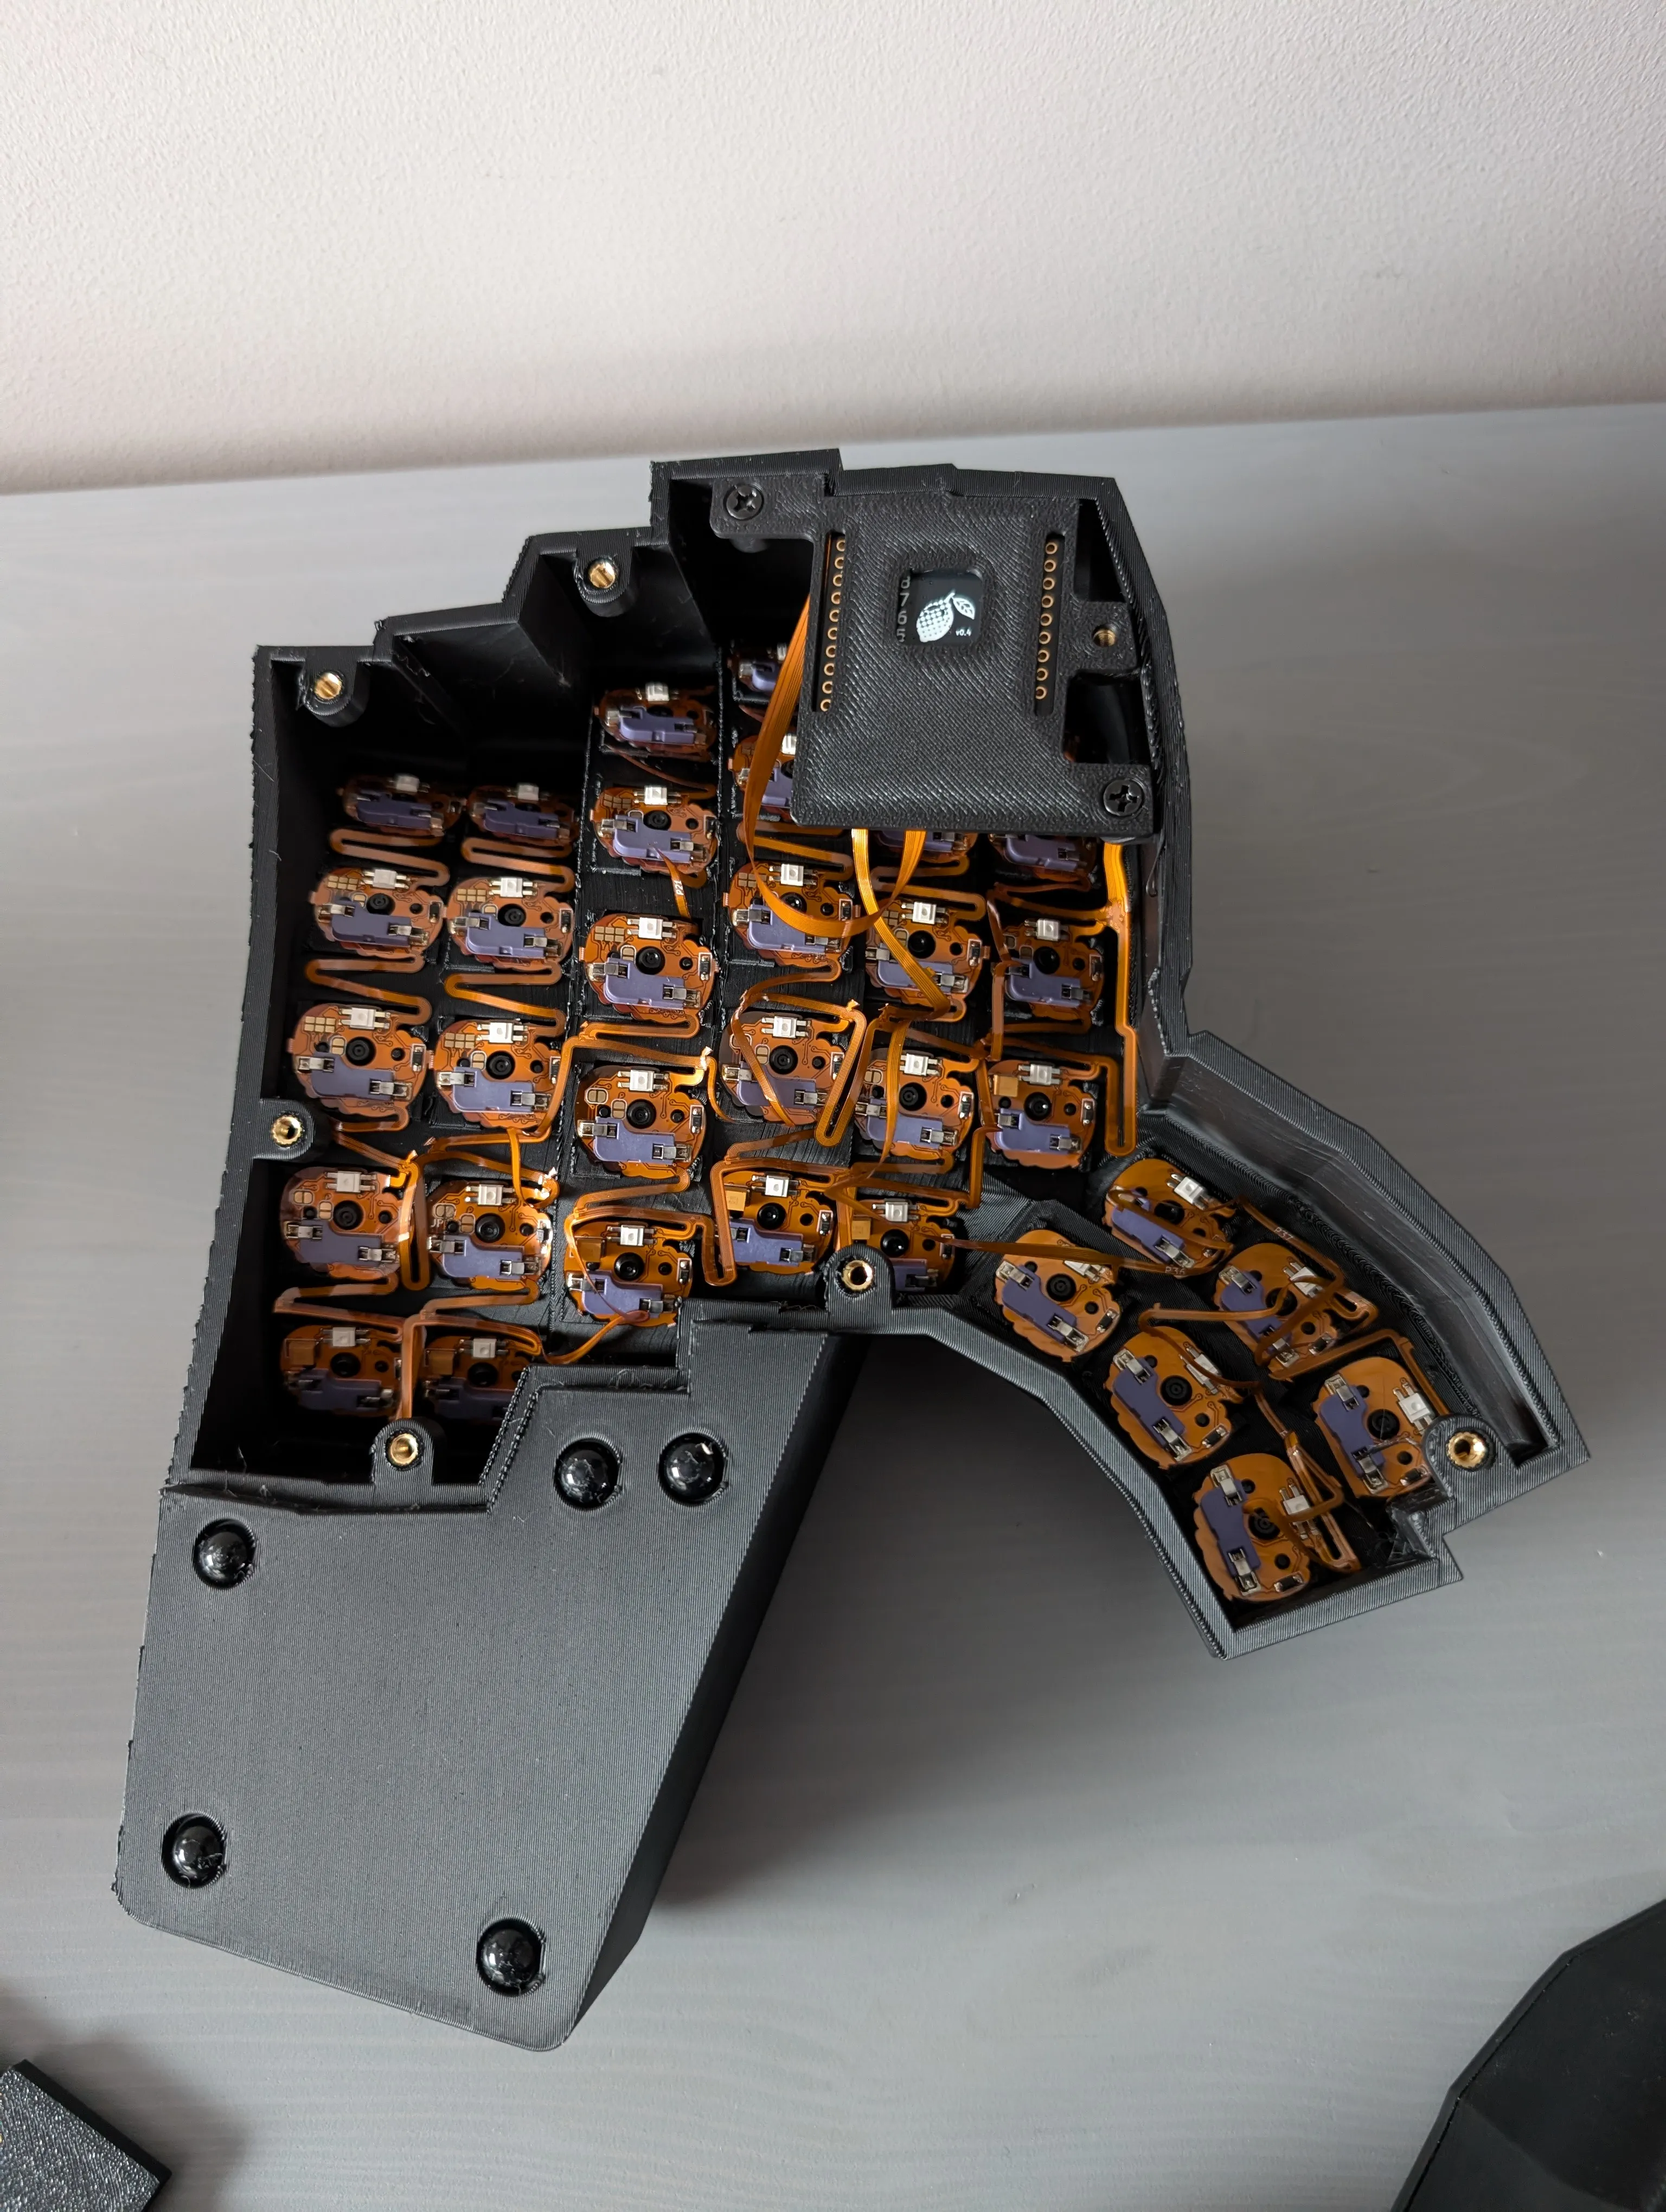
 Lemon controller (one in each half of the keyboard)
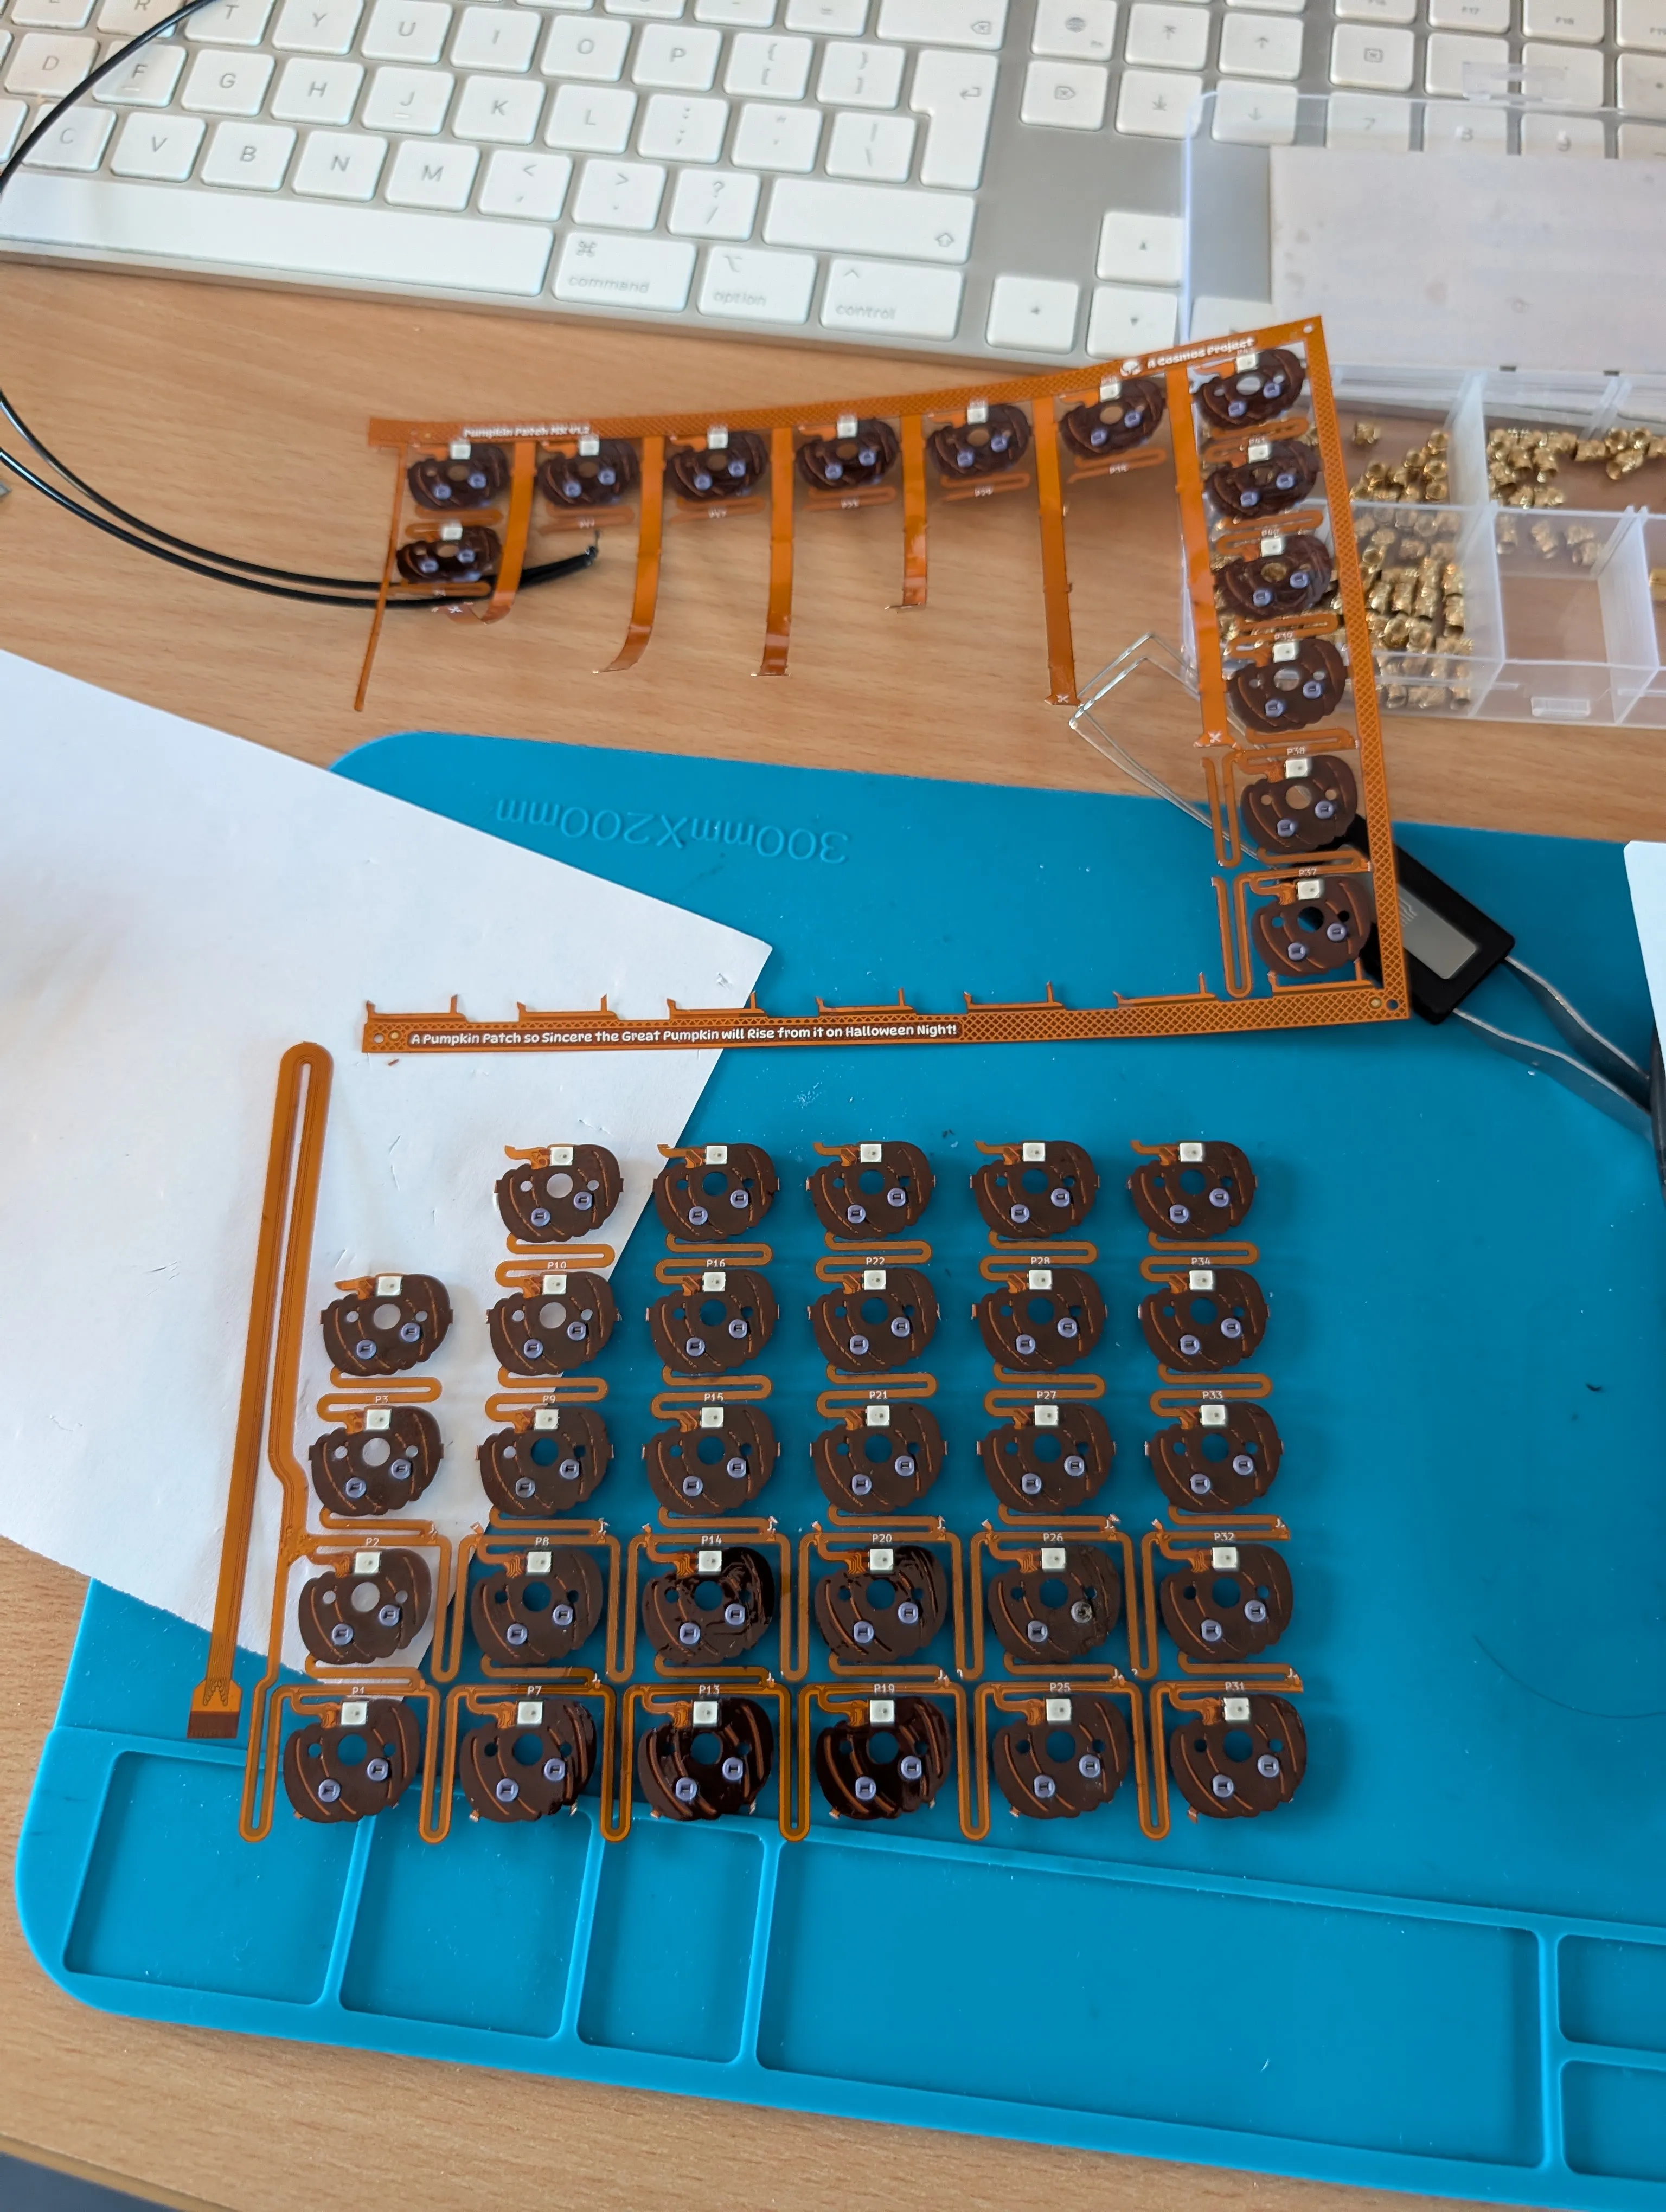
 Pumpkin PCB sheet
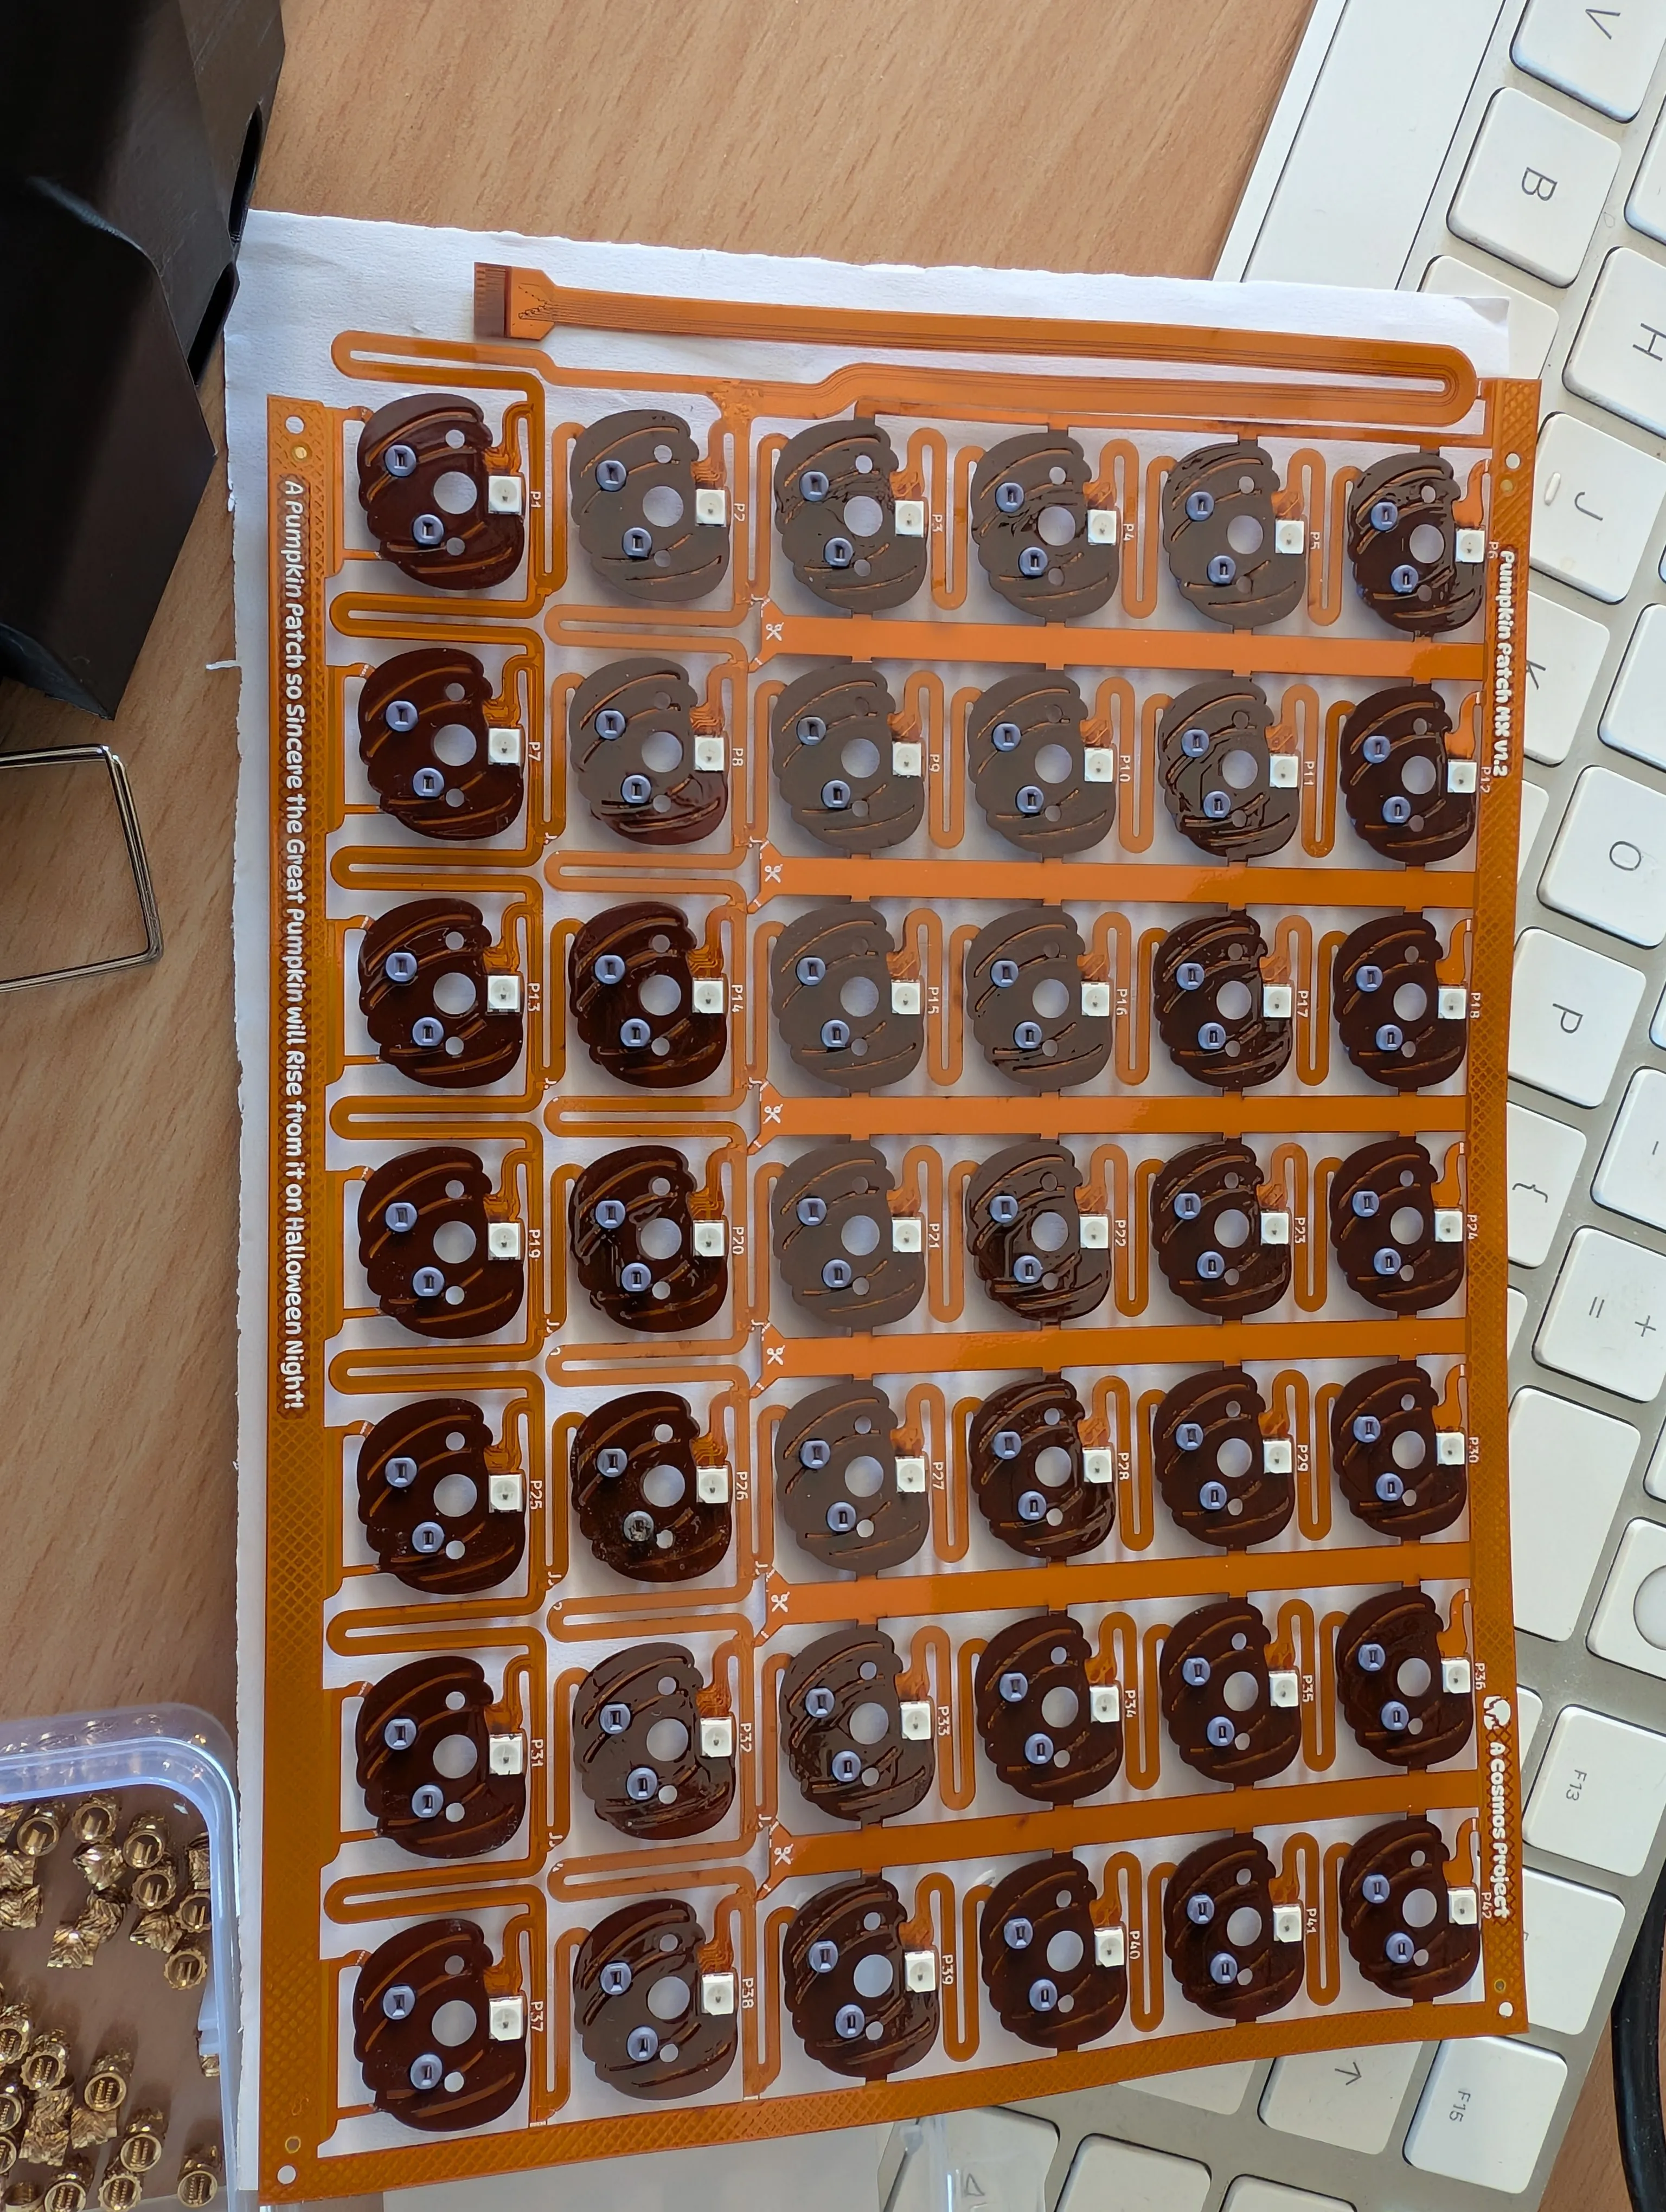 Pumpkin cut to size using a Stanley knife. These PCBs are in short supply, so the stakes were high!
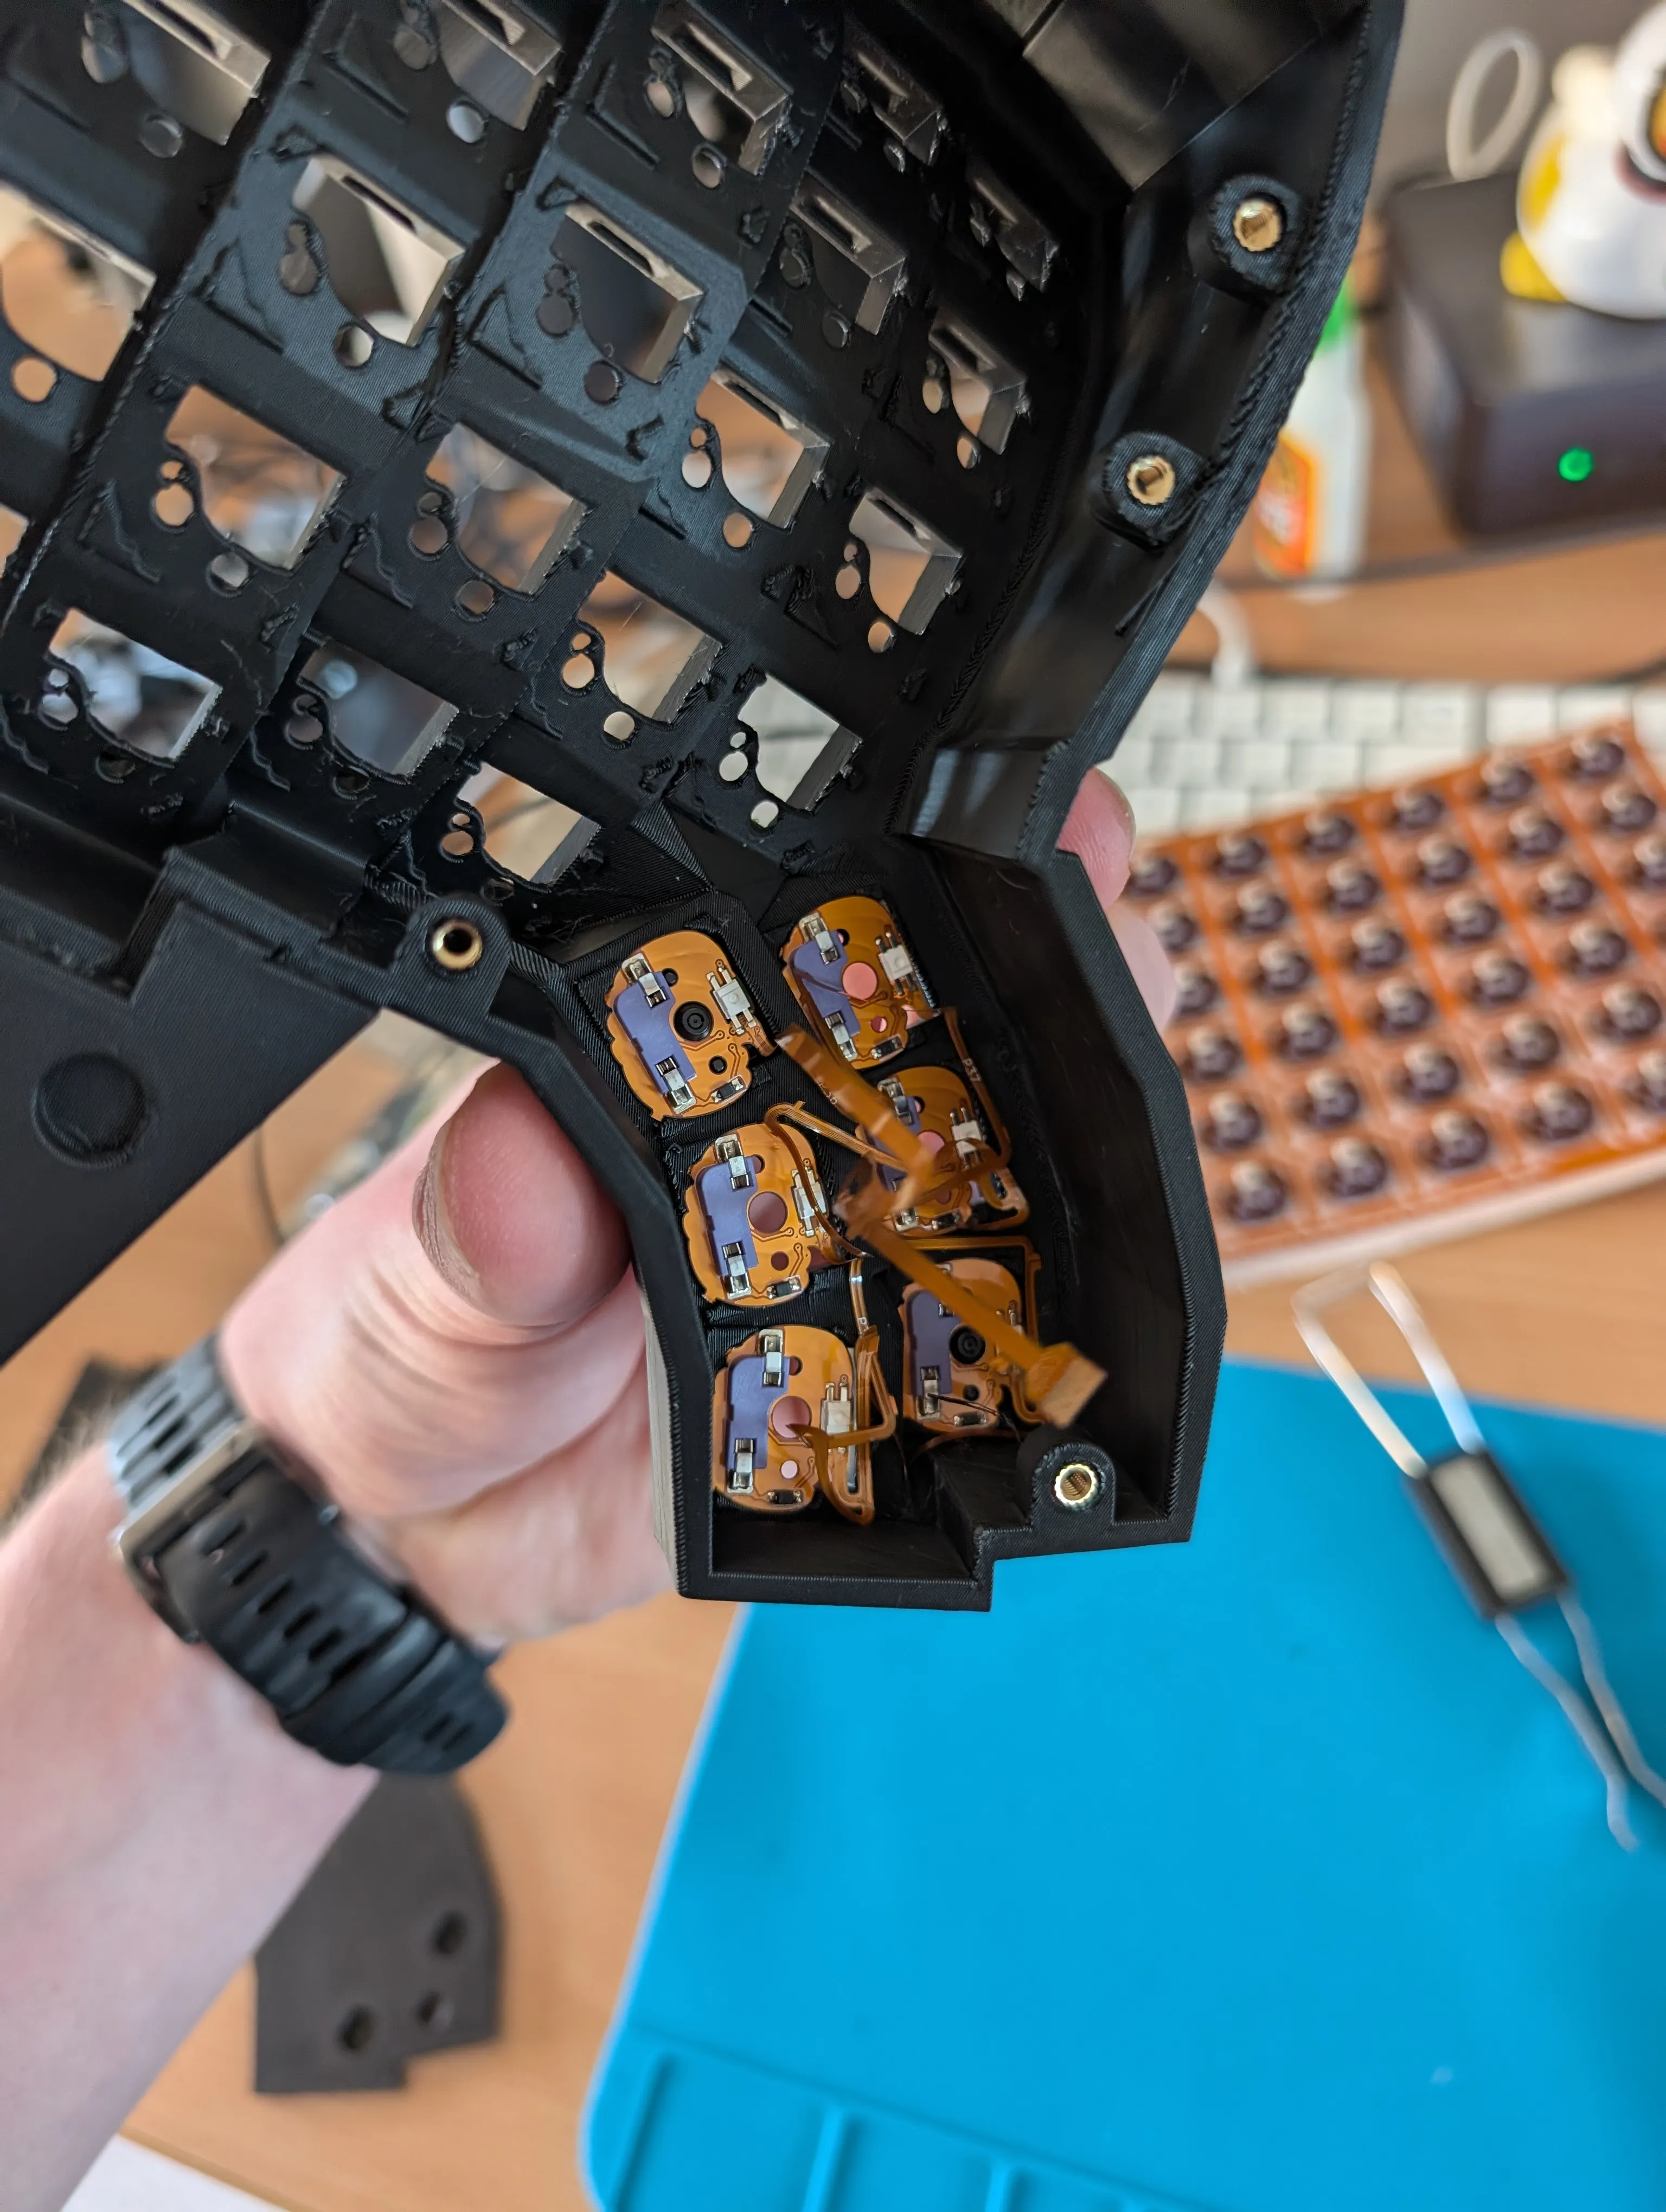
 Thumb cluster wired in with pumpkin vine
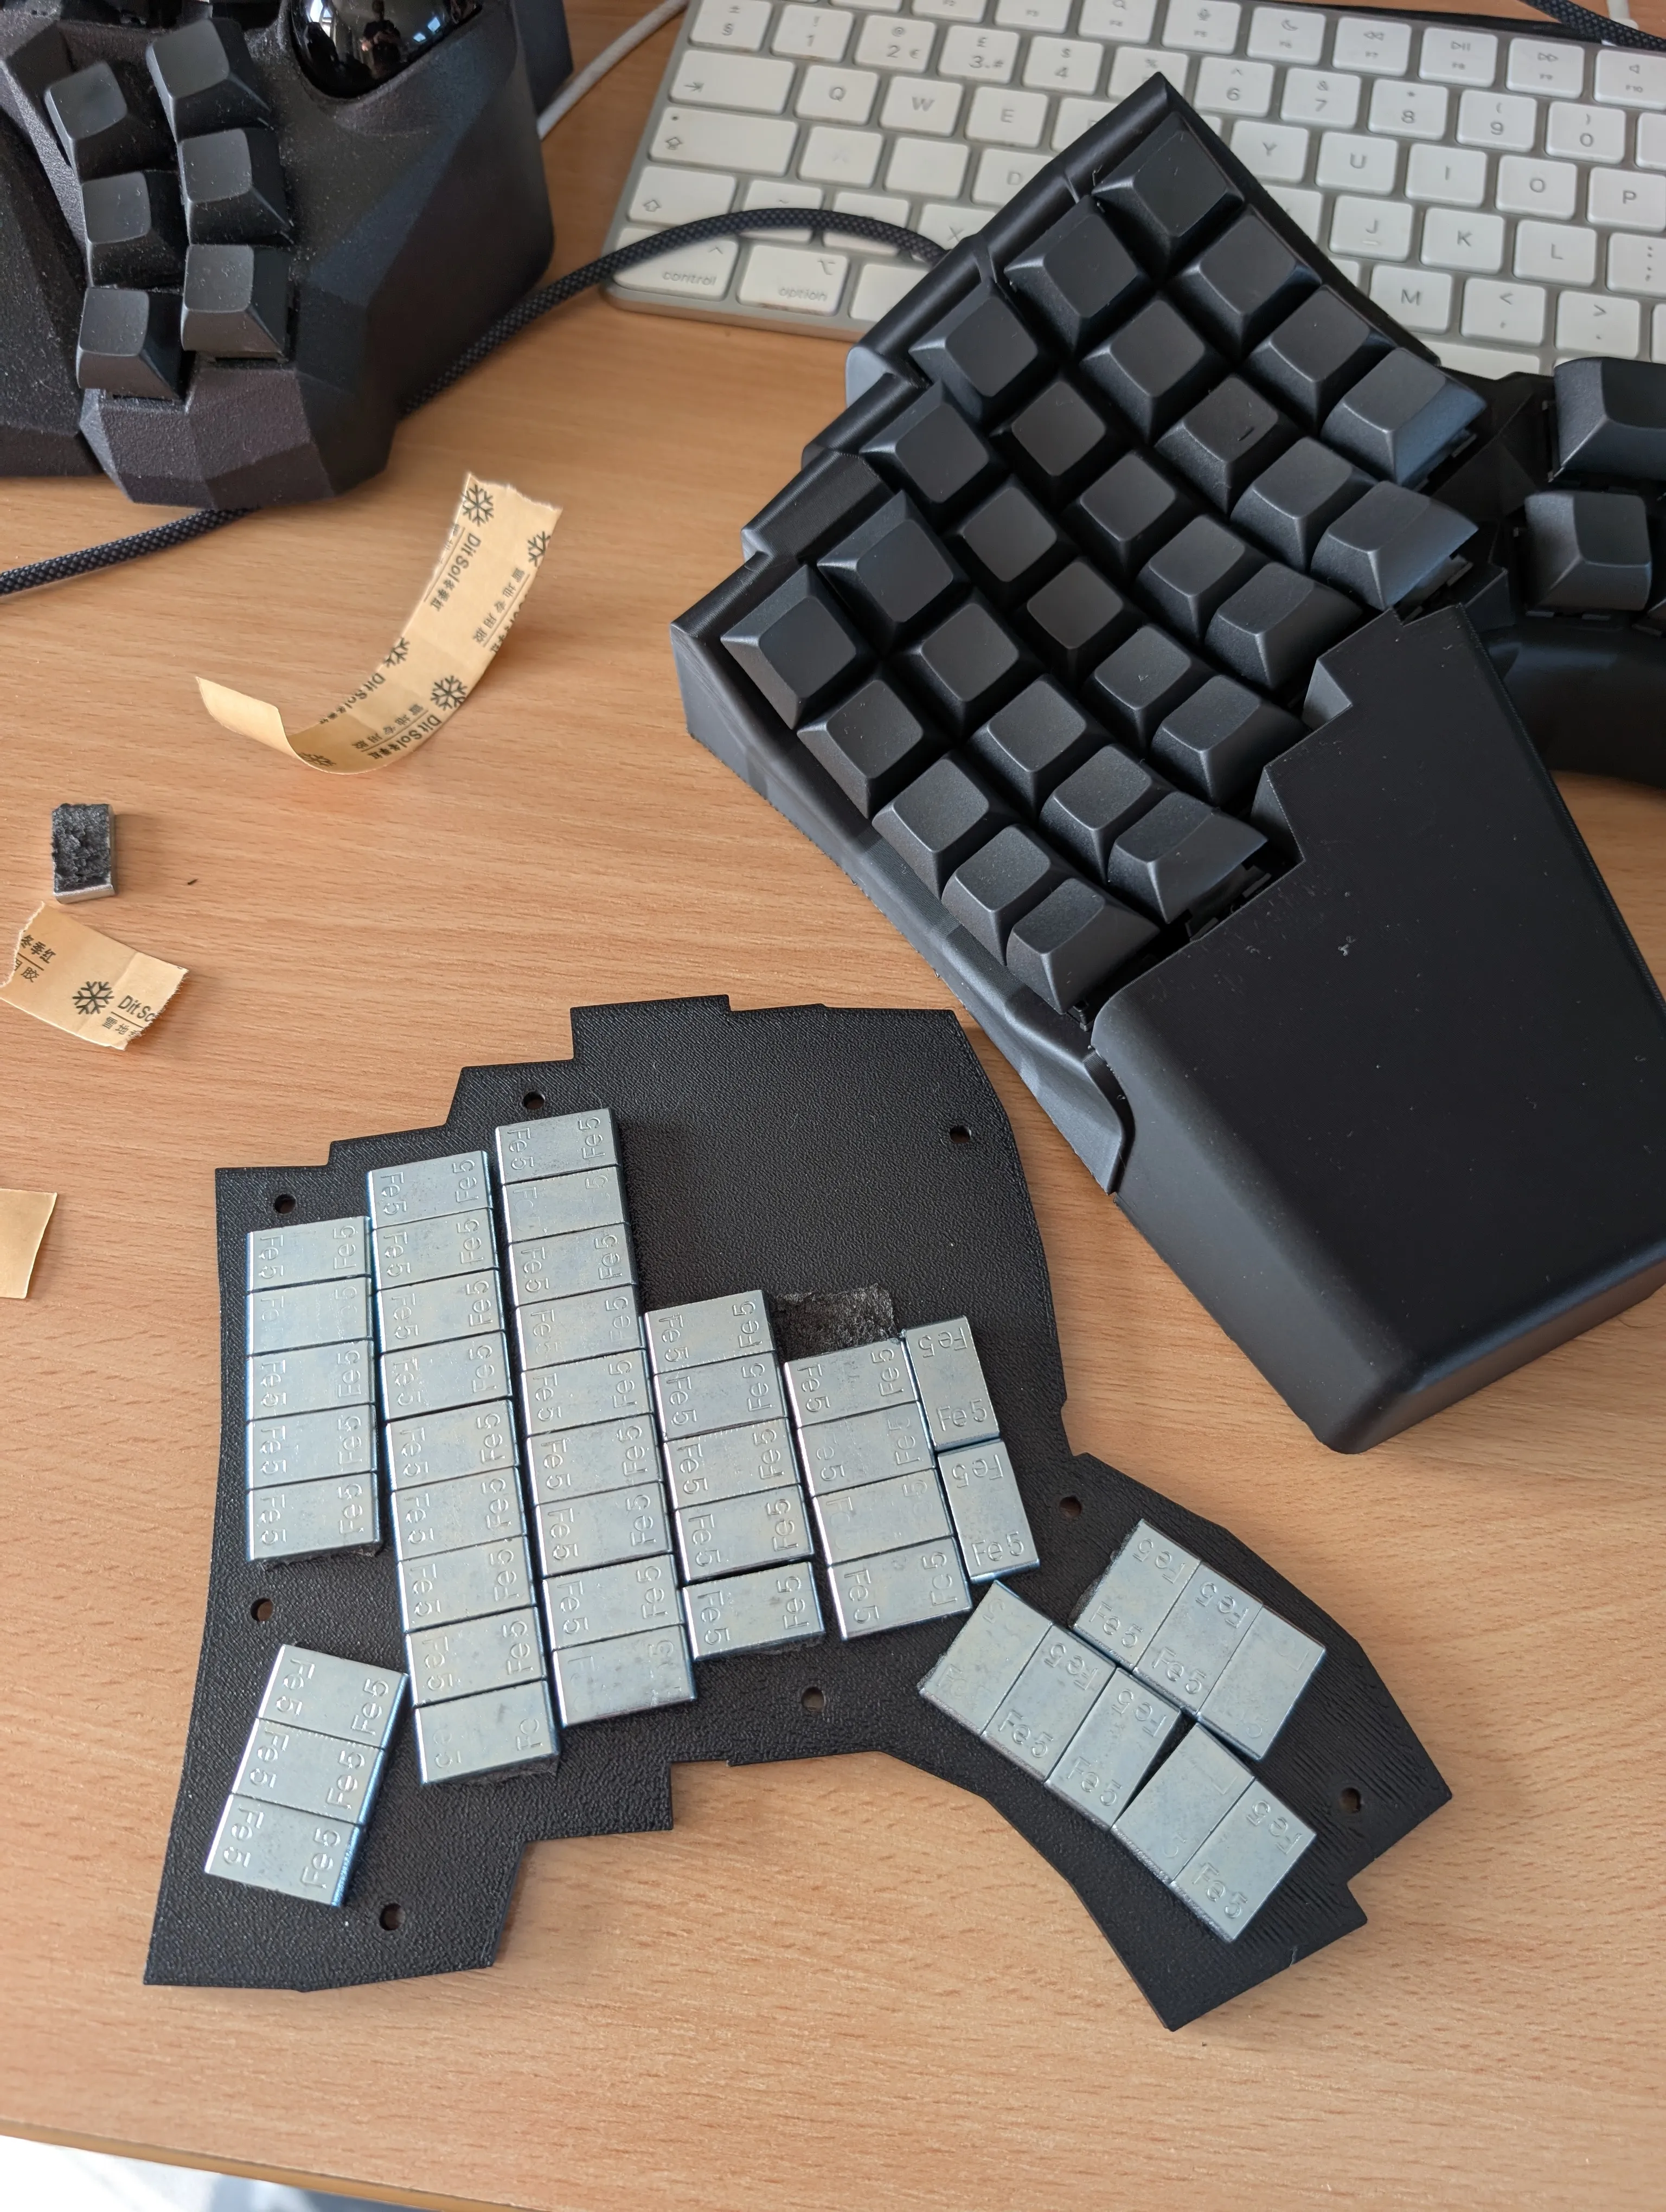
 Motorcycle weights to add weight
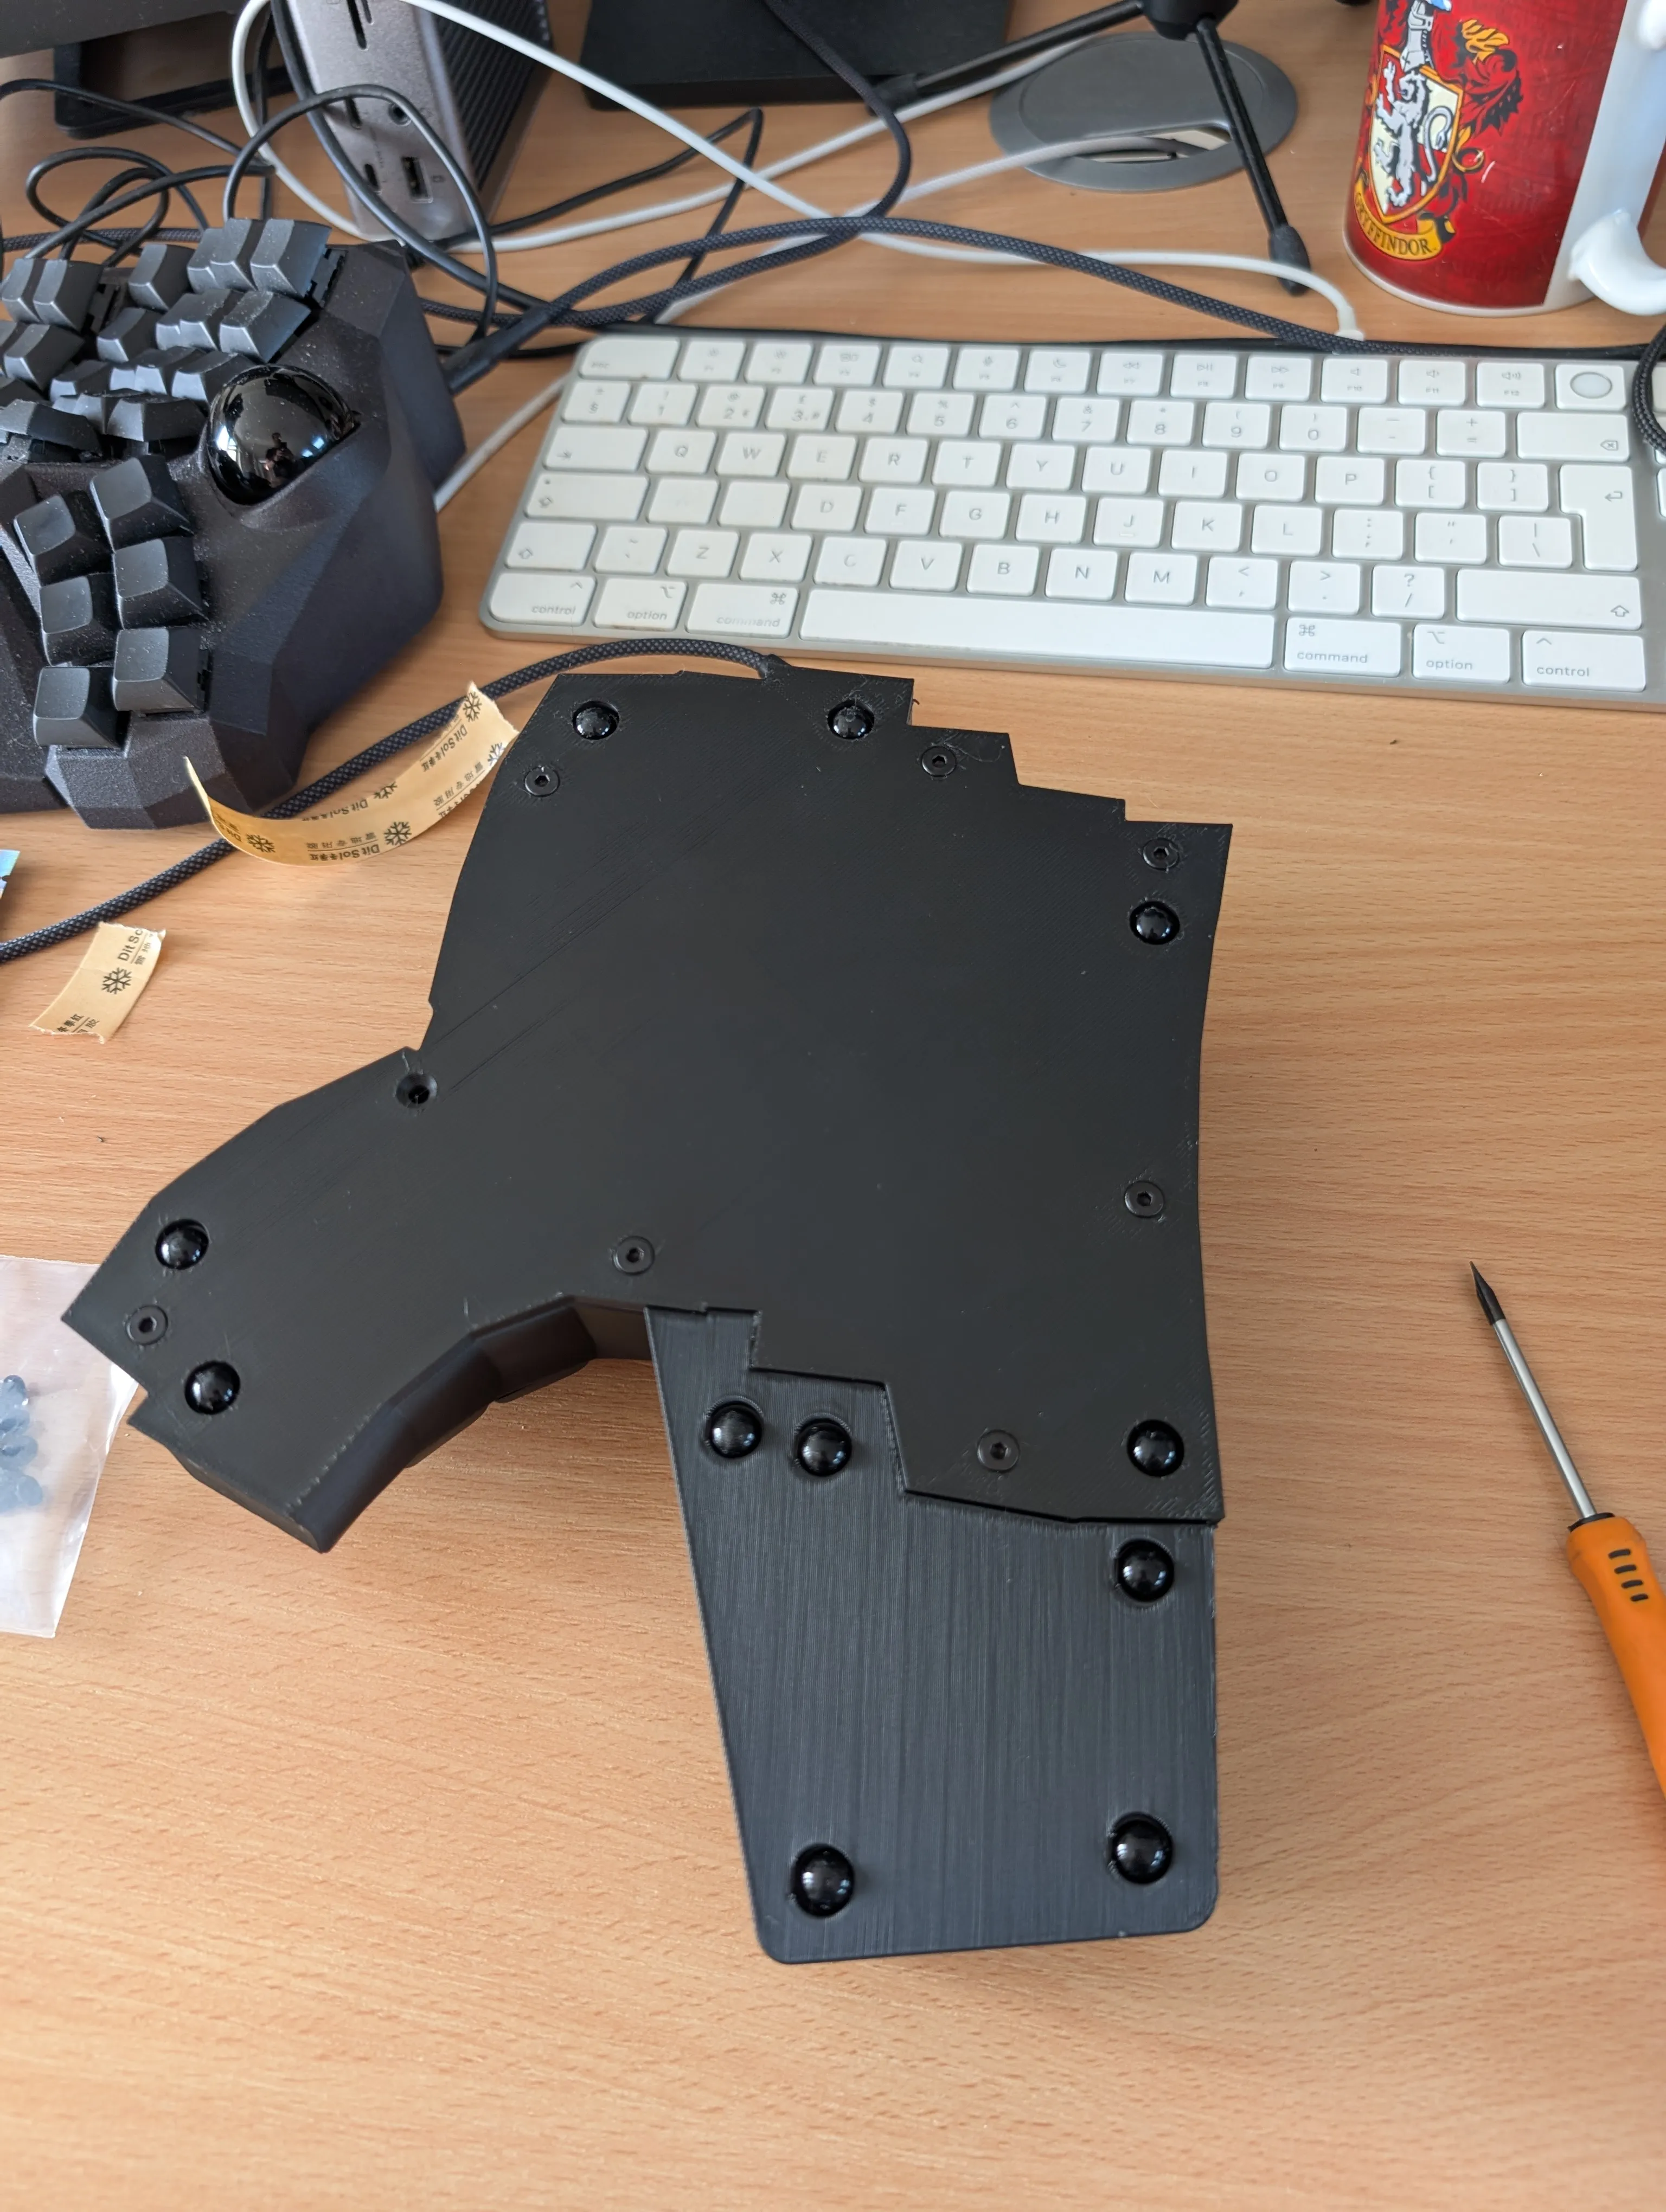
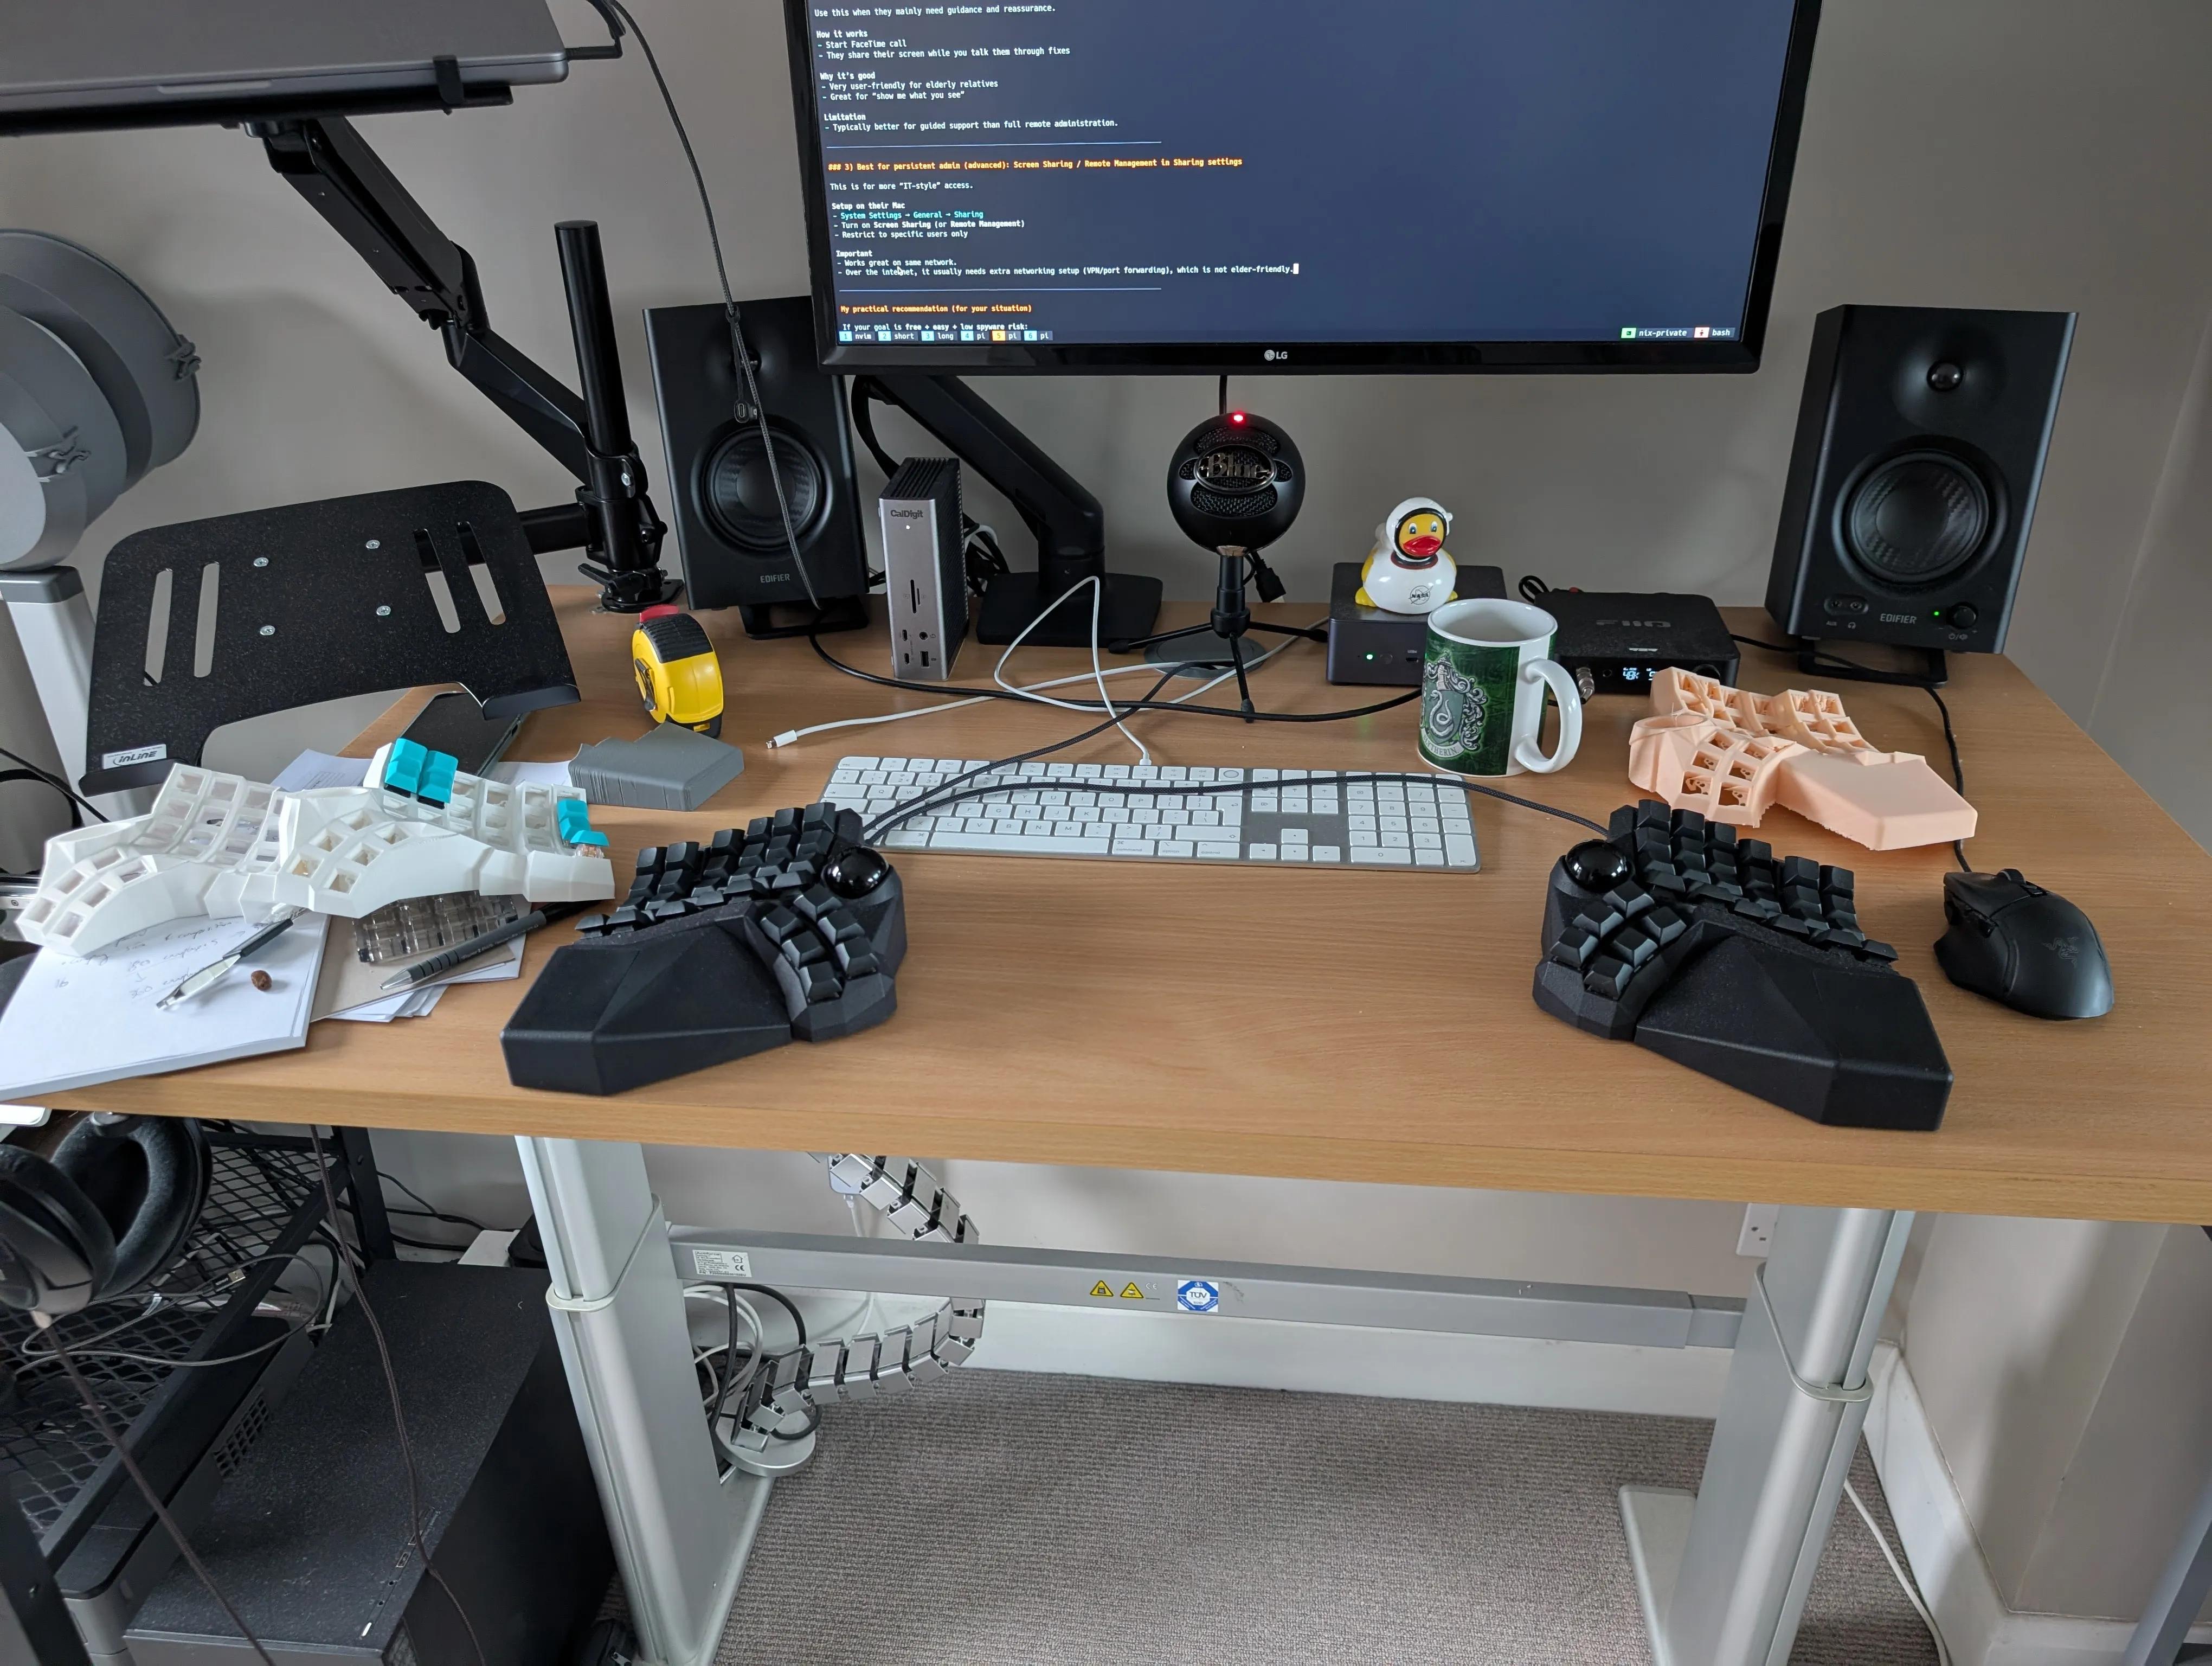
The finished product
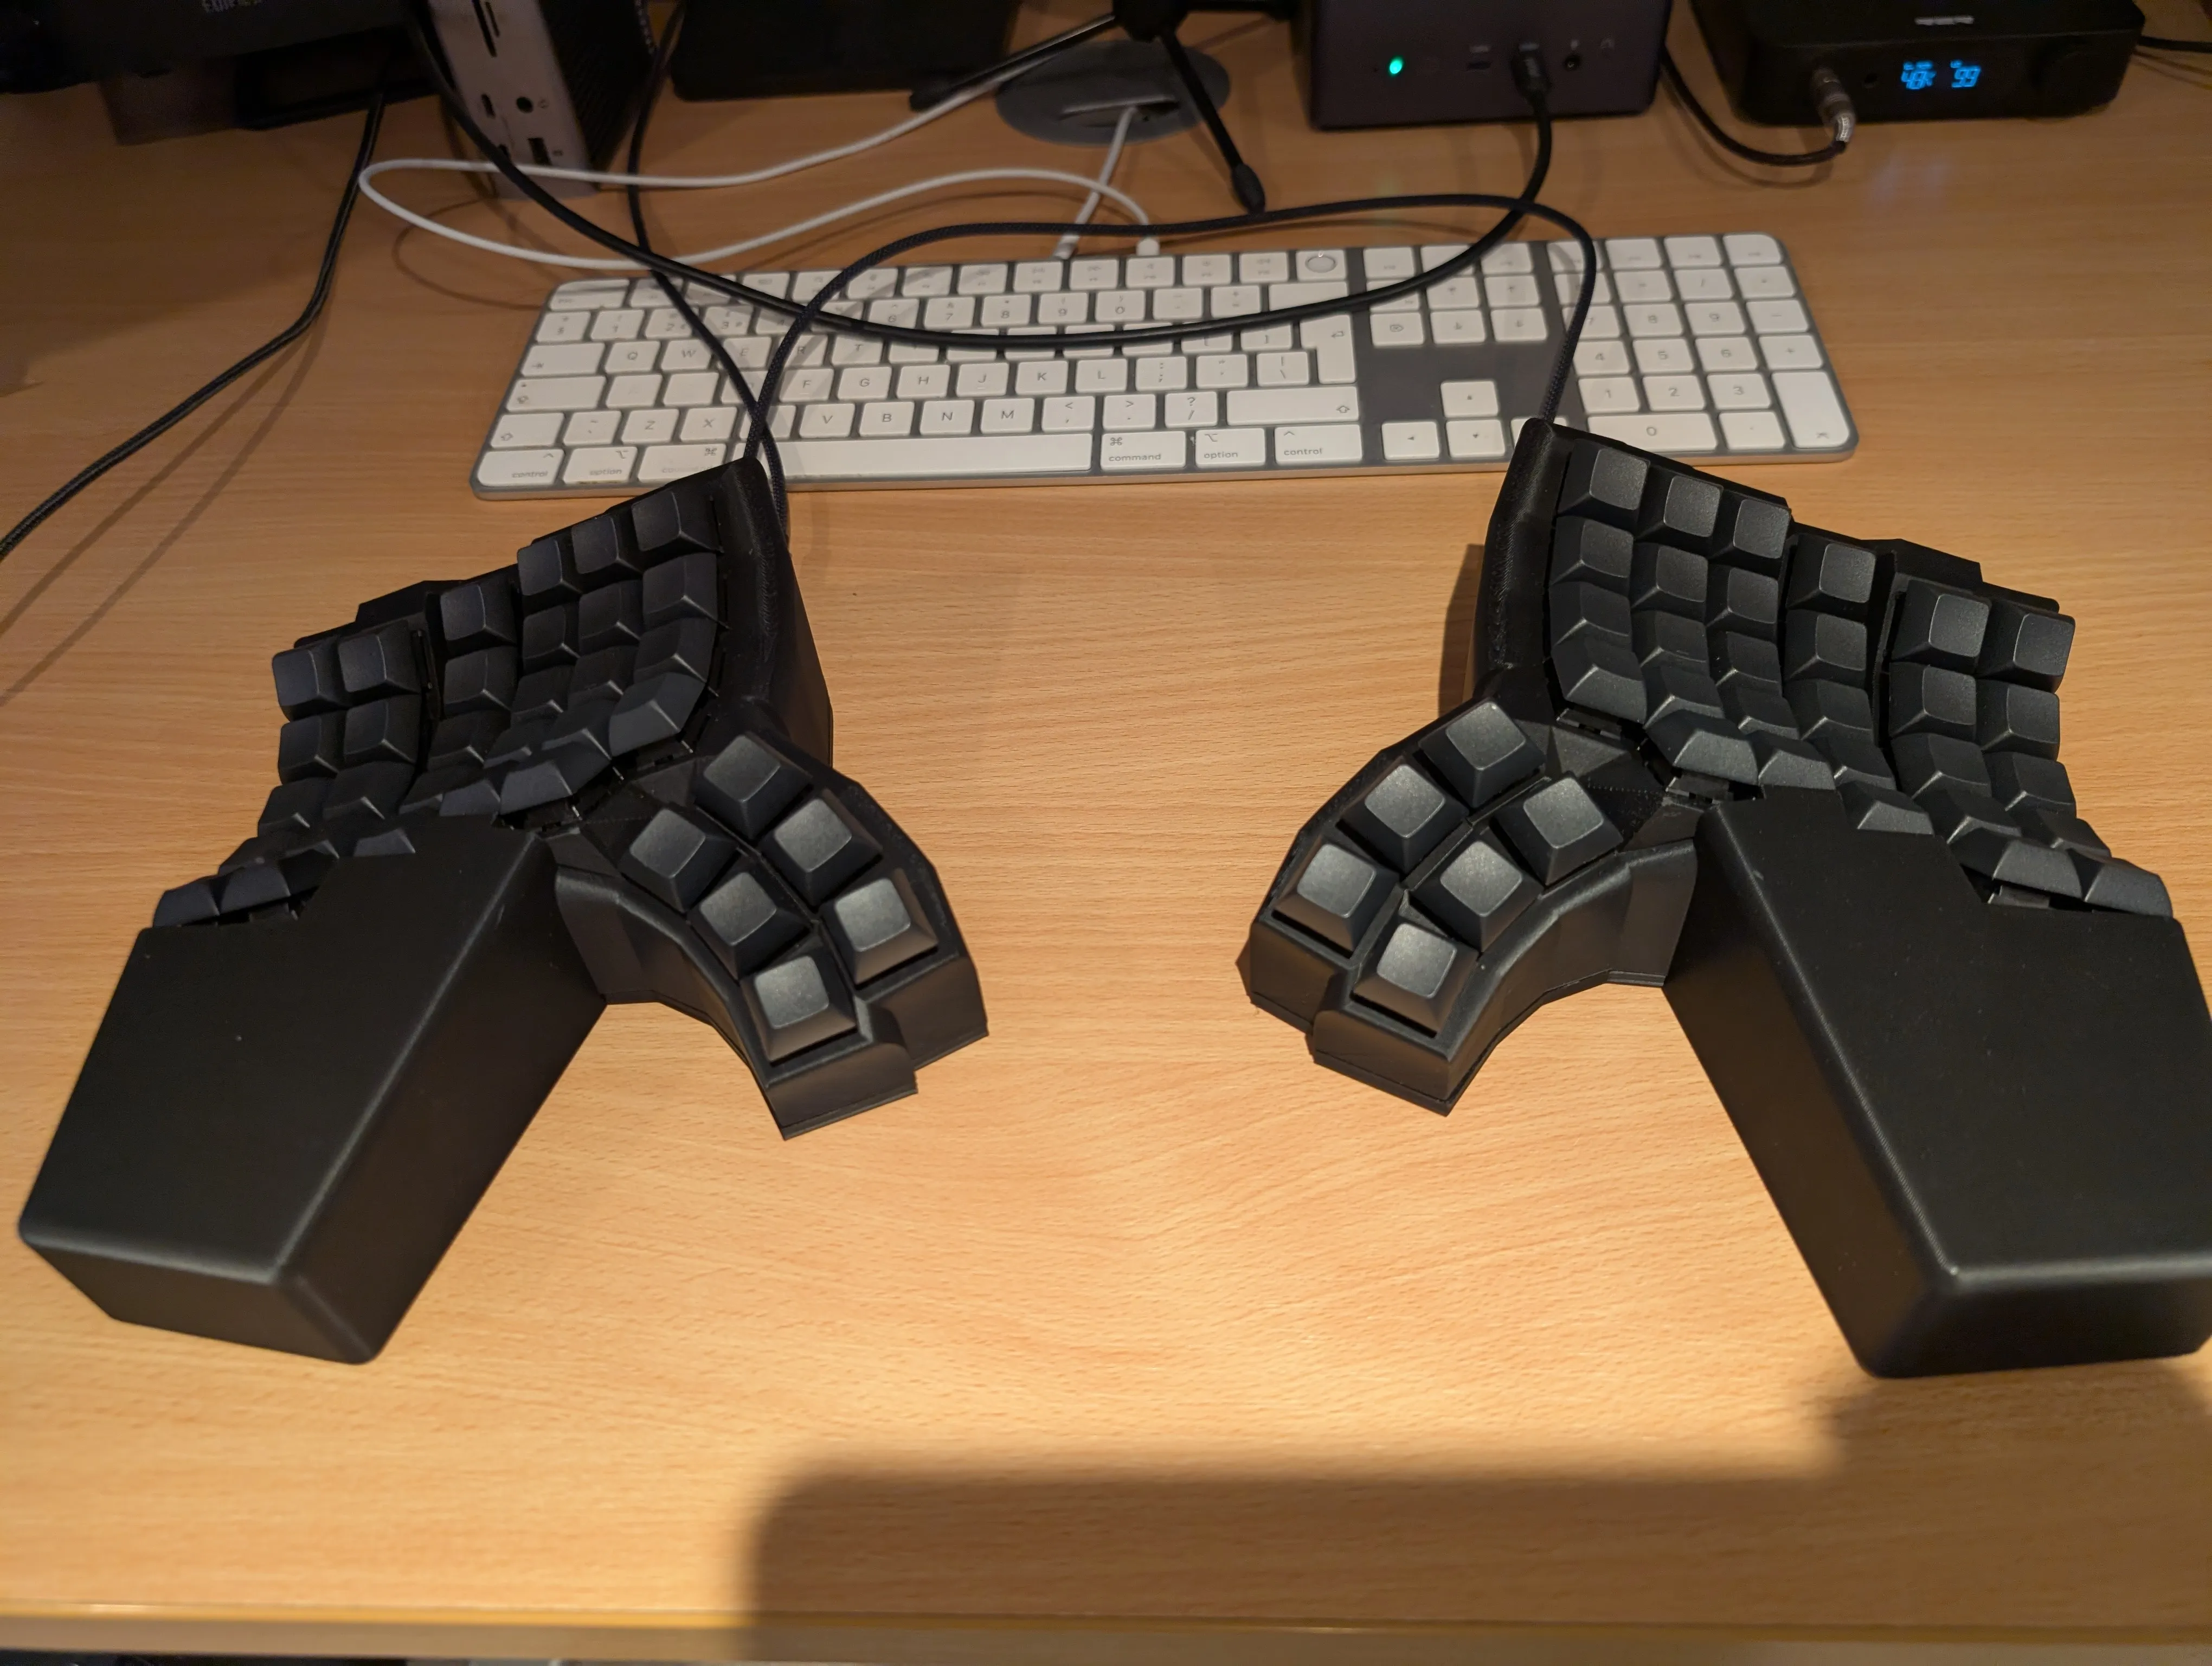
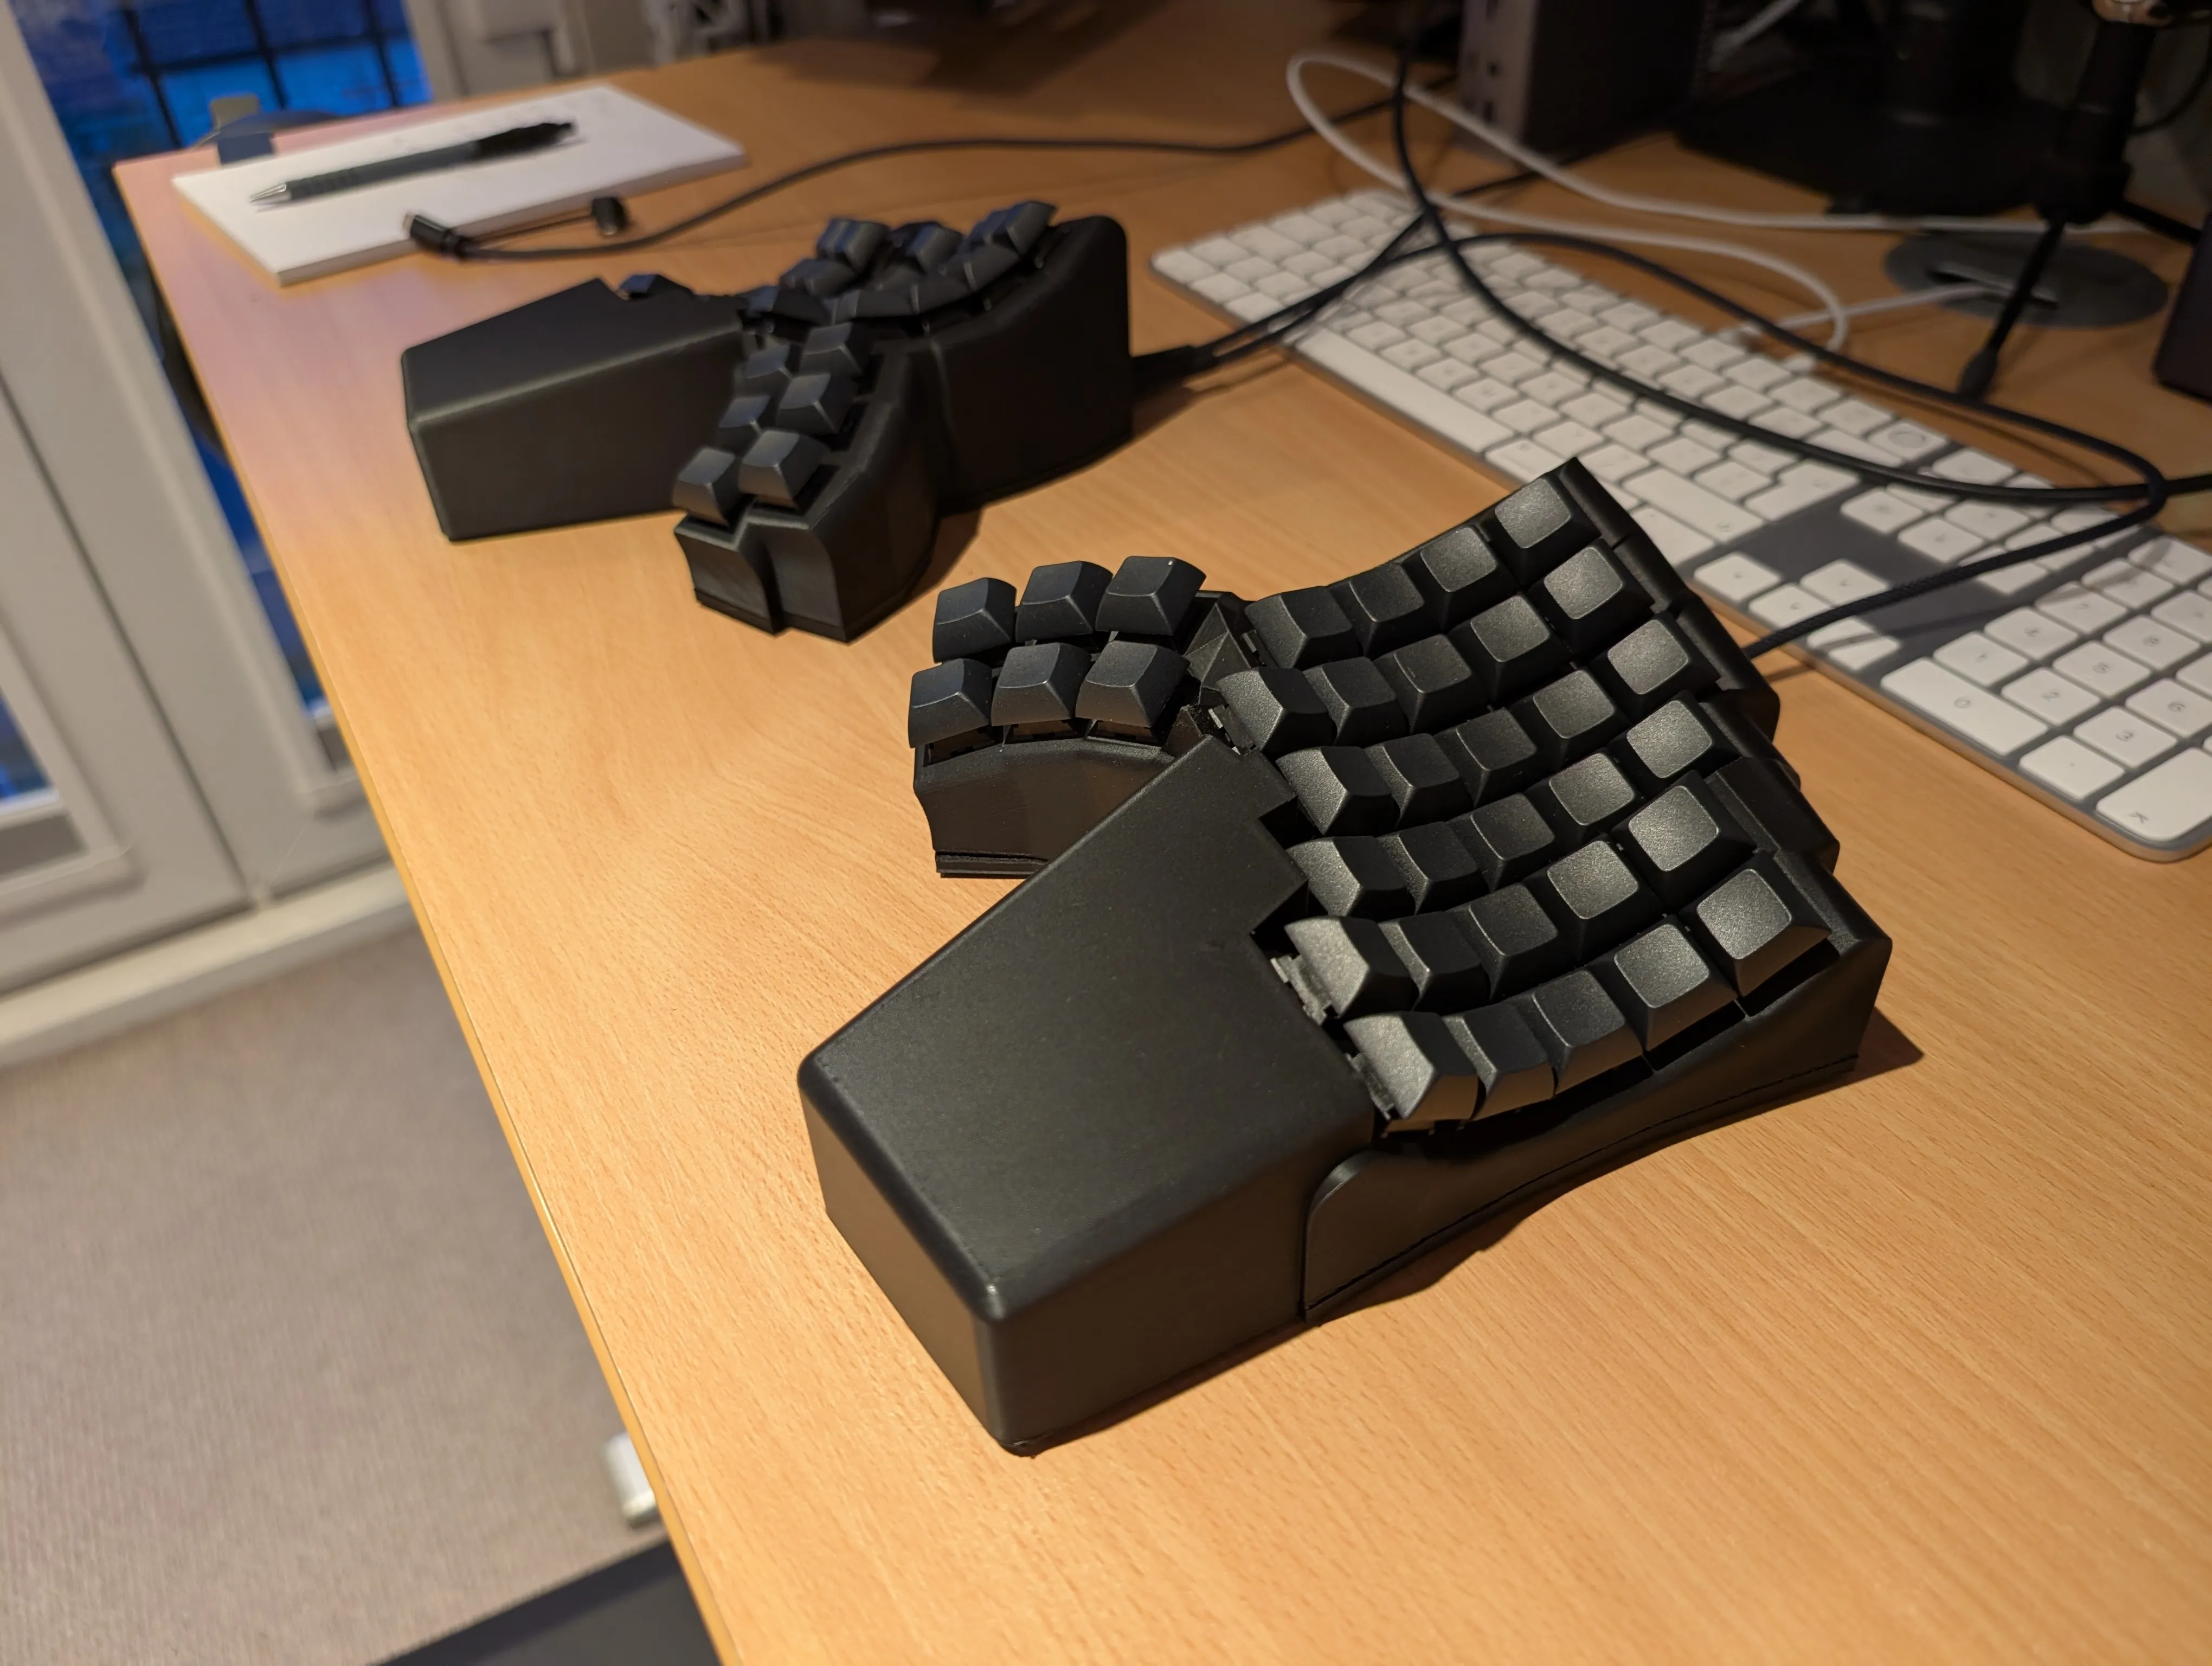
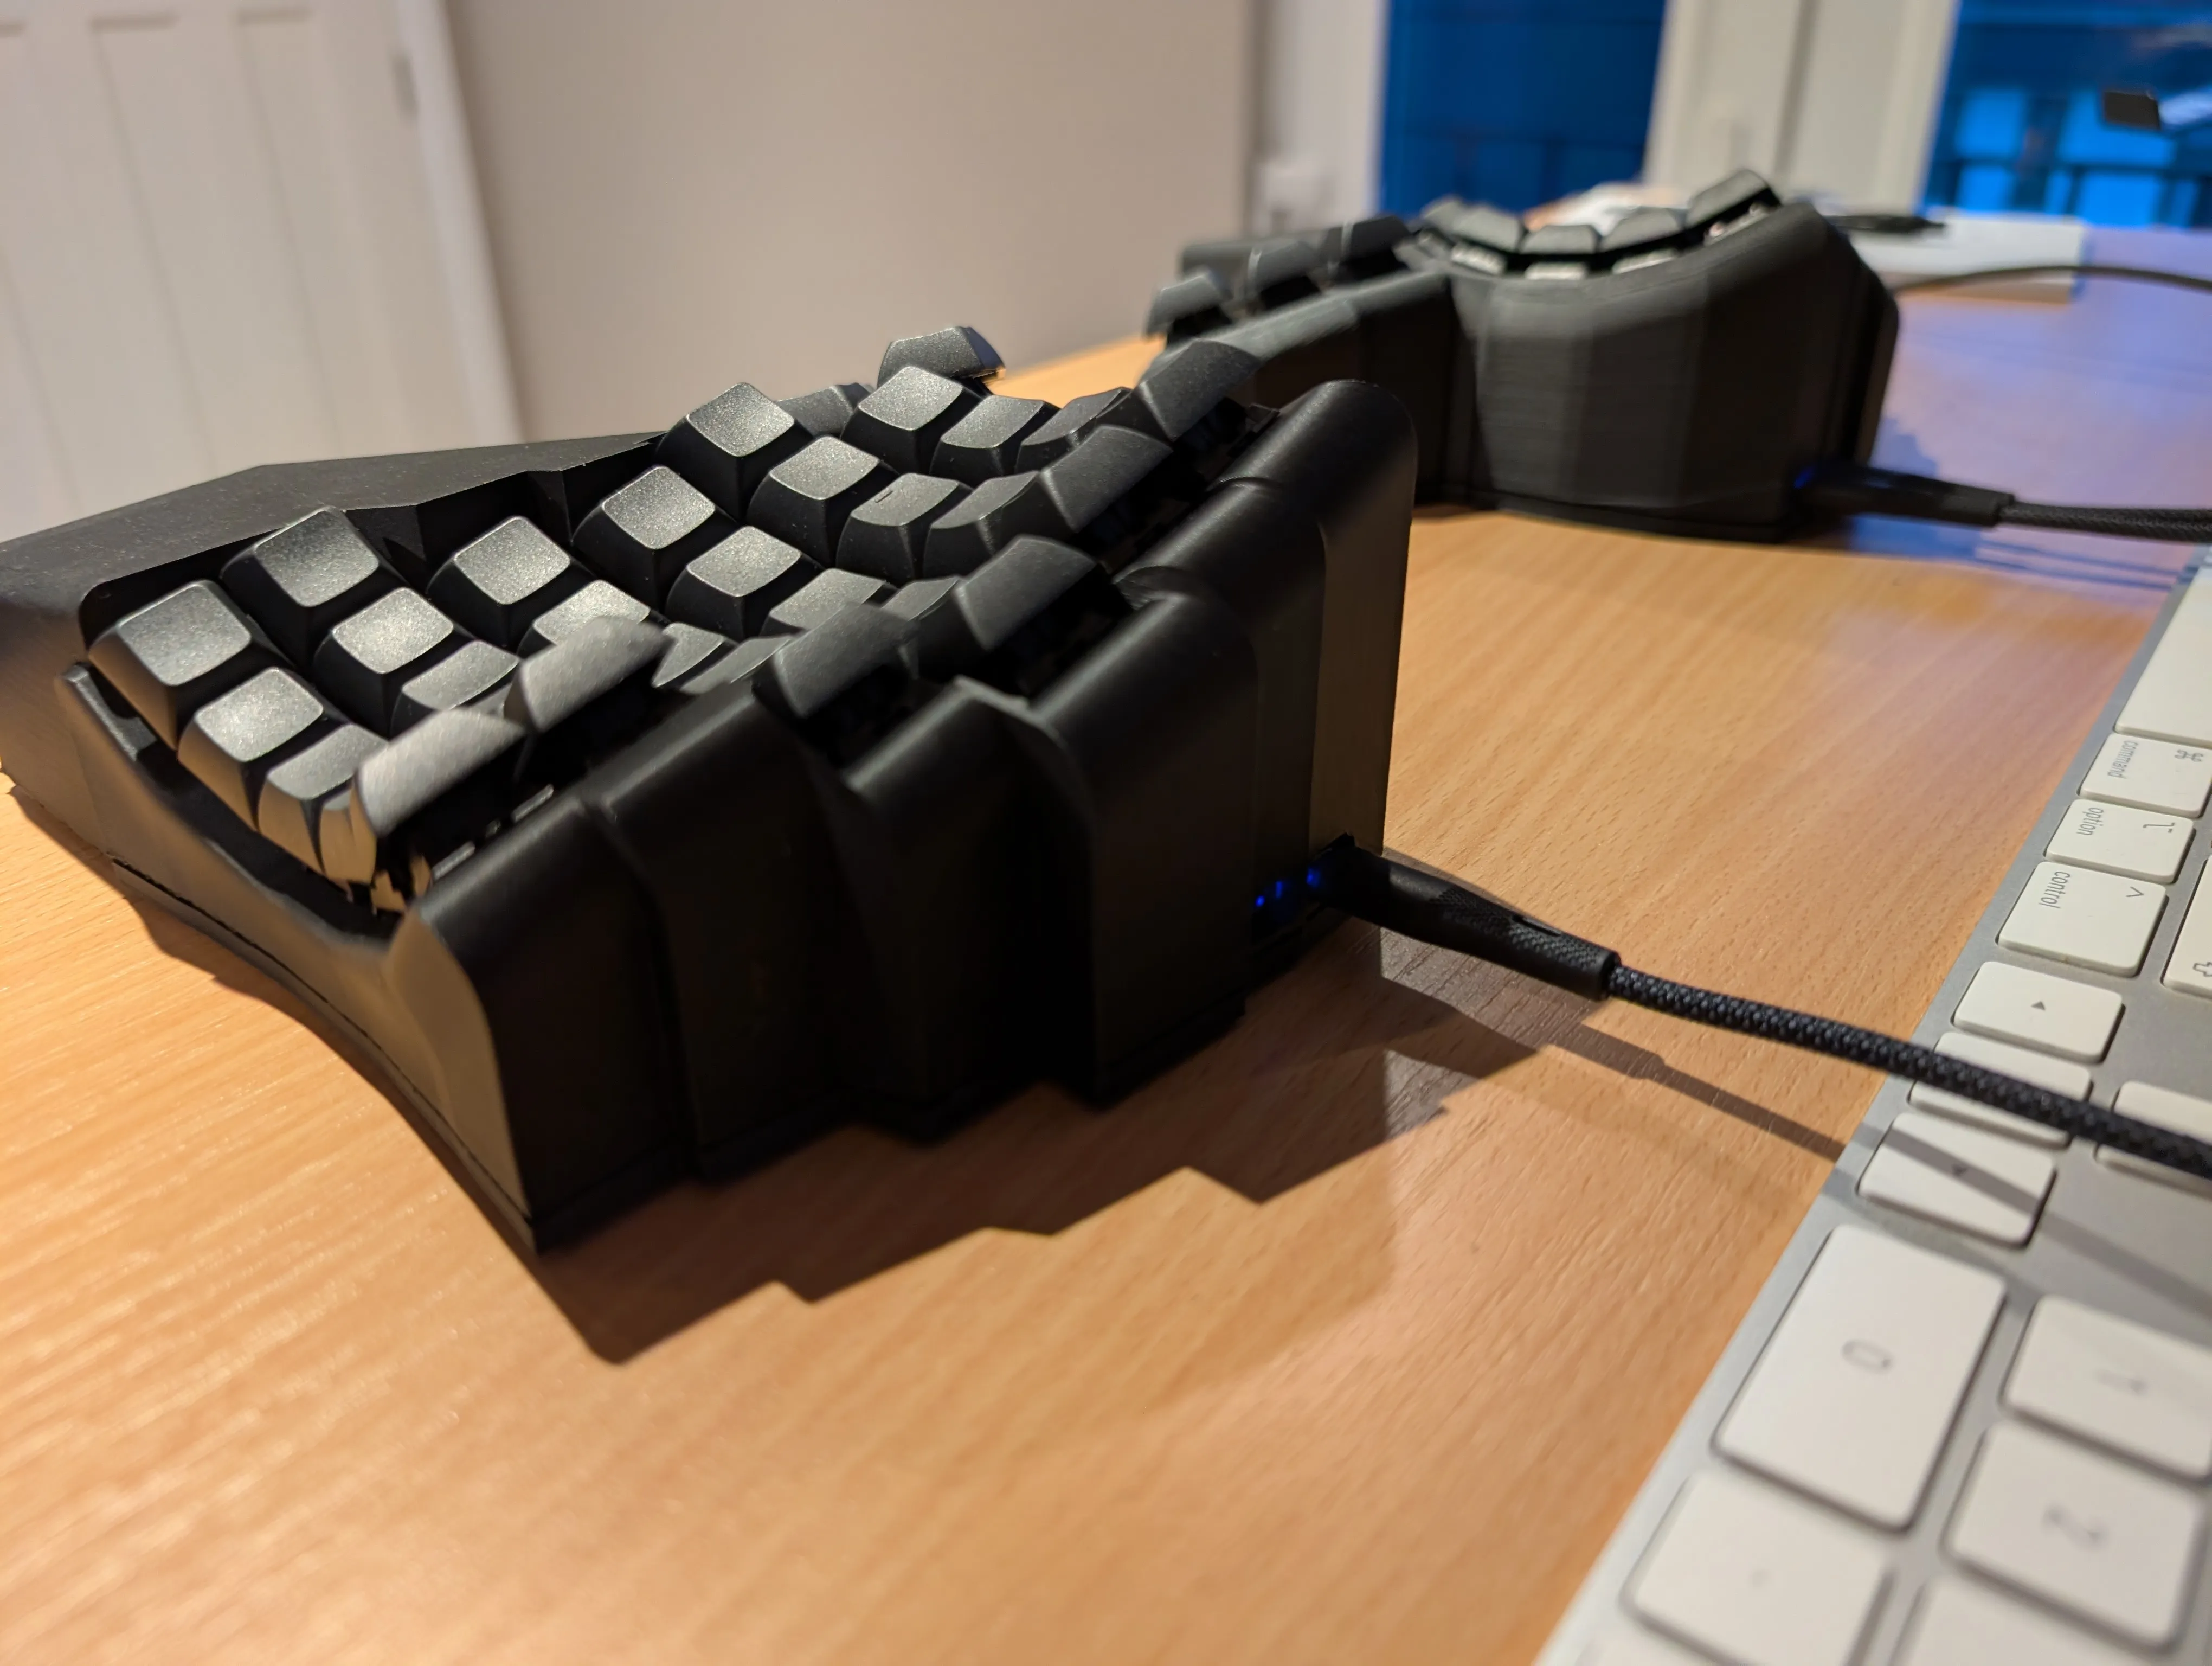
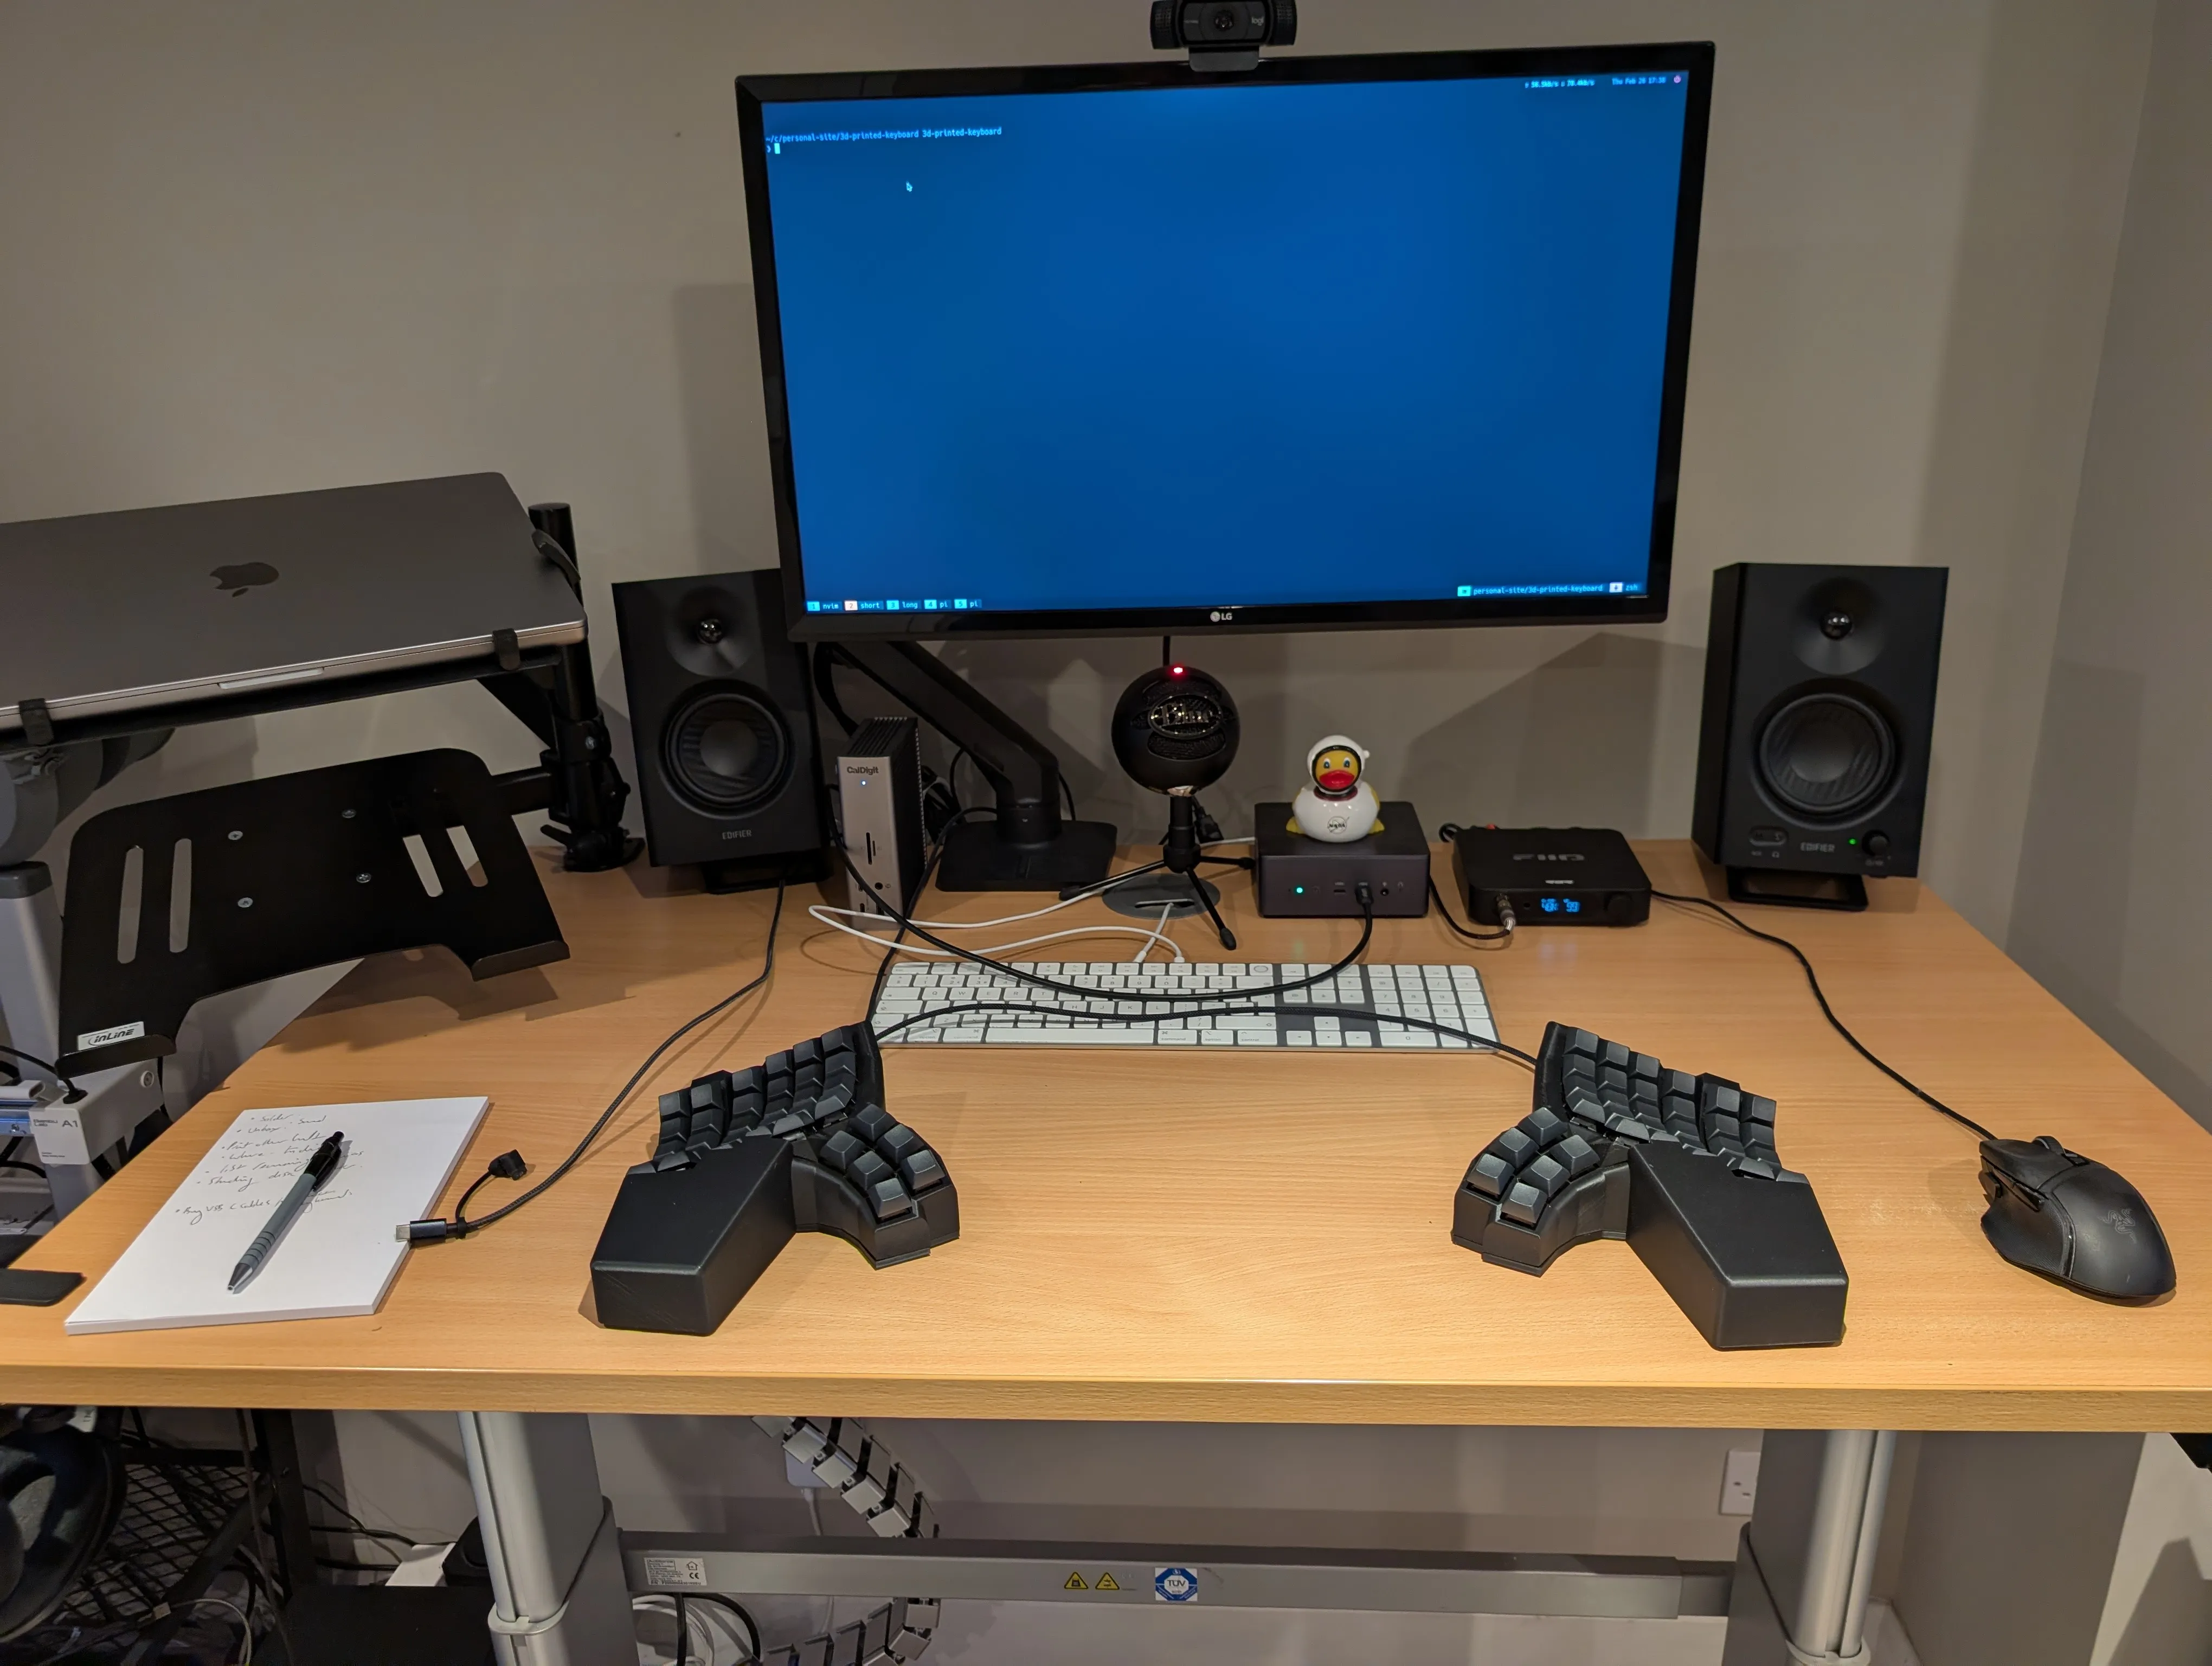
I printed the keyboard with matte black PLA at 0.16 layer height. It came out much better than I’d anticipated, after ensuring all the feet touched the desk (I printed some small disc inserts), the keyboard feels really solid and surprisingly similar to my Cyboard Imprint.
Since I was already using QMK, AI was able to duplicate my QMK config for the lemon controllers surprisingly easily.
Comparison to Cyboard Imprint
This build made me realize what a good keyboard the Cyboard Imprint is.
Any cost comparison is a little dishonest once you include the printer itself: my Bambu A1 was roughly ~$400.
- My keyboard is heavy enough, but it’s lighter than the Imprint due to its aluminium base.
- You can flash the Imprint easily in one go, but the Lemon controller needs both halves to be flashed separately.
- You can use either USB port with the Imprint (visually pleasing!), on the Lemon each port is either a ‘primary’ or ‘secondary’.
- The wrist rest of the Imprint can be leather or wood - my custom keyboard is PLA plastic.
The hand fitting of the Imprint is also impressive, mine feels perfect, it took me 6-7 prototypes to get my custom build close.
That said, my custom one now has a special place in my heart - because I made it! If you already own a 3d printer I’d estimate the raw cost of the materials is likely ~$120 per keyboard (excluding switches and key caps). I will be building a second keyboard, which I estimate will take half a day of labor.
But if you don’t fancy printing your own, I’d definitely recommend the Imprint!
Appendix
My print method
- In Bambu Studio, import the case + wrist rest together as one part (a popup shows up, hit yes).
- Move the wrist rest ~0.5mm in Y so it merges into the case.
- Rotate the whole keyboard so the side edge is on the bed, then rotate ~36° on Y.
- Add a tiny disc helper part, then lift the rest of the model ~4mm in Z.
- Supports: tree auto, build plate only, remove small overhangs, 27° threshold.
- Supports: branch angle 40°, branch diameter 2.8mm.
- Slow down bridges + overhangs (bridge speed ~15mm/s, overhang speeds ~50% of default).
- You might need to paint areas that need support or block supports in certain areas
Download my Bambu Studio settings: Bambu Lab A1 0.4 nozzle.bbscfg